Preparing chinese waxed sausages before cooking

When I was living with my parents, one of my favourite meals made by mom was (1) pan fried salted fish with loads of chopped raw shallots, chillies and onions or, (2) pan fried chinese waxed sausages or “lap cheong”. Serve with piping hot rice, they are still (in my mind that is) the most appetising meals ever.

In this post, I’m not going to write about the pan fried salted fish yet, because I haven’t gotten around to cooking it but I’m going to talk about the pan fried waxed sausages. This is probably a no-brainer to many chinese people, but since I had no inkling on how to prep up waxed sausaged for cooking, I’m guessing there are people who are in the dark like me too.

When my mom gave me a bag of waxed sausages during Chinese New Year, she told me to remove the transparent coverings of sausages before cooking them otherwise I will die of plastic toxicity. Okay, I made up the latter bit but somehow she has drilled into me that the transparent membranes are made of plastic with less strong words. I mean, even Huai Bin removed his!!!

# – Chinese waxed sausages.

It’s very likely that they’re made off some kind of animal stomach lining I’m sure of it but with the dodgy sources of Chinese imports these days, who really knows right? So yes, I will always remove the coverings; plus they taste better too. I’ve tasted some waxed sausages with the “plastic” covering still on at restaurants and they tend to be a bit chewy.

Thankfully, I haven’t keeled over and died from plastic toxicity…

Anyway, here’s how to prep up the sausages before you cook them:

# – First, cut of the ends of both sides.

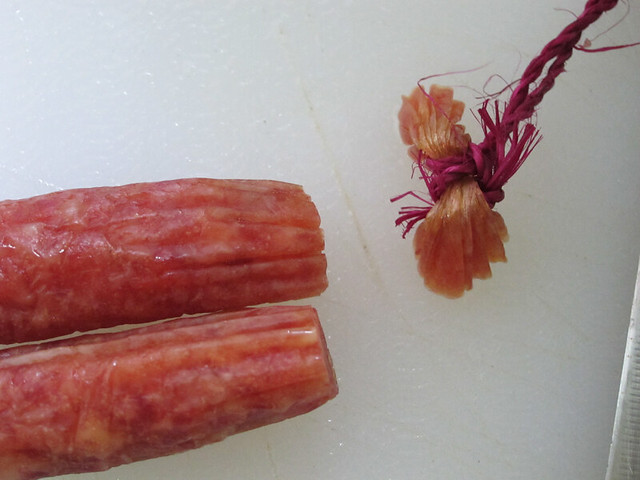
# – Then, slowly peel off the transparent covering. Will be a bit hard at first but once you lifted it off from around the edge, it’ll be easier.

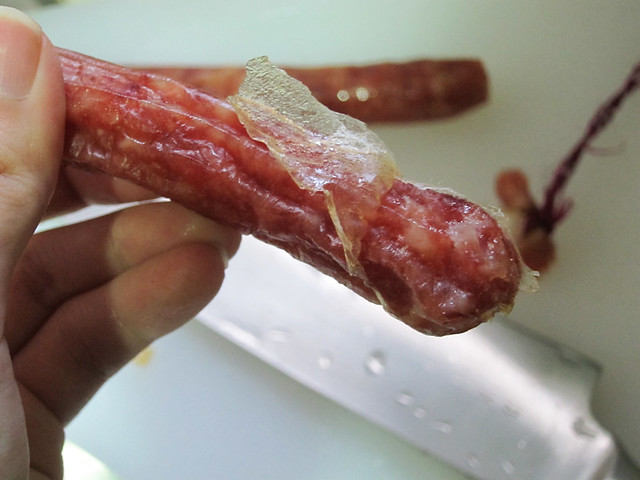
# – See, you can peel them off in whole pieces. Like a snake shedding its skin. I kind of make a lot of snake references, don’t I?

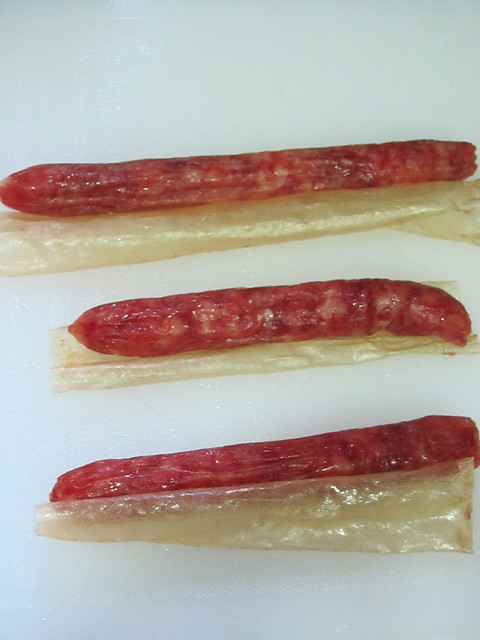
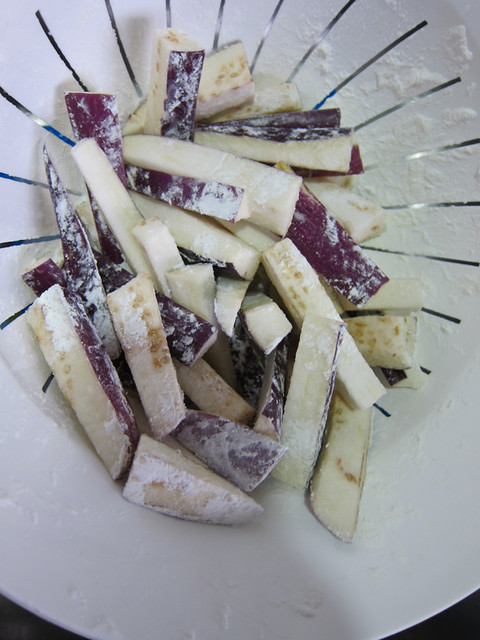
# – Cut the sausages into desired lengths.

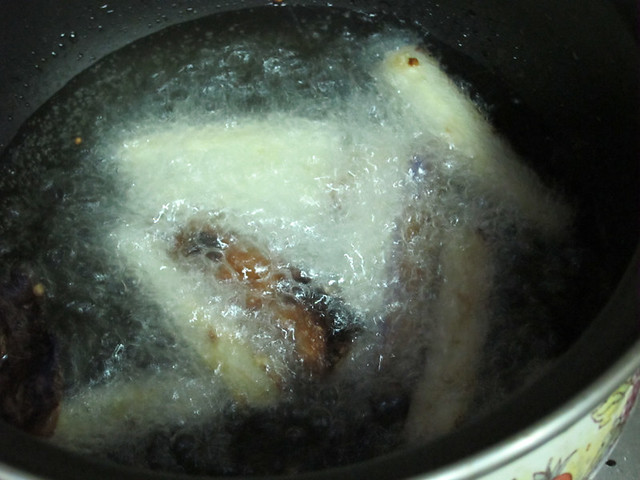
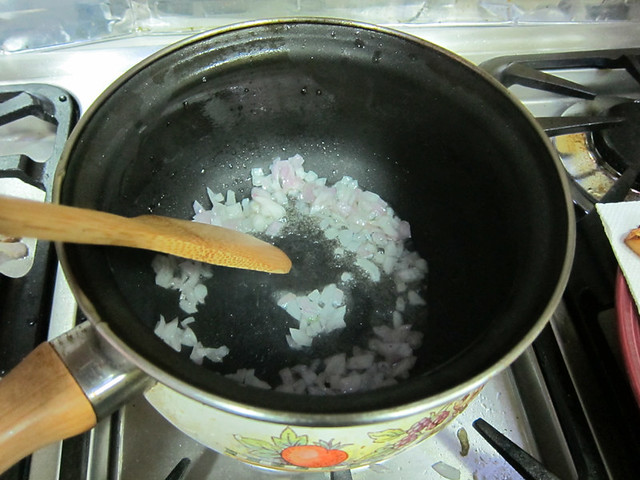
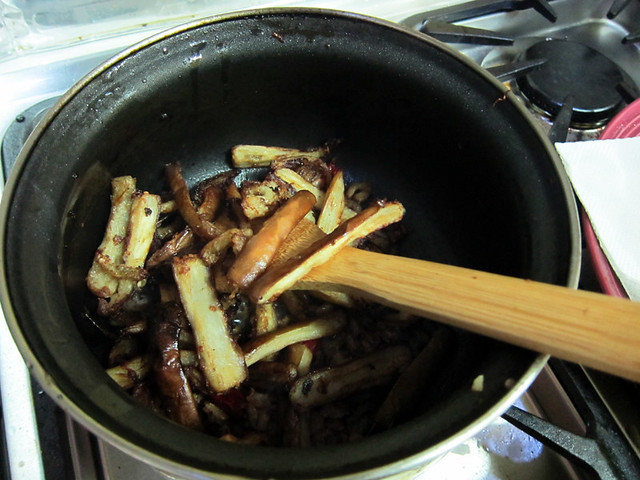
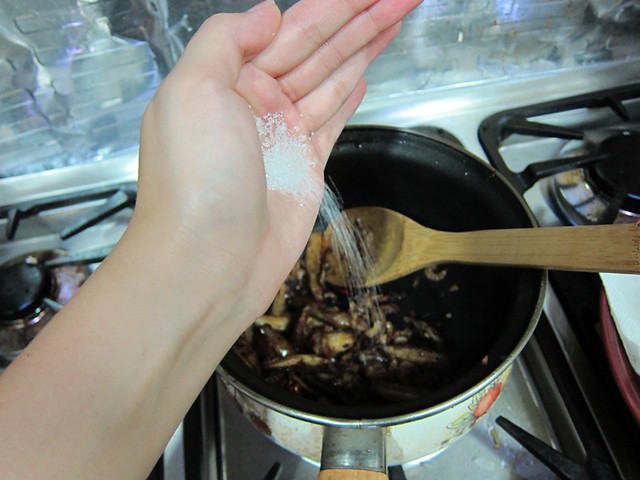
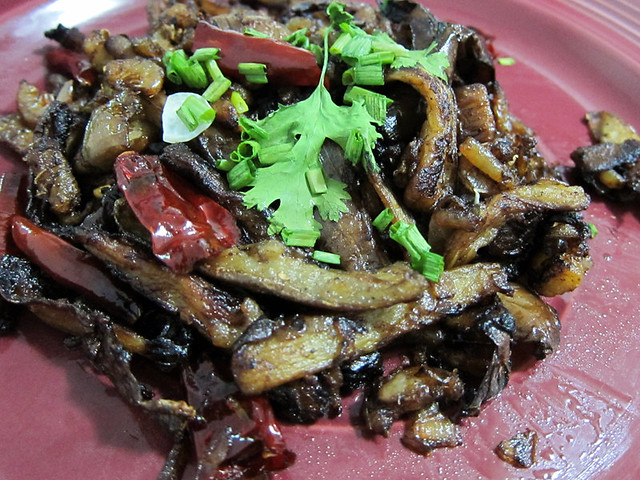
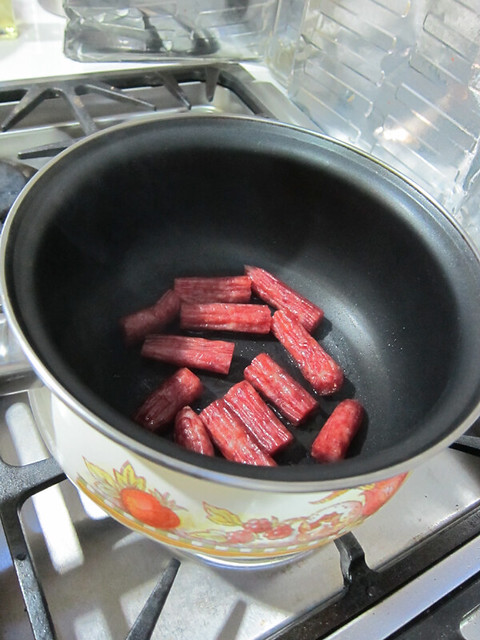
# – Then fry them up with a bit of oil. Do it on low heat because you need to heat it through without totally burning them. Ideally you get them only slightly charred on the surface. You will know it’s done when the sweet aroma hits you and you can see more oil has come out of the sausages in the pan.

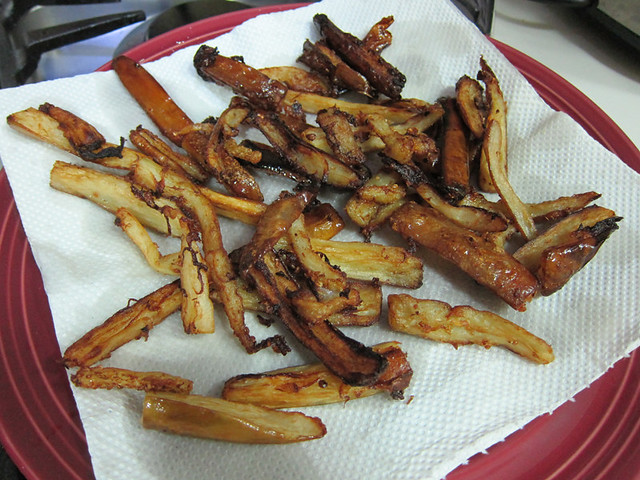
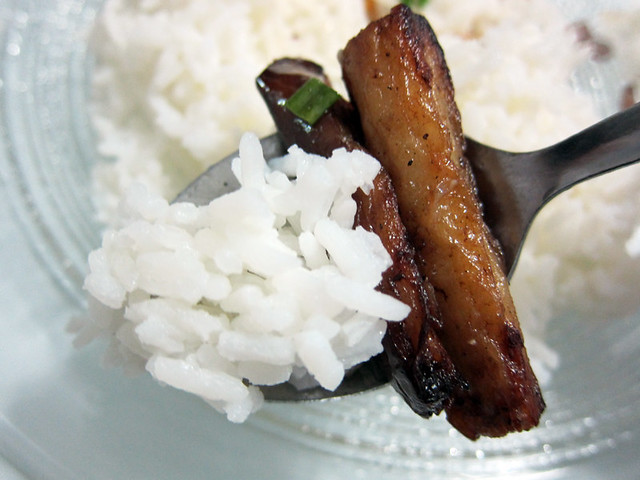
# – Serve with hot piping rice. Notice the deeper red colour and the slightly charred surface? Lets not even begin on the delicious aroma…

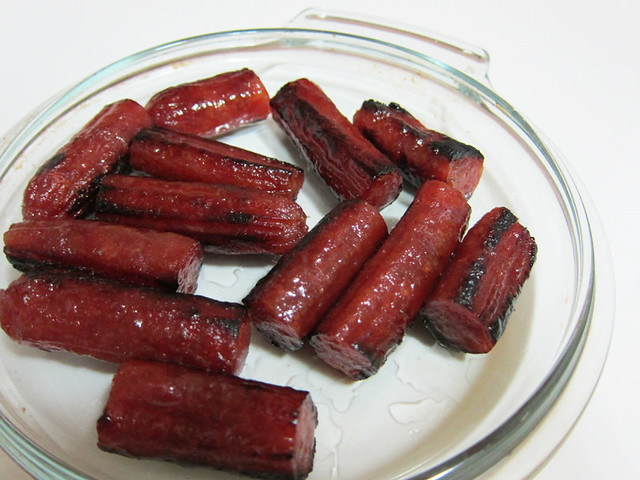
These babies are the shiznit!!

++ ADVERTORIAL++
===============

YAY! CELCOM LAUNCHES IPHONE 4 TODAY!!!!

What’s better is that Celcom will be the FIRST telco to offer Extended Warranty AND insurance coverage. There is a 12-month extended warranty upon expiry of the original manufacturer’s warranty and this gem applies for i98, i148 & i248 plans on 24-month contract.

While, the FREE 12-month insurance coverage covers attended theft, accidental breakage and liquid damage so you can talk and surf away with absolute peace of mind! This applies to i248plan on 12 & 24 months contract

Check out the packages:

Oh and that’s not all….Celcom is offering iPhone 4 in white too! Woohoo!

Isn’t it a looker?

Find out more about the exclusive iPhone 4 packages by Celcom, as well as phone specifications, features and more at www.celcom.com.my/iphone

p/s: BF, my birthday coming soon!

Individual sticky chocolate puddings.

This is one of few desserts that I made which the boyfriend happily said he would pay good money for the same thing outside. I was a little worried at first because the exterior of the pudding looked a bit dry, but thankfully it was far from dry.

It had a crispy exterior with an inside that was a combination of both spongy and sticky, not unlike a very good brownie. Yeap, the individual sticky chocolate puddings were delicious! The boyfriend loved his with vanilla ice cream and a drizzling of blackcurrant coulis while I had mine just with coulis.

# – Individual sticky chocolate pudding.

This is a deliciously rich dessert, perfect for chocolate lovers :D

The ingredients:

  • 12 tablespoons of flour, sifted
  • 1 tablespoon of cocoa powder, sifted
  • 1 teaspoon of baking powder, sifted
  • 60 grams of butter
  • 60 grams of dark chocolate (I used 60% cocoa)
  • 4 tablespoons of granulated sugar
  • 2 eggs

To serve:

  • Any kind of berry coulis (which I cheated by melting blackcurrant jam with some water, hehe)
  • Vanilla ice cream

# – First of all, sift the flour, baking powder and cocoa powder into a mixing bowl and set aside.

# – Now, set up a double boiler by boiling water in a pot and then suspend a larger bowl over it. Please don’t let the bottom of the bowl touch the water. My setup looks a little different as I happen to have a small bowl with ears that suspend perfectly over the pot.

# – Now dump in the dark chocolates, granulated sugar and butter into the bowl.

# – Stir till everything’s melted and combined.

Otherwise, you can pop the bowl of chocolates, sugar and butter into microwave at HIGH for 2 minutes then stir till everything’s combined ;)

# – Beat one egg well and then pour it into the chocolate mixture while whisking it. You will notice that the mixture will start to thicken almost immediately. Turn off heat but keep whisking till you can no longer see traces of egg.

# – Now remove chocolate mixture from heat.

# – Pour it into the flour mixture.

# – Mix with a wooden spoon. I wouldn’t recommend using a whisk like I did here cause it’s sticky!

# – Beat the other egg and pour it into the mixture. Continue mixing…

# – Now grease up 3 ramekins with butter. My ramekins can fit up to 200ml in volume each and is 3.5 inches in diameter, pretty standard stuff. You can also use deep muffin tin.

# – Spoon the mixture into all 3 ramekins. Yes, this recipe serves 3.

# – Stick it into a pre-heated oven at 190 degrees celcius for 13 minutes.

# – They’ve risen!

# – Run a knife around the pudding to loosen it from the ramekin. Then leave the puddings to cool.

# – After they’re cool enough to handle with your hand, pop them out.

# – Serve with a berry coulis.

# – The tartness of the coulis goes really well with the rich, sticky chocolate pudding.

# – Or like my boyfriend, eat it with some good vanilla ice cream and a drizzle of coulis.

You don’t have to serve them immediately but try not to leave them out too long. You could set them aside for a while (but not in the fridge) and them warm it up in the microwave or a pre-heated oven for about a minute before serving.

As for the coulis, I just dissolved 2 tablespoons of blackcurrant jam with a few dashes of hot water. You can make coulis from scratch of course but I was well, lazy…..

Hope you like this recipe! :D

Spicy eggplant strips with dried shrimps.

When I was little, I used to abhor eggplants. My mom used to cooked them in pretty large pieces and I thought they looked like mangled snakes with the slightly wilted, browned purple skin and gooey flesh.

But thanks to a trip to Gohtong Jaya, Genting Highlands, my aversion towards the purple vegetable had been overturned. There, I ate the most delicious eggplant dish I had ever had. It was most unforgettable.

# – I <3 eggplants. What do you call them? Aubergine? Brinjal?

The strips of eggplant were crispy on the outside and soft in the middle, and had completely absorbed the taste and aroma of the dried shrimps with the caramelised onions contributing some delicious moisture to an otherwise dry dish. Perfect with rice but REALLY good eaten on its own too.

To be honest, I don’t know the actual recipe, but I think I managed to replicate the dish to as close to the real McCoy as possible. So yeah, I am quite pleased with myself :D

The ingredients:

  • 1 large eggplant, cut into strips with skin on
  • 1 handful of dried shrimps, soaked in water for 1/2 hour and drained
  • Some flour
  • 3 dried chillies, seeded and cleaned
  • 1 tablespoon of chinese wine
  • 1 tablespoon of Worcestershire sauce
  • 1 red onion, diced
  • 1 stalk of spring onion or scallion, diced
  • 3 tablespoons of water
  • 1/2 tablespoon of salt

# – First of all, lightly coat the eggplant strips in flour.

# – Next, deep fry the eggplant strips in hot oil till the strips are shrunken and browned, not burnt. As I didn’t want to waste so much oil, I only use like 2 centimetres of oil and deep fry in a few batches.

# – Place the deep fried eggplant strips on a kitchen towel to drain off the oil.

# – Now in a saucepan, heat up some oil and throw in the chopped spring onions and onions.

# – When the aroma hits your nose, throw in the drained soaked shrimps.

# – Now throw in the dried chillies.

# – Then a tablespoon of chinese rice wine.

# – Followed by a tablespoon of Worcestershire sauce.

# – And about 3 tablespoons of water to allow some emulsification going on. Stir!

# – Now throw in the deep fried eggplant strips and mix till they’re well coated with the yummy shrimpy bits.

# – Lastly, throw in 1/2 a tablespoon of salt and stir.

# – Plate it up and garnish with a sprig of parsley because we’re all fancy like that.

# – Eaten with rice. Yummy!

Crispy, soft, flavourful and aromatic, who knew the vegetable that reminded me of slimy snakes could taste like this?