Almond meringue gateau with mango cream cheese filling.

This was inspired by a recipe I saw in one of my recipe books. The original recipe called for hazelnuts, raspberries and whipped cream filling, but obviously, as the title has indicated….I replaced them with almonds, mangoes and cream cheese.

I used almonds because it’s cheaper than hazelnuts and I happened to have them in the pantry. Same goes for mangoes.

As for the filling, although I had whipped cream, I thought it might render the meringue a bit too damp by the time I delivered it to Old Klang Road (where a bunch of us were having dinner) so I replaced it with cream cheese, which tasted like, oh I don’t know, 100 times better? Hahahaha.

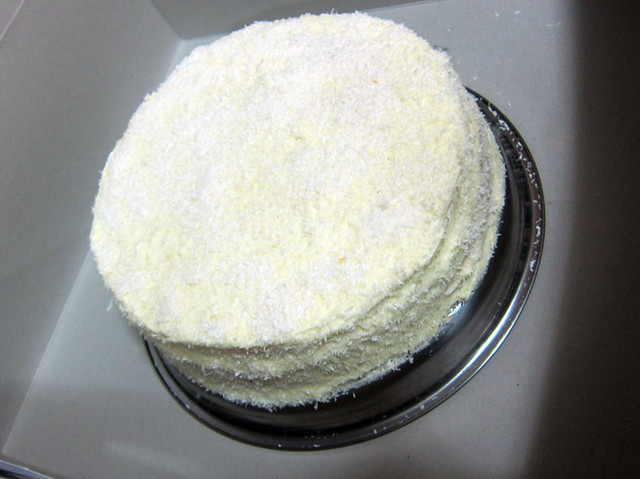
# – Almond meringue gateau with mango cream cheese filling.

It should be quite stress-free to make this gateau but for some unknown reason, baking luck was not with me.

The recipe called for 4 egg whites…but I managed to waste about 7 eggs due to “reason of multiple yolk explosions in hand” before I managed to successfully separate 4 eggs. So yeah, total number of eggs used were 11, instead of just four :P

/hangs head in shame…

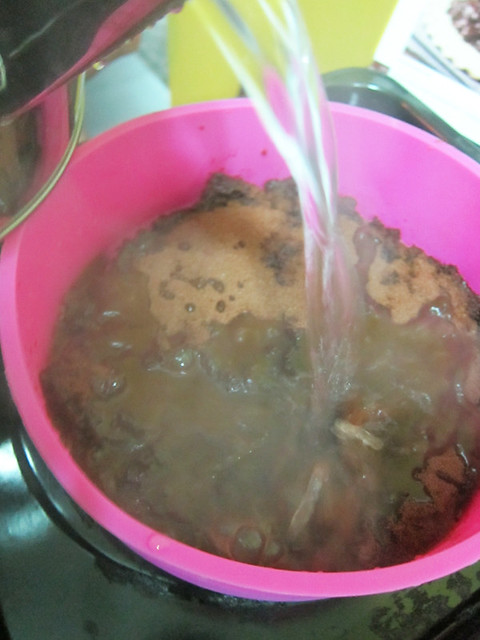
And then, believe it or not, I managed to burn my first batch of meringues. I’m guessing hazelnuts have higher burning temperature compared to almonds because my attempt to bake almond meringues at the temperature stated by the original recipe resulted in two burnt discs of rancidness.

/hangs head in shame again…

As dinner time was approaching quickly, I had to whip up a new batch of meringues at lightning speed. Thankfully, an almost yolk explosion incident was successfully averted and I even had the rare brilliance of turning the oven’s temperature down, resulting in perfectly baked almond meringues.

Final count of eggs used: 15.

Anyway, enough with the sob stories, lets begin on how to make this delicious pudding!

For the meringues:

  • 4 egg whites
  • 180 grams of caster sugar
  • A few drops of vanilla essence
  • 1 teaspoon of vinegar
  • 120 grams of ground almonds

For the filling:

  • 2 mangoes, peeles and cut into small cubes
  • 1 tablespoon of icing sugar
  • 300 grams of cream cheese, softened
  • 5 tablespoons of yogurt

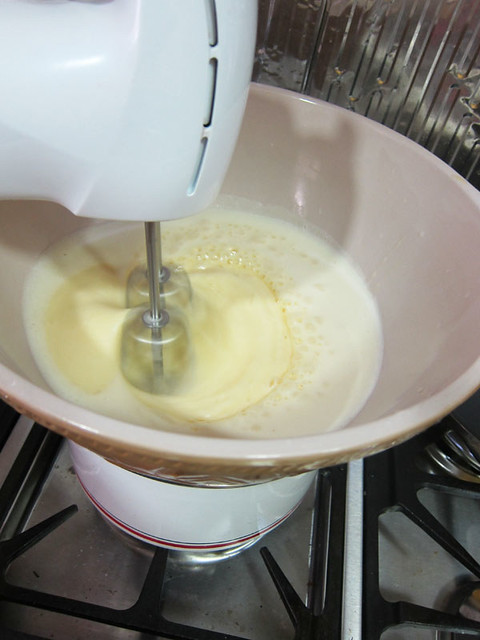
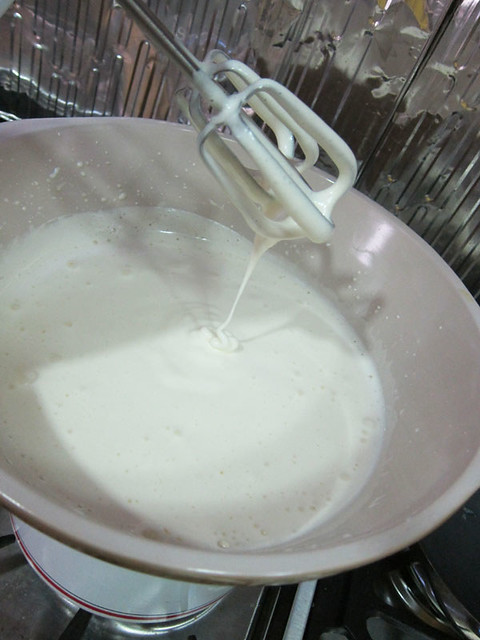
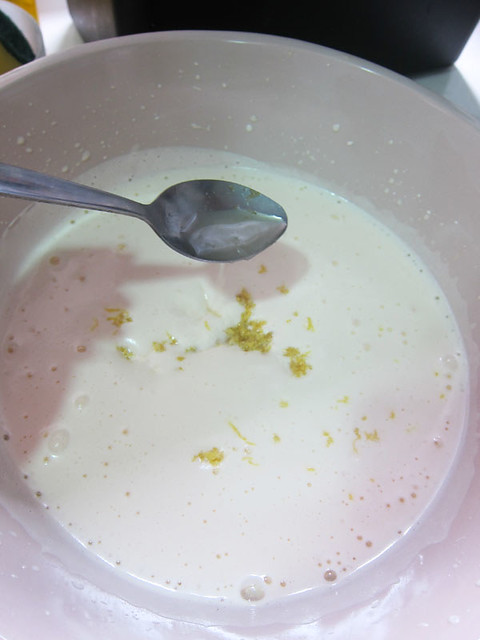
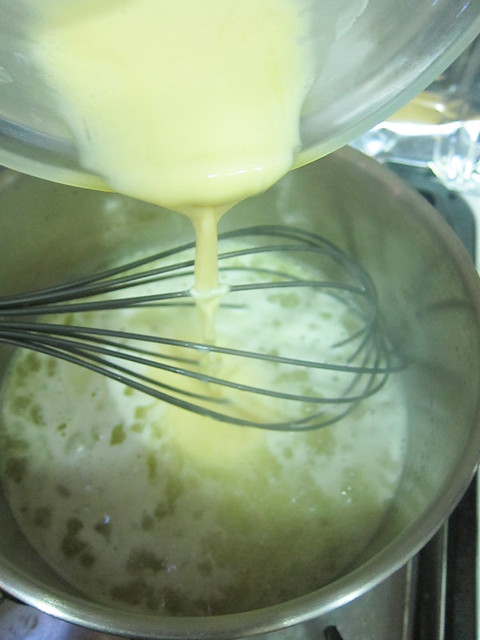
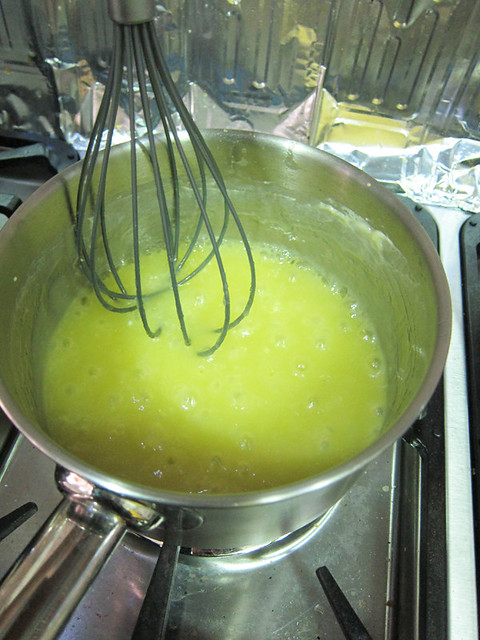
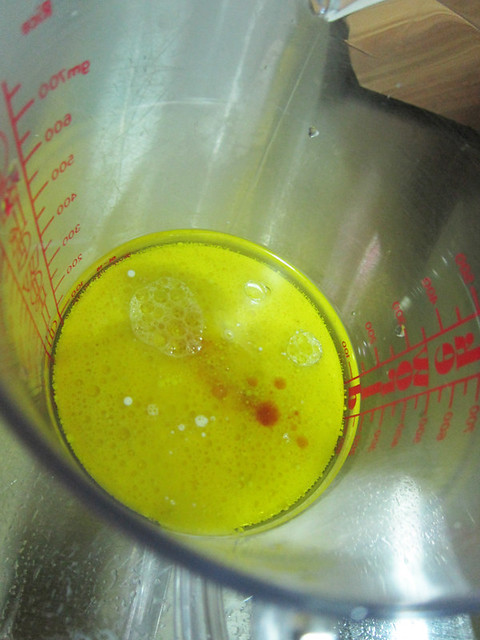
# – First, beat the egg whites until fluffy and then gradually add in the caster sugar while still beating.

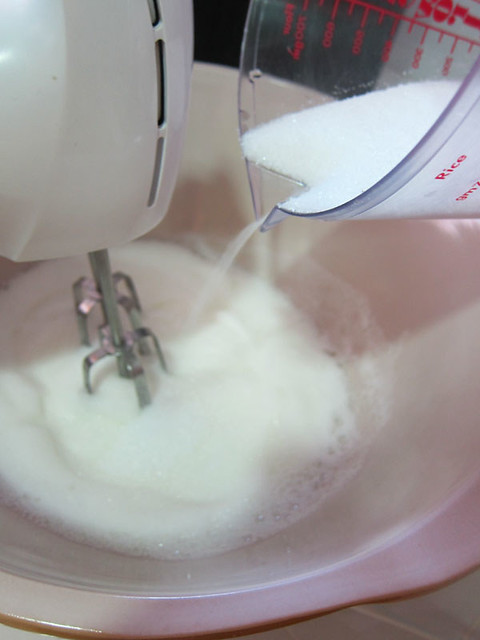
# – When the mixture has turned glossy, add the vanilla essence.

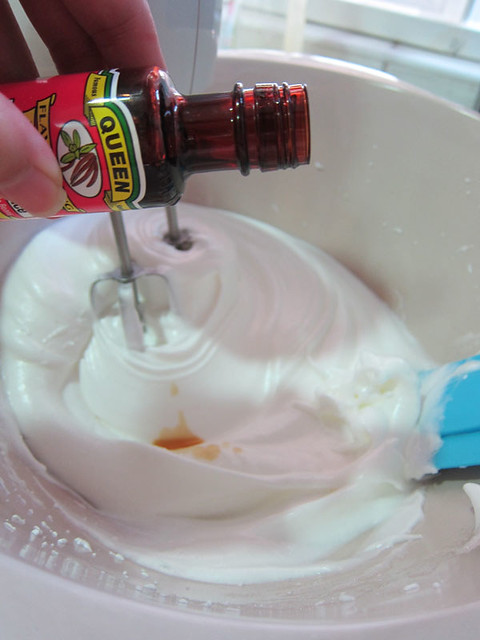
# – Followed by the vinegar. I used malt vinegar in this case. Beat for about 10 seconds more.

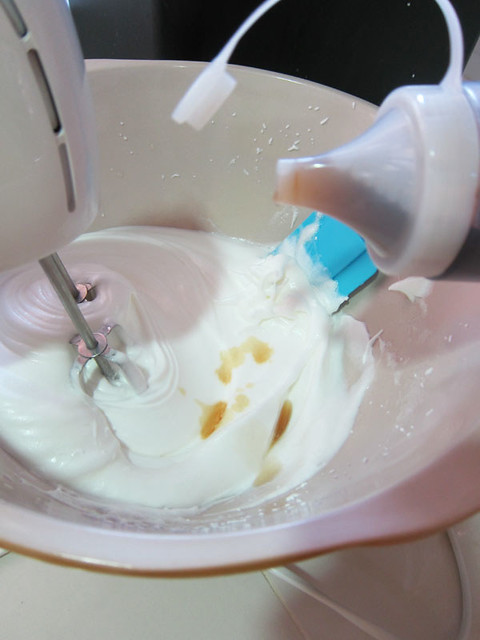
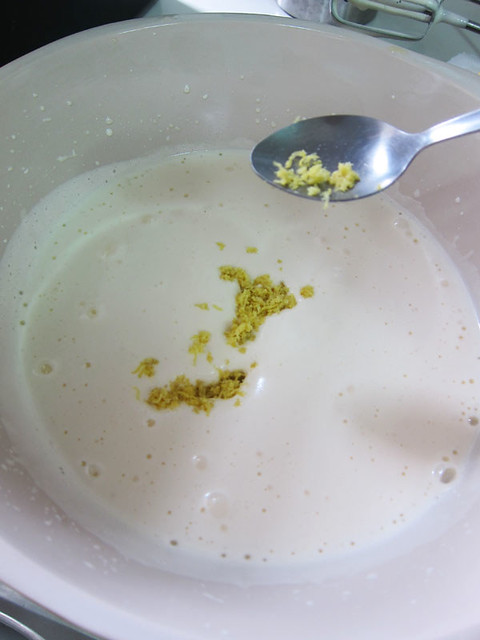
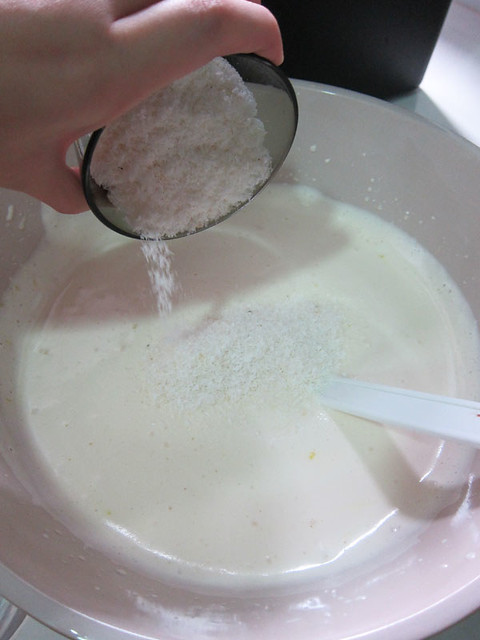
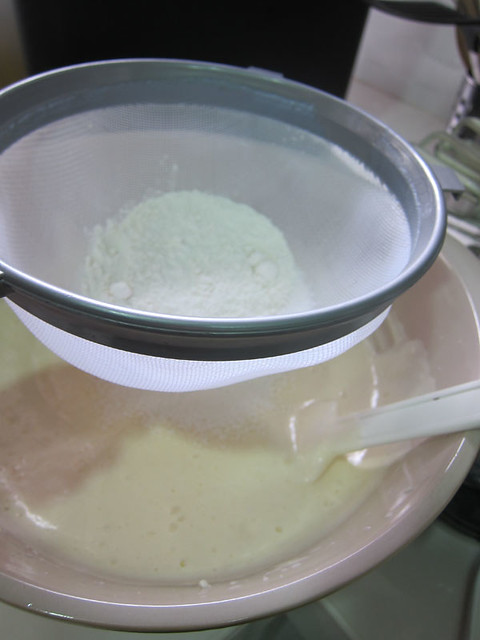
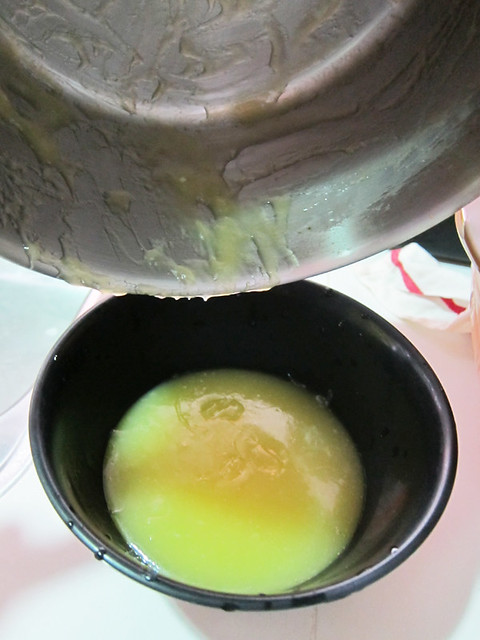
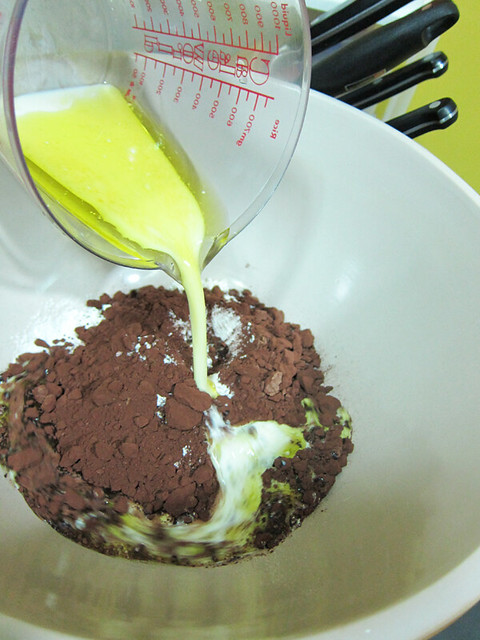
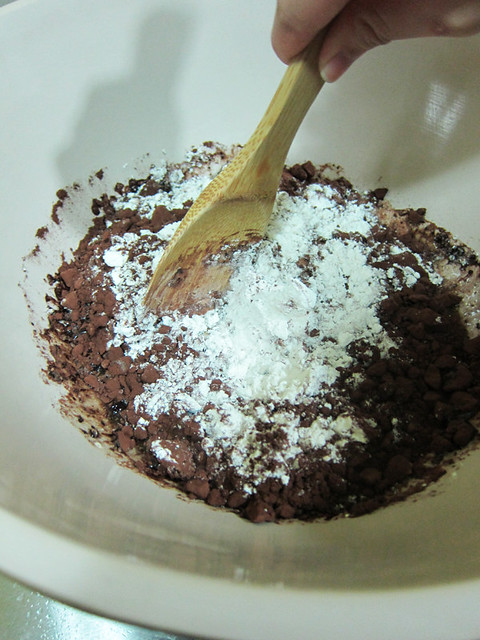
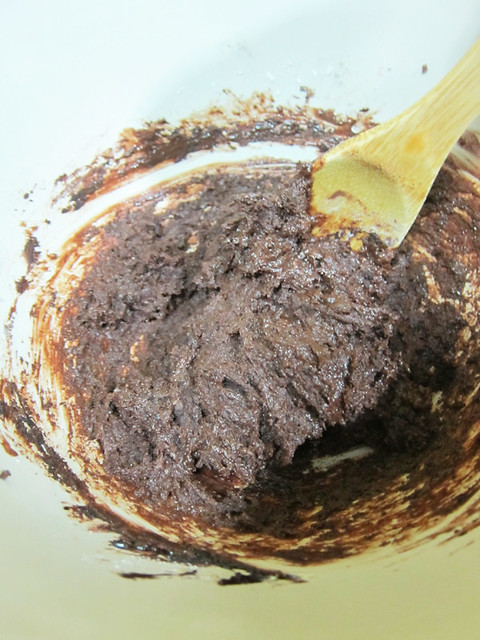
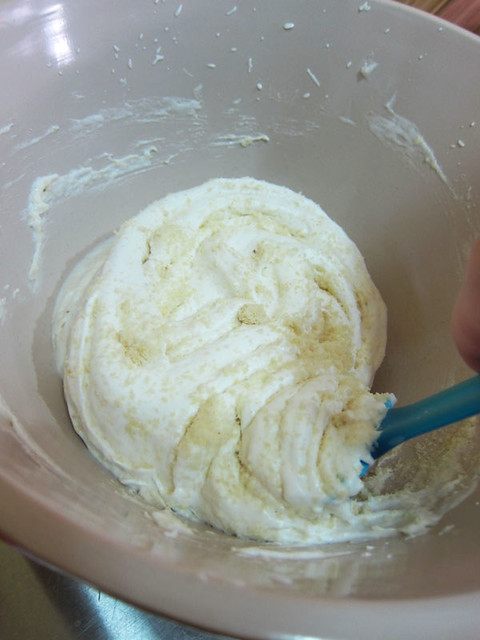
# – Next, fold in the ground almond.

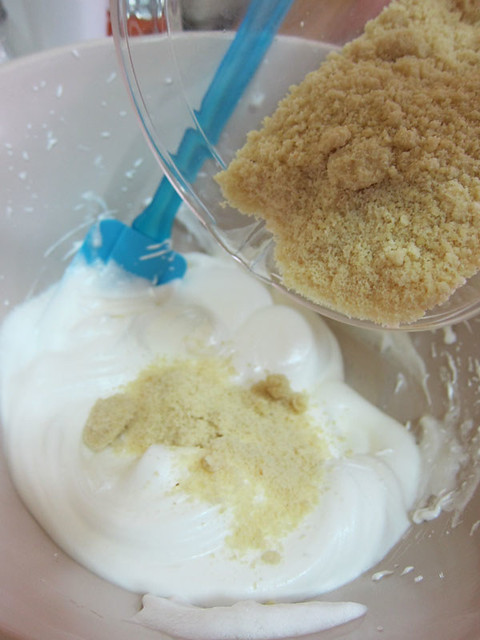
# – Gently stir until combined.

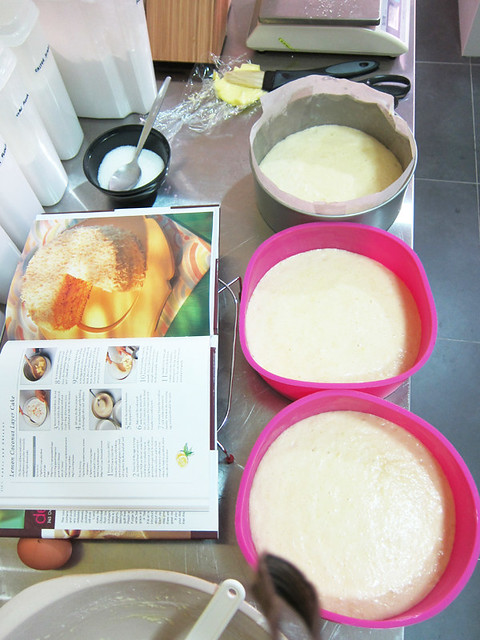
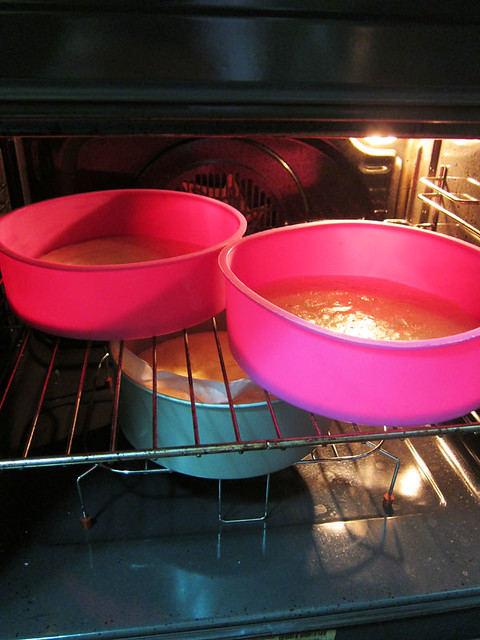
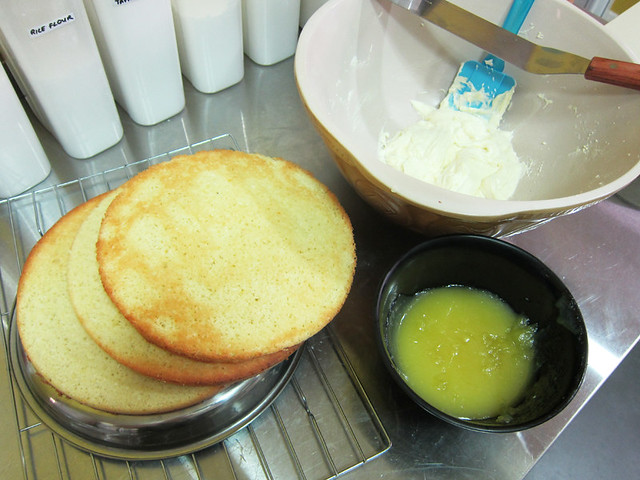
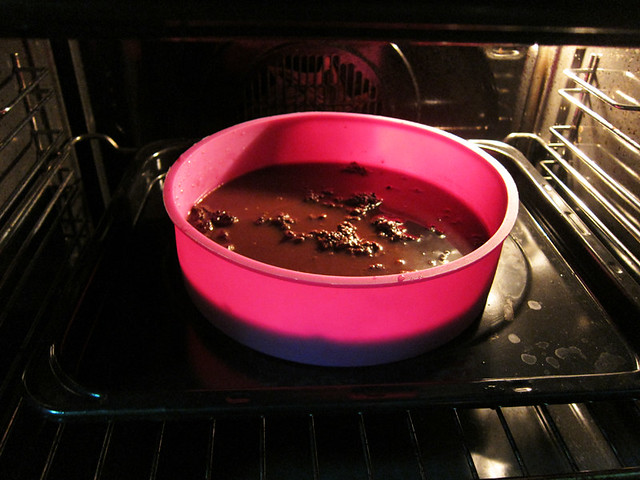
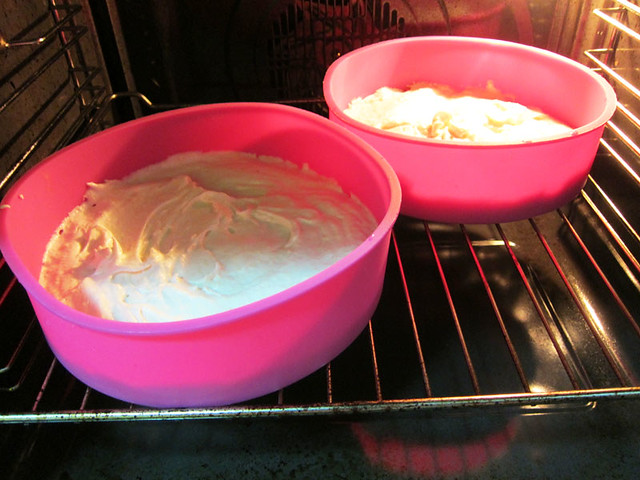
# – Separate mixture into two 8″ pie/cake tins. I used non-stick silicon baking moulds but you can greased ordinary tins and lined them with non-stick baking paper.

# – Stick into preheated oven at 135 degrees celcius for about 40 minutes to 1 hour. Always check to make sure your oven’s not too hot to avoid burning. The final result should be slightly browned.

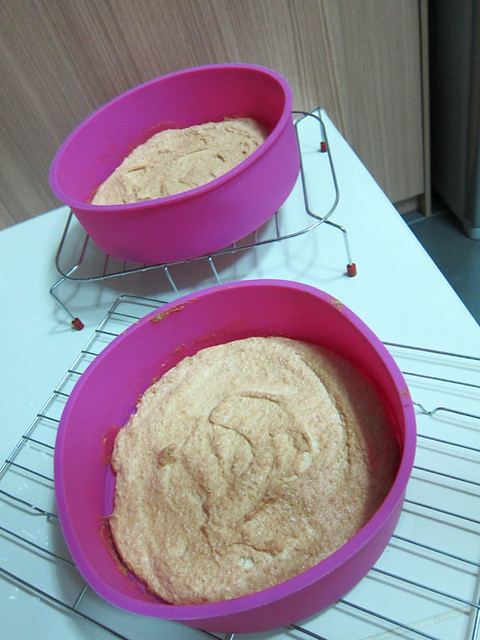
# – When done, leave the meringues out to cool down completely.

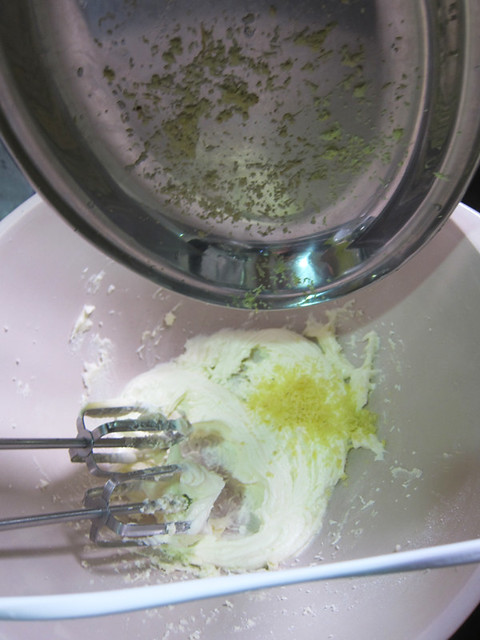
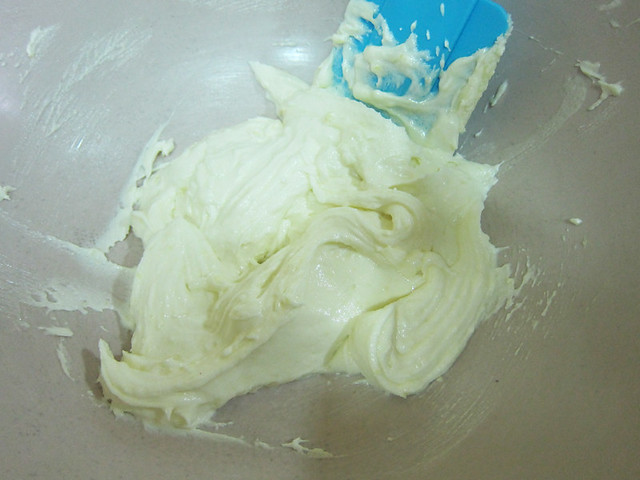
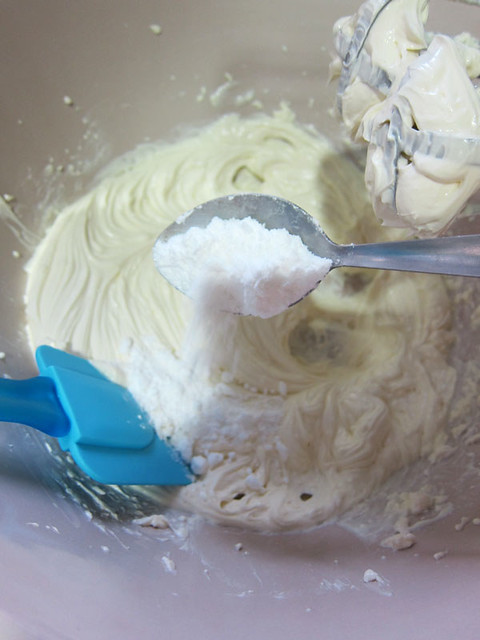
# – In the meantime, beat softened cream cheese and yogurt together until smooth.

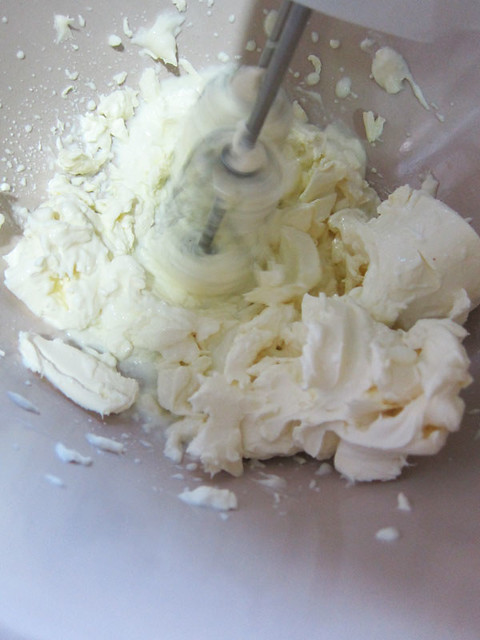
# – Add a tablespoon of icing sugar to balance out the tartness.

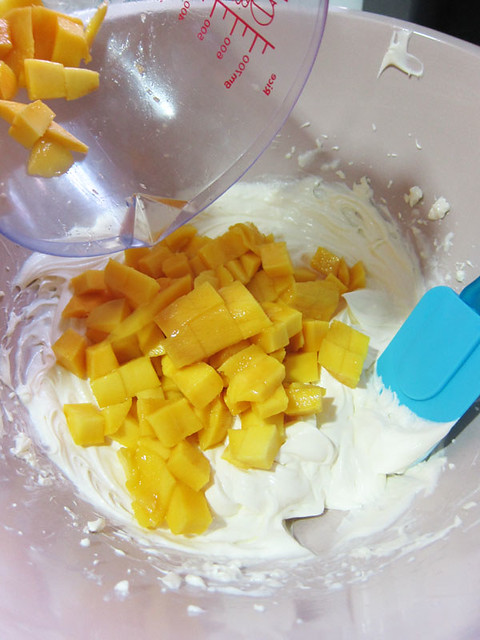
# – Then throw in the cubed mangoes.

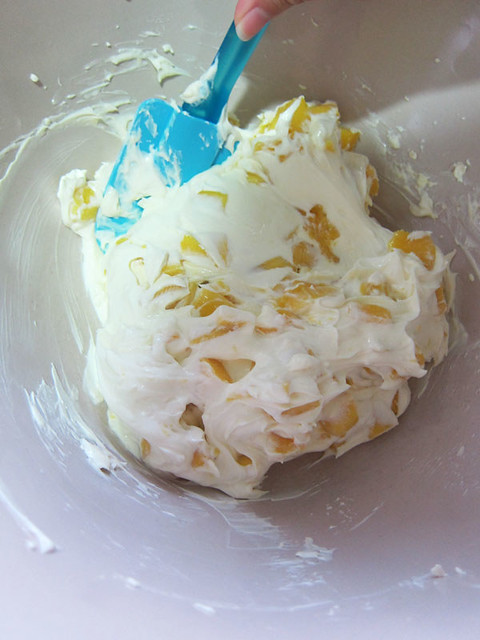
# – Gently fold to combine. The mango cream cheese filling is now done. I don’t recommend sticking it in the fridge as it’ll be hard to spread chilled cream cheese.

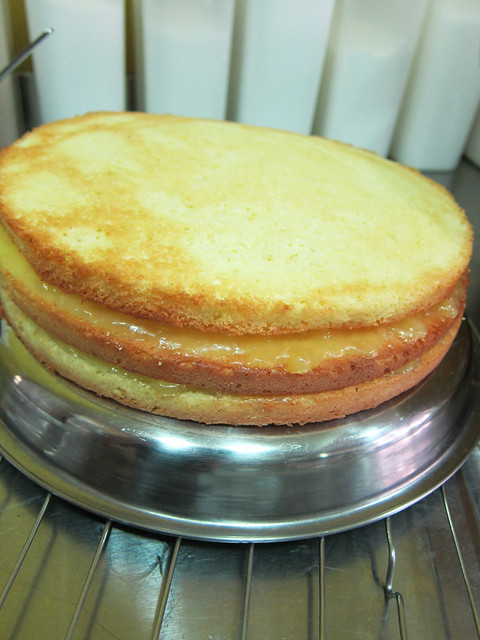
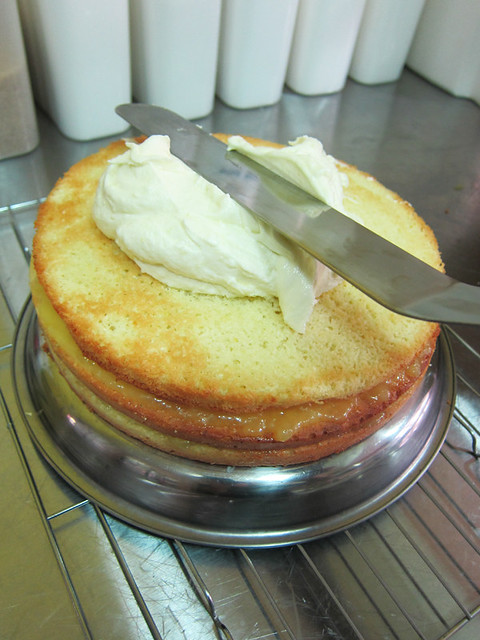
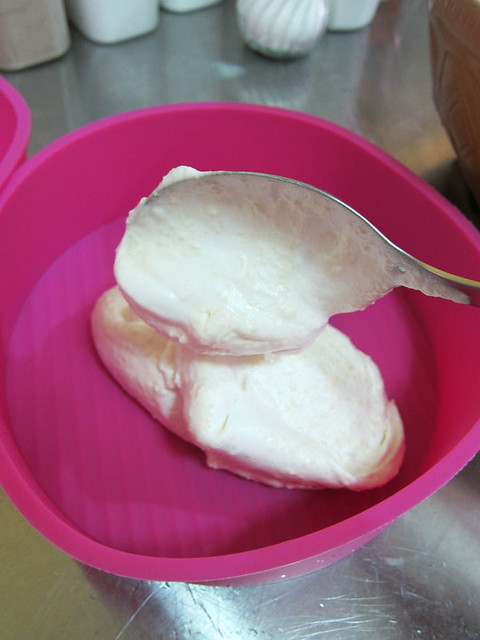
# – When the meringues have completely cooled down, place one piece on a serving plate and then spread the mango cream cheese filling all over.

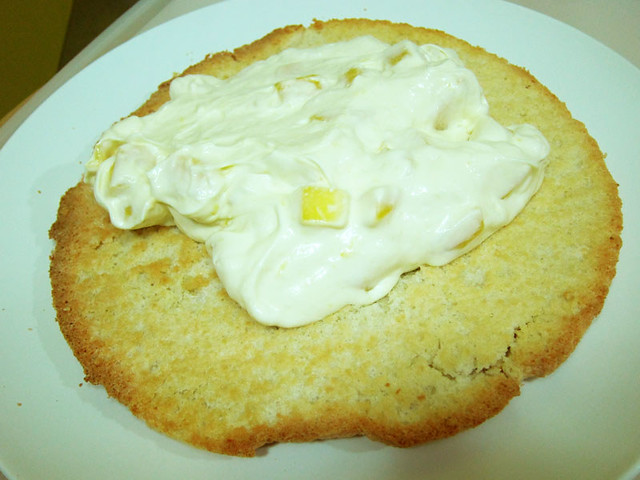
# – Next, top with the other piece of almond meringue and dust icing sugar all over. Chill in the fridge for at least one hour. It tastes better chilled.

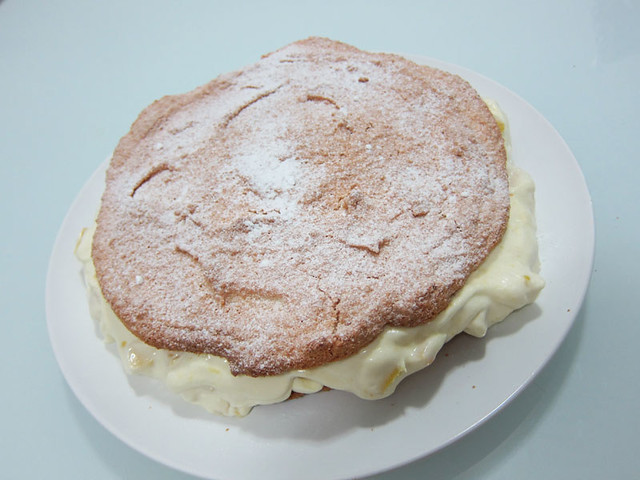
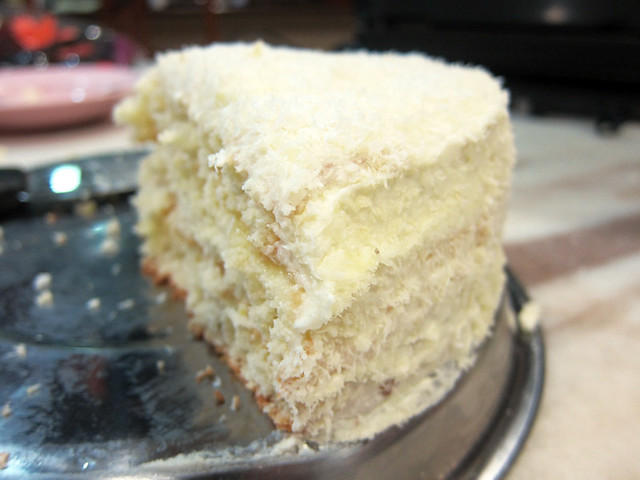
# – Almond meringue gateau with mango cream cheese filling, DONE!

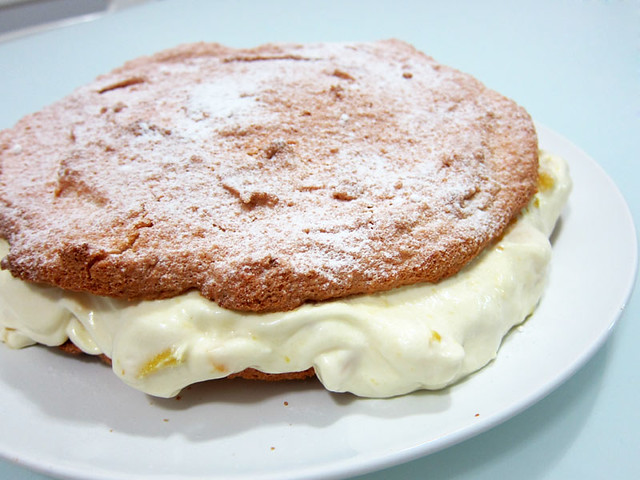
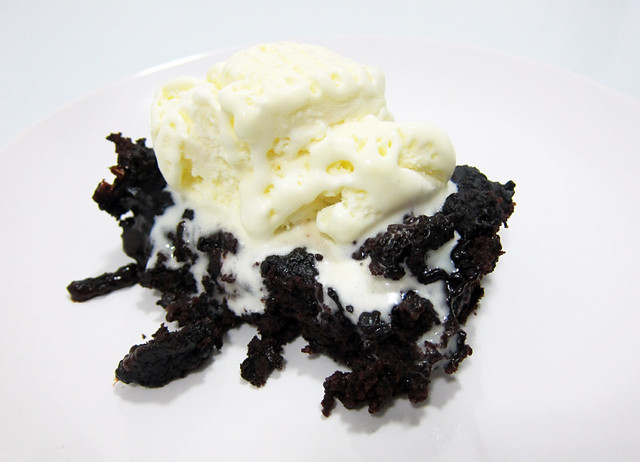
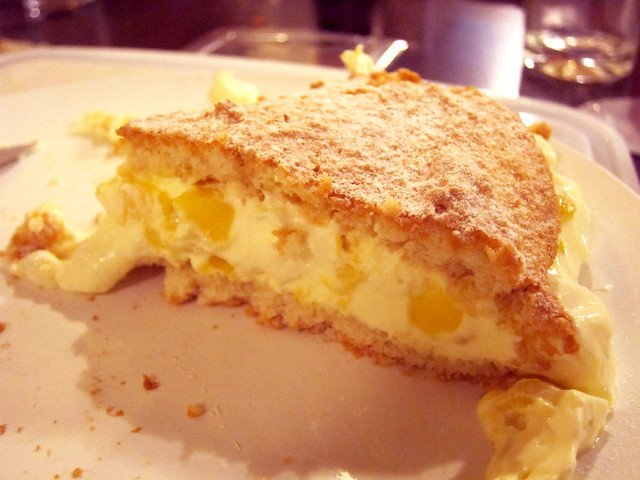
The gateau is a combination of crispiness, nuttiness and crumbliness with the most decadent, almost savoury cream cheese filling. It is a true adult’s dessert. I brought the gateau to a dinner outing, which will explain the sudden change of lighting in my pictures.

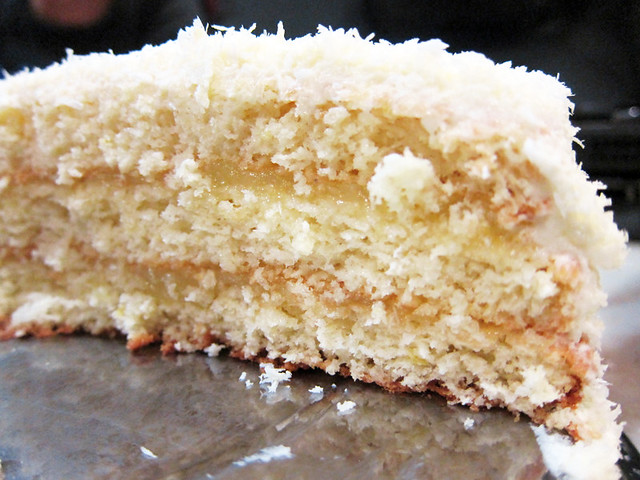
# – Crispy, slightly crumbly almond meringues with a rich, decadent mango cream cheese filling.

# – Grill Sergeant Lance giving me the look of approval. Yay!

# – I can’t wait to make more!

The boyfriend was very happy with the pudding too and told me it’s like I’d combined my 3 big loves into one super dessert: pavlova, macaron and cheesecake.

Yeah baby, that’s how I roll it!

Coconut lemon layer cake recipe.

I made this for Father’s Day. The lemon and coconut flavours complemented each other gorgeously in this light, fluffy cake.

Aside from a mille crepe, this is the most time consuming cake I’ve ever baked. I was standing from 11am – 4pm just making this. The end result made it all worth it though :)

That said though, as long as you’ve got all the ingredients ready and prepared, it would cut the time down significantly.

# – Coconut lemon layer cake.

For the cake:

  • 175 grams of plain flour
  • A pinch of salt
  • 6 eggs
  • 225 grams of granulated sugar
  • 65 grams of desiccated coconut
  • Zest of 2 lemons
  • 1 tablespoon of lemon juice


For the lemon curd filling:

  • 1 tablespoon of cornflour
  • 125 grams of caster sugar
  • 1 egg
  • 3 tablespoons of butter
  • 1 tablespoon of lemon juice
  • Zest of 1 lemon
  • 120 ml of water

For the frosting:

  • 75 grams of butter, at room temperature
  • 175 grams of icing sugar
  • Zest of 1 1/2 lemon
  • 30 ml of lemon juice
  • 200 grams of dessicated coconut

Lets start with making the cakes…

# – First, put a large bowl over a pot of boiling water. Crack 6 eggs into it and beat.

# – Beat for about 10 minutes until the mixture has turned pale, like this.

# – Add the lemon zest in it.

# – Add the one tablespoon of lemon juice.

# – Followed by the dessicated coconut.

# – Sift some of the flour into the mixture, stir to combine and then repeat till all flours are used up.

# – Divide the mixture into 3 non-stick/greased cake tins.

# – Stick them in a pre-heated oven 180 degrees celcius for 20 minutes. Remember to rotate the cakes around for even baking.

While the cakes bake away, it’s time to make the lemon curd filling.

# – Dissolve the cornflour with a dash of water.

# – Crack an egg over the mixture and whisk till combined. Set aside.

# – Melt butter, caster sugar, lemon zest and 120 ml of water in a saucepan.

# – When butter has melted, pour the egg + cornflour mixture into it while still whisking.

# – Keep whisking and you will start seeing the mixture thickens while turning a gorgeous yellow.

# – Stop whisking when it’s thick and gooey. Pour it out into a bowl to cool down. Delicious, homemade lemon curd, DONE!

The last bit to whip up is the yummy frosting…

# – Dump everything except the dessicated coconut into a bowl and beat till creamy.

# – Lemon frosting, DONE!

Finally, it’s time to assemble the cake, woohoo :D

# – Lay the cakes, lemon curd filling and lemon frosting out so it’s easier to work :)

# – Spread lemon curd over one cake.

# – Then lay another cake over and the rest is self explanatory in the following picture.

# – Next, frost the cake up. Yummy!

# – Then sprinkle dessicated coconut all over the cake and voila, coconut lemon layer cake, DONE!

# – Eat up!

Light, lemony fluffy cake with gorgeous homemade lemon curd and a tangy frosting. Absolutely delicious! If you’re planning to make something for a loved one, look nowhere else as this is the cake that says ‘I Love You’ :)

The brownie pudding cake recipe.

It’s called brownie pudding cake because it’s basically 2 desserts in one. How? During baking, it separates into brownie on top of a silky chocolate pudding.

# – The brownie pudding cake.

This took me about 5 minutes to prepare. I’m serious. 5 MINUTES! Just mix everything up and then stick it in the oven for 30 minutes.

Ingredients A:

  • 120 grams of flour
  • 60 grams of cocoa powder
  • 60 grams of granulated sugar
  • 2 teaspoon of baking powder
  • 1 teaspoon of salt

Ingredients B:

  • 100 ml of olive oil
  • 100 ml of milk
  • 1 teaspoon of vanilla essence

Ingredients C:

  • 60 grams of brown sugar
  • 20 grams of cocoa powder

Ingredient D:

  • 200 ml of boiling water

# – First, mix Ingredients A together in a mixing bowl.

# – Next, mix together Ingredients B in a pitcher.

# – Next, pour Ingredients B into Ingredients A.

# – Mix it up till just combined with a wooden spoon.

# – Like this…

# – Pour the mixture into an 8″ cake tin. Combine Ingredients C and sprinkle it all over the top.

# – Then, pour the boiling hot water over.

# – Stick it into a preheated oven at 180 degrees celcius for 30 minutes.

# – Serve immediately with a dollop of vanilla ice cream :)

Sticky, chocolatey and moist with it’s own sauce! It’s crazy how fast it took me to make this!

I whipped it up right after setting the dinner table, stuck it in the oven and had a pleasant dinner while it baked. Absolutely perfect if you’re pressed for time and don’t know what to make for dessert.

I admit, it’s not the most beautiful thing to look at…but hey, if your guests asked, just say you’re going for a rustic look :D