The last time I made a cheesecake was for my own 15th birthday party. Wow, that’s like 12 years ago but I still remember the party so vividly. I wore blue jeans, blue denim vest and a white top underneath the vest which I painstakingly selected for maximum presence. I was so fashionable. 1999 was a great year. I also weighed only 48 kilograms then.
Anyway, back to the cheesecake. It was not my best work, but I remember it being really tasty. It had like lemon glaze and all with sliced canned peaches on the base. I remember my Dad totally digging it.
Unfortunately, I’ve never baked any cheesecake since. Till last weekend that is. I was supposed to make a cheesecake for Father’s Day but I didn’t have enough cream cheese, so I promised my dad I’d bake him a cheesecake the next time I pop by, of which I did.
# -Baked cheesecake with yogurt topping.
Here’s the recipe of the baked cheesecake I made..
For the crust:
- 250 grams of digestive biscuits, crushed
- 100 grams of butter, softened
- 1 teaspoon of all spice
For the filling:
- 500 grams of creamcheese, softened
- 4 eggs
- 160 grams of caster sugar
- 2 tablespoons of lemon juice
- 1 teaspoon of vanilla essence
For the topping:
- 250 grams of yogurt, strained
- 3 teaspoons of lemon juice
- 1 tablespoon of caster sugar
- ground nutmeg, for sprinkling
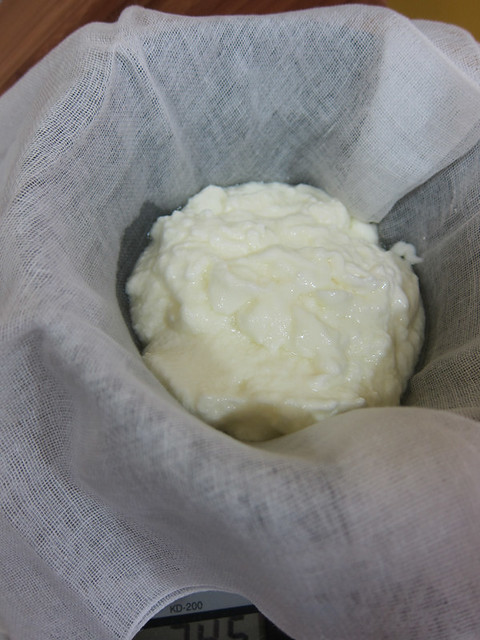
# – The first thing you have to do before making this cake is to strain the yogurt. This is to remove the liquid to get a thicker, creamier yogurt to work with. Wrap the yogurt with a teatowel or muslin and let it drain for at least 30 minutes. I hung mine over a bowl. Set aside while you continue with other tasks.
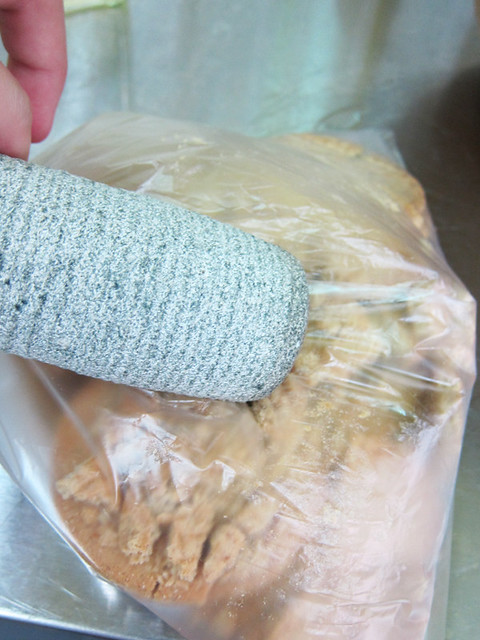
# – Now, blitz the digestive biscuits in a food processor until fine. Or if you’re a vagrant like myself, stick them in a bag and pound the eff out of it.
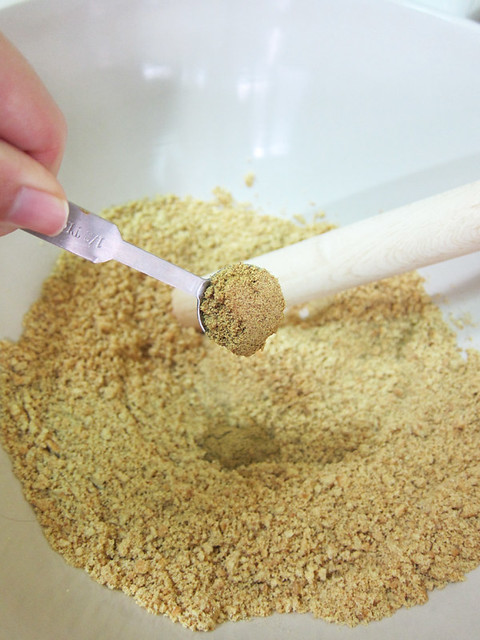
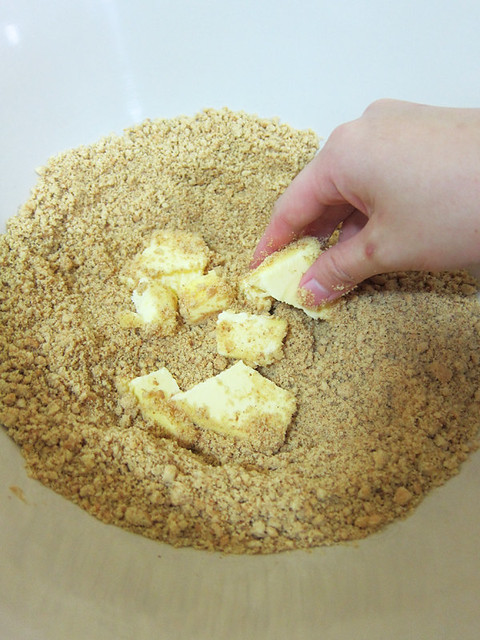
# – Pour the finely crushed biscuit crumbs into a mixing bowl and add a teaspoon of allspice.
# – Throw in the softened butter. With your fingers, knead until butter is full incorporated into the crumbs and they feel moist.
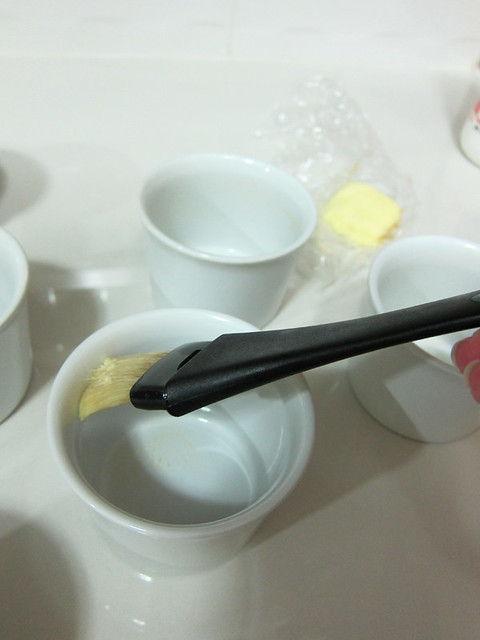
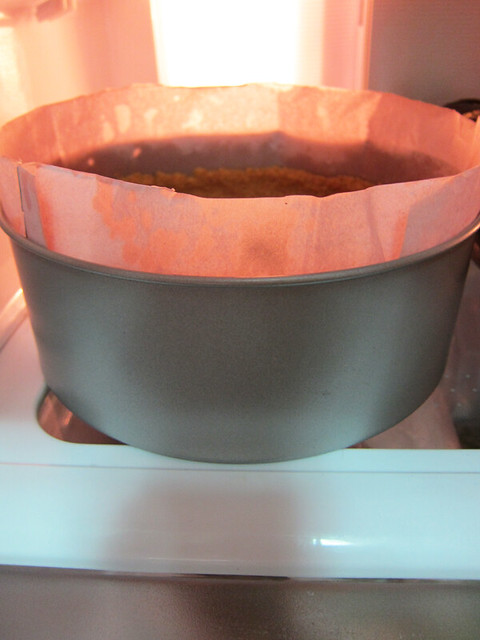
# – Press the crumbs into an 8″ springform cake tin or cake tin with detachable bottom (greased and covered with parchment paper) to form the crust. Slowly build a wall around the base. Have some patience as this is the most time-consuming part.

# – Stick the tin into the fridge for 30 minutes to set.
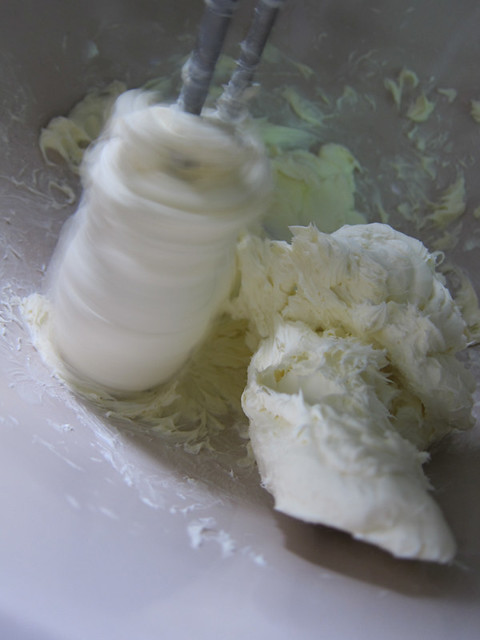
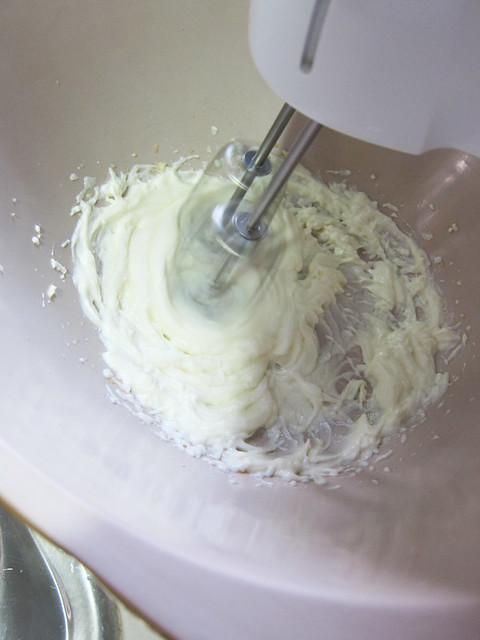
# – In the meantime, beat the cream cheese in a mixing bowl until smooth.
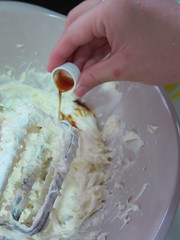
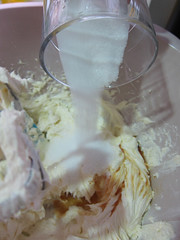
# – Add the lemon juice, vanilla essence and sugar and beat till smooth.
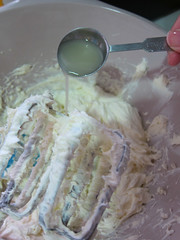
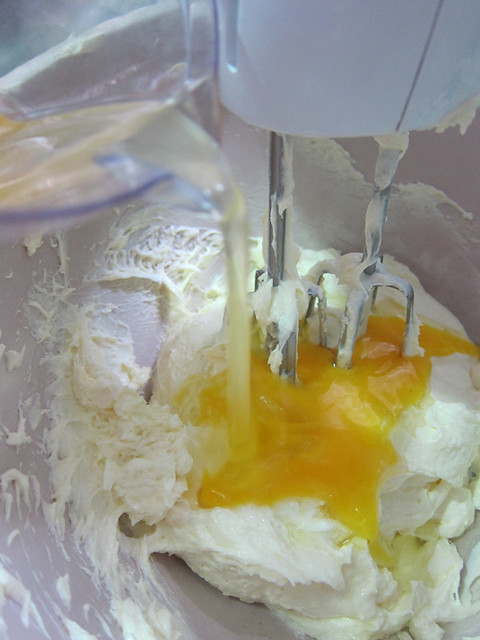
# – Next, add the eggs one by one while slowly beating mixture until combined.
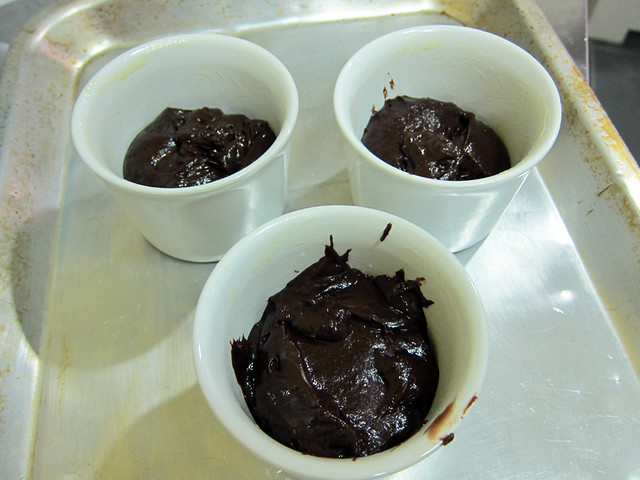
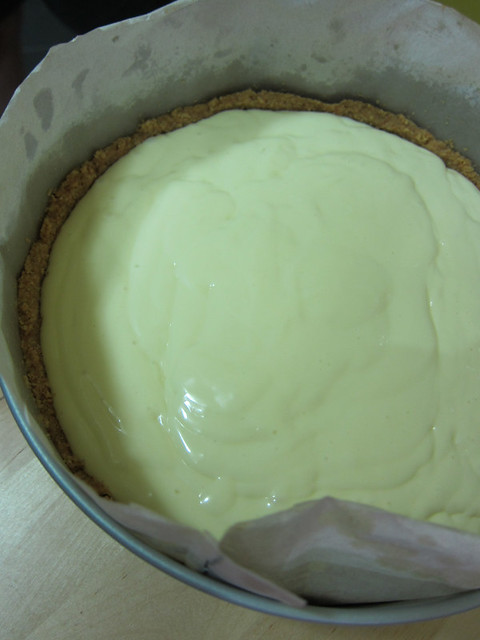
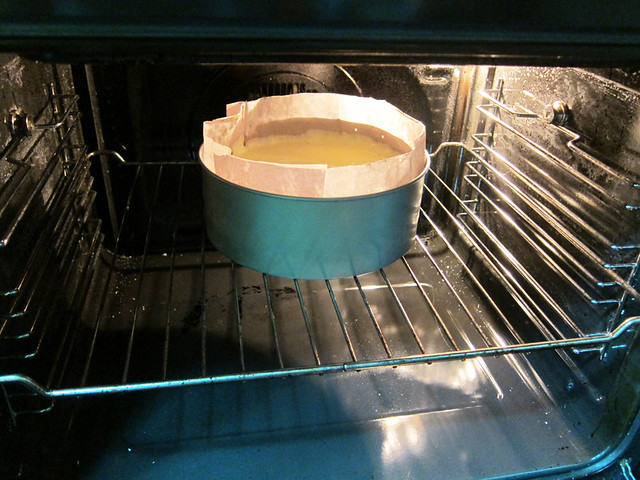
# – Take out the crust and pour the mixture in.
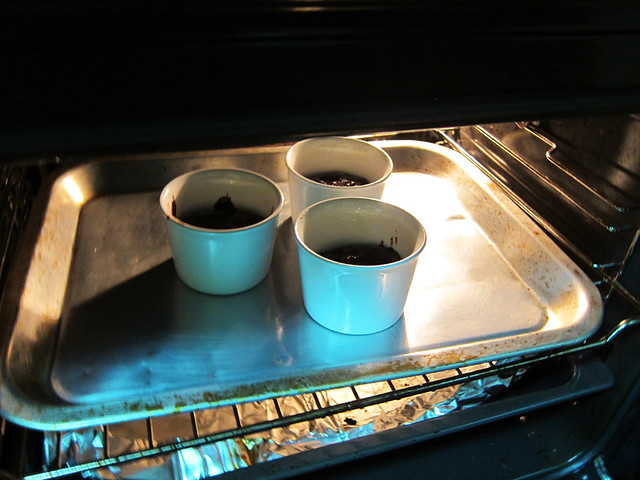
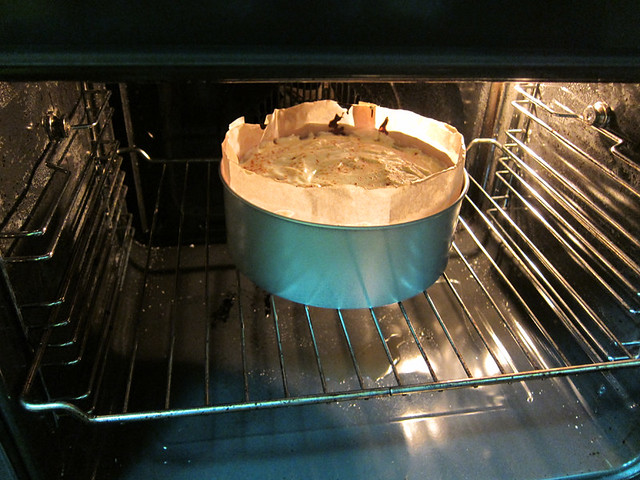
# – Stick it into a pre-heated oven at 180 degrees celcius and bake for 45 minutes.
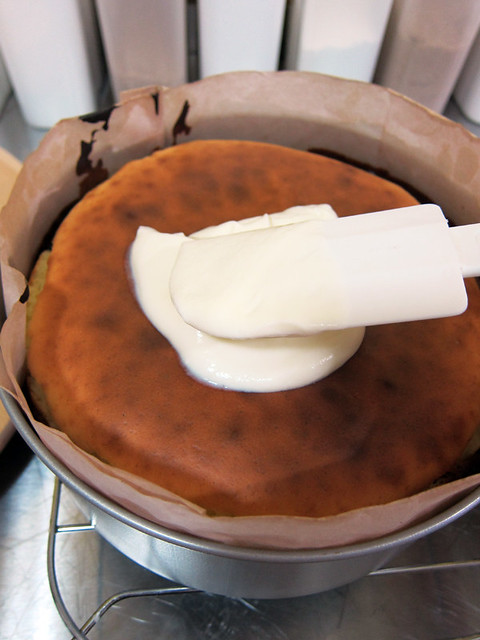
# – 10 minutes before the cheesecake finishes baking, beat the strained yogurt, lemon juice and caster sugar until smooth and combined.
# – When the cake has finished baking, take it out and immediately spread the yogurt mixture over the top.
# – Sprinkle ground nutmeg all over the top.
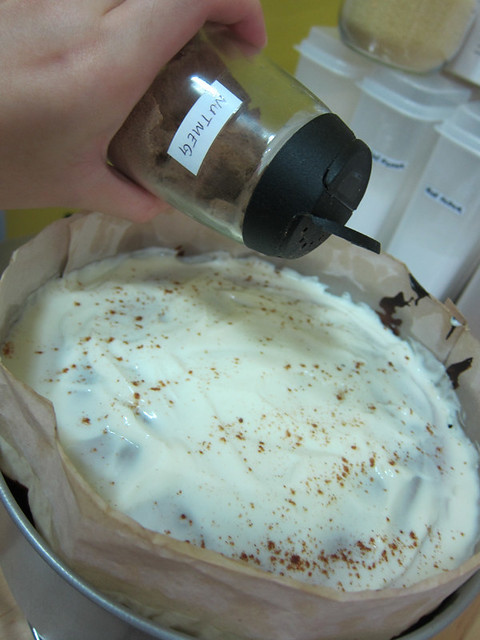
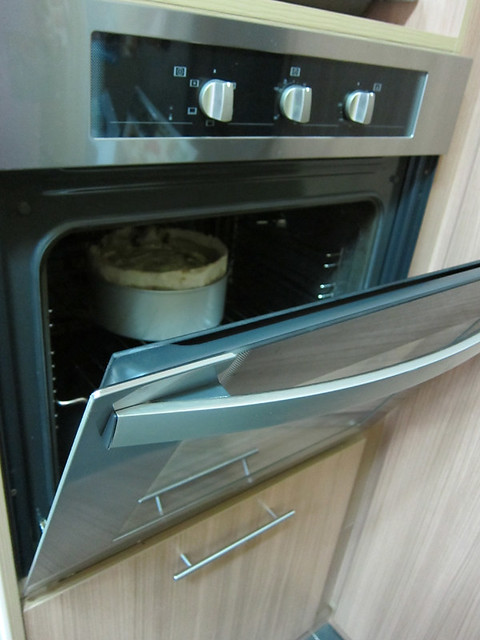
# – Then stick it back in the oven for 7 minutes.
# – After that, leave the oven door slightly ajar and allow the cheesecake to cool down completely. And then, you stick it in the fridge for at least 2 hours to chill.
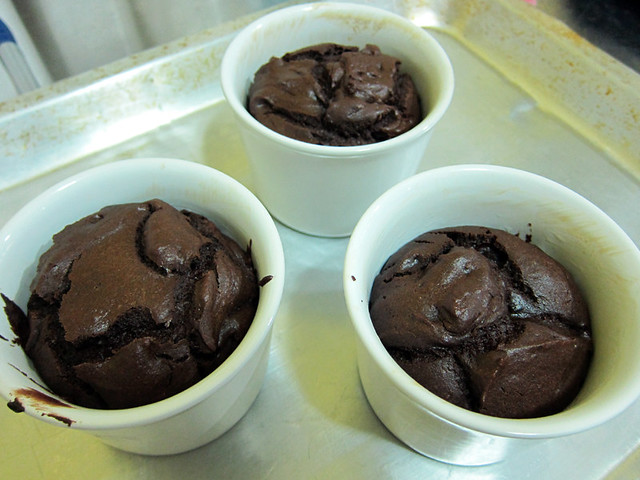
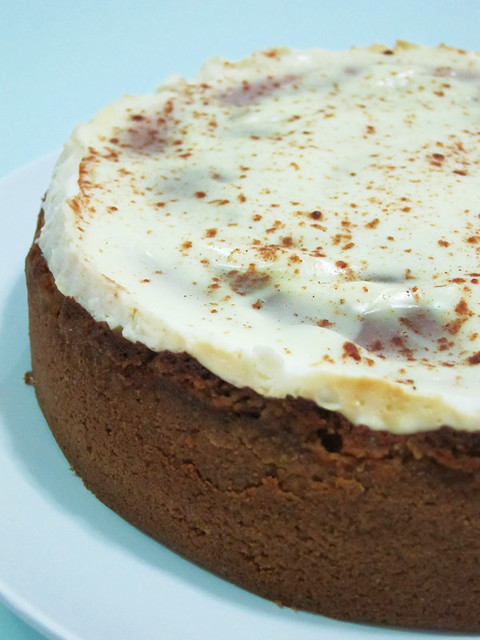
# – Baked cheesecake with yogurt topping, DONE!
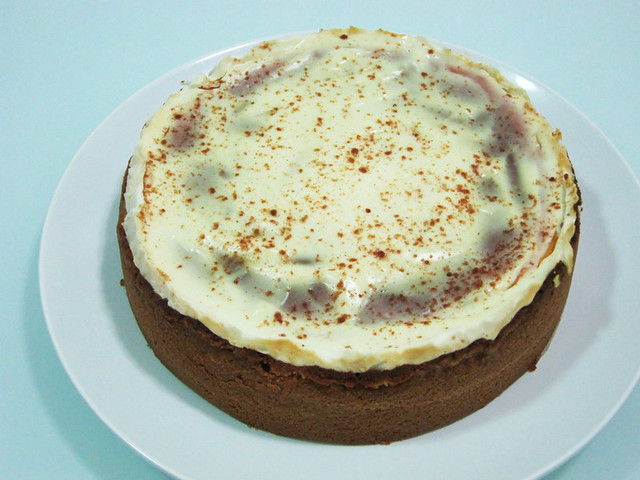
# – Yummy.
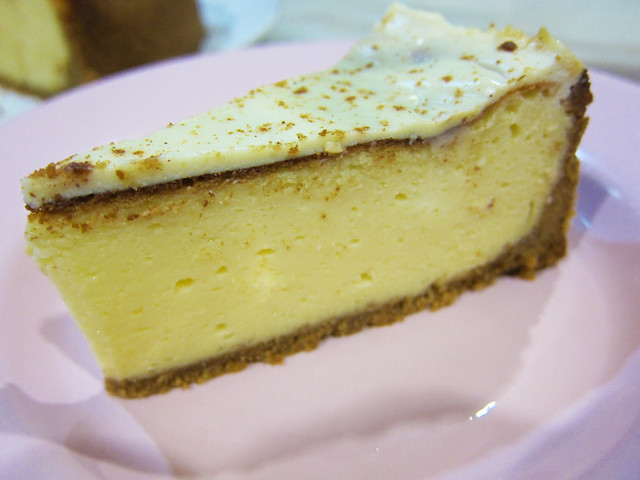
The cake was surprisingly light and far from cloying. It’s delicious! I managed to make the crust reasonably thin so every mouthful was a nice balance of crunchy crust, yummy cream cheese filling and tangy yogurt topping.
Most importantly, my Dad loved it! :)
Now, to recreate that cheesecake with canned peaches base I made 12 years ago…