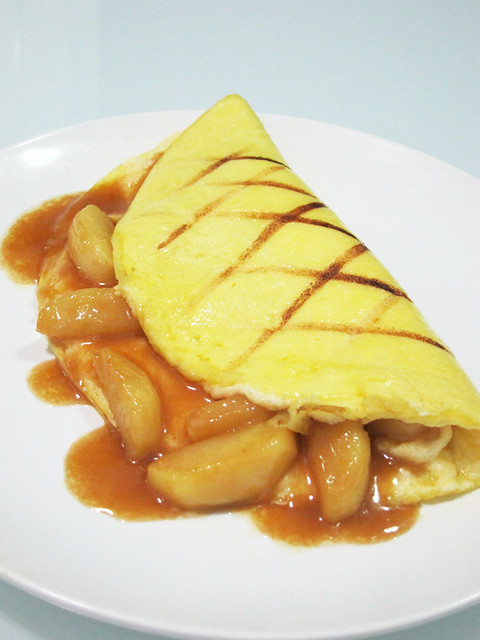
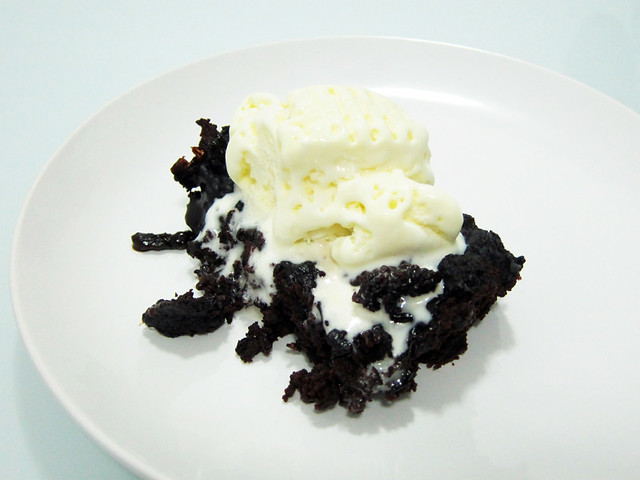
It’s called brownie pudding cake because it’s basically 2 desserts in one. How? During baking, it separates into brownie on top of a silky chocolate pudding.
# – The brownie pudding cake.
This took me about 5 minutes to prepare. I’m serious. 5 MINUTES! Just mix everything up and then stick it in the oven for 30 minutes.
Ingredients A:
- 120 grams of flour
- 60 grams of cocoa powder
- 60 grams of granulated sugar
- 2 teaspoon of baking powder
- 1 teaspoon of salt
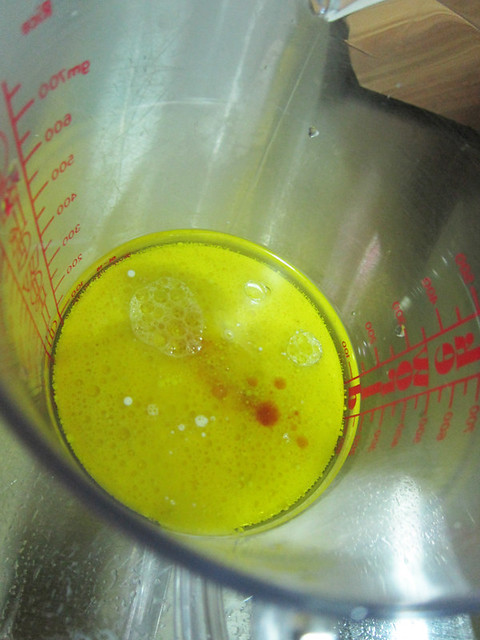
Ingredients B:
- 100 ml of olive oil
- 100 ml of milk
- 1 teaspoon of vanilla essence
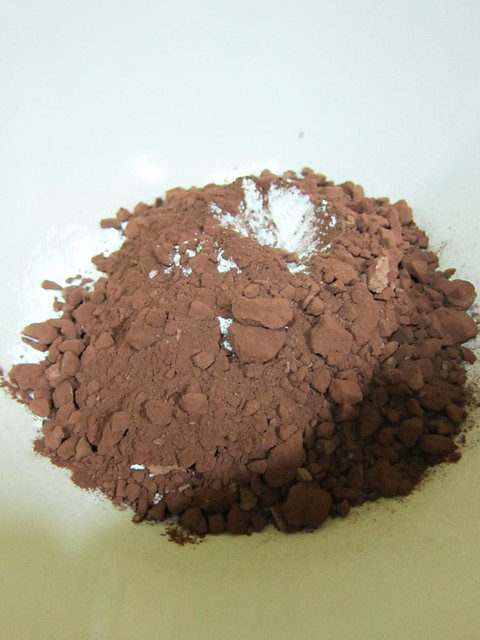
Ingredients C:
- 60 grams of brown sugar
- 20 grams of cocoa powder
Ingredient D:
- 200 ml of boiling water
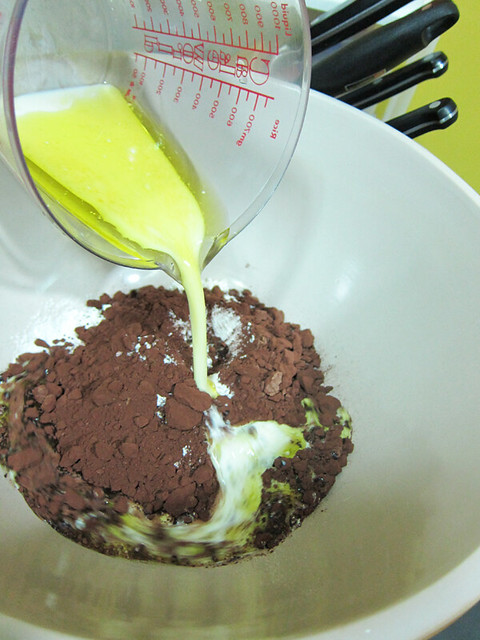
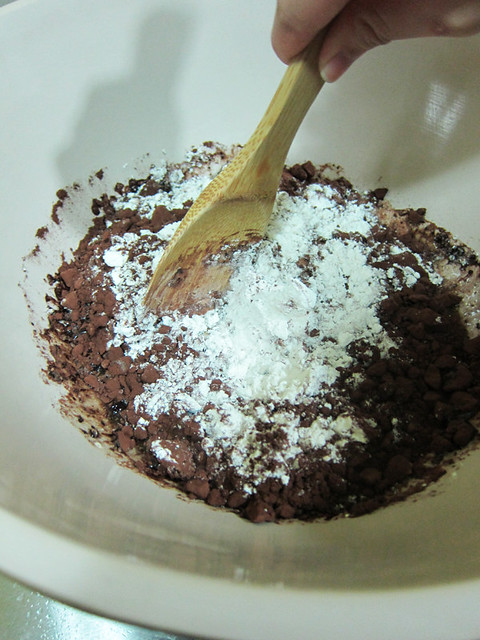
# – First, mix Ingredients A together in a mixing bowl.
# – Next, mix together Ingredients B in a pitcher.
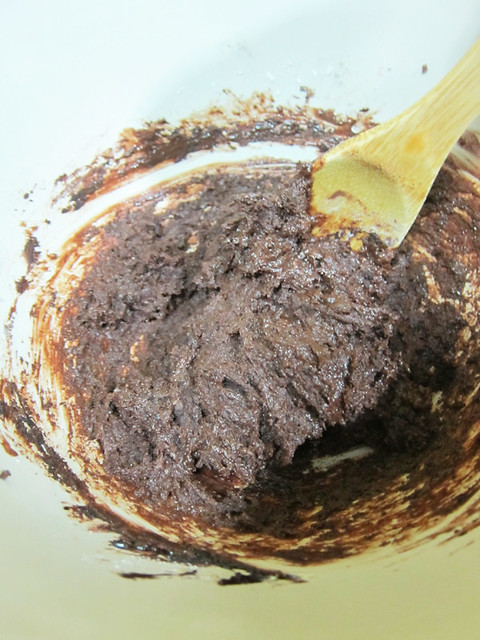
# – Next, pour Ingredients B into Ingredients A.
# – Mix it up till just combined with a wooden spoon.
# – Like this…
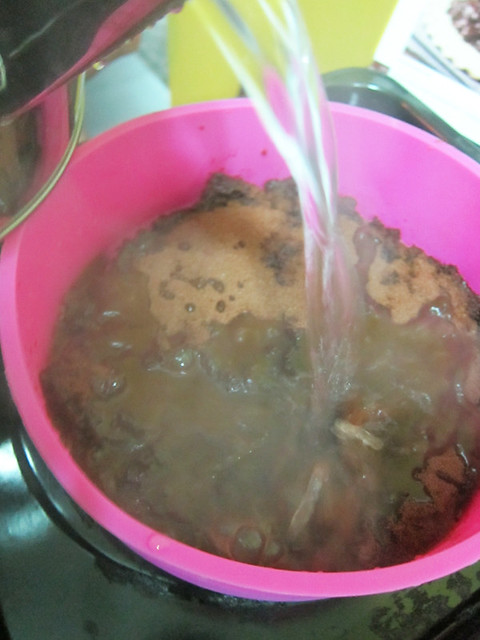
# – Pour the mixture into an 8″ cake tin. Combine Ingredients C and sprinkle it all over the top.

# – Then, pour the boiling hot water over.
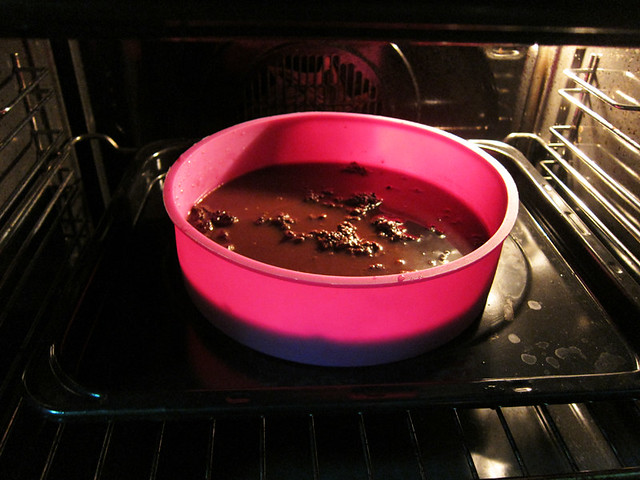
# – Stick it into a preheated oven at 180 degrees celcius for 30 minutes.
# – Serve immediately with a dollop of vanilla ice cream :)
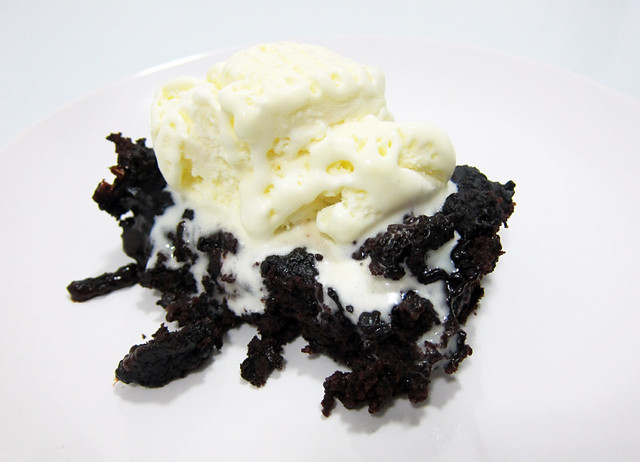
Sticky, chocolatey and moist with it’s own sauce! It’s crazy how fast it took me to make this!
I whipped it up right after setting the dinner table, stuck it in the oven and had a pleasant dinner while it baked. Absolutely perfect if you’re pressed for time and don’t know what to make for dessert.
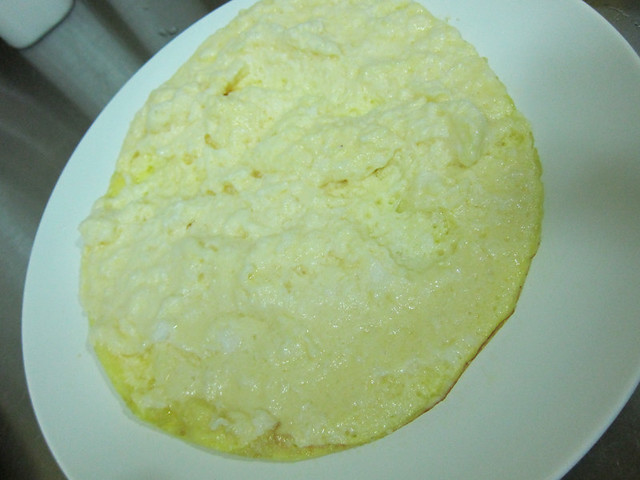
I admit, it’s not the most beautiful thing to look at…but hey, if your guests asked, just say you’re going for a rustic look :D