Fresh raviolis for idiots with bacon tomato sauce.

I have a confession. Any cooking with flour involved often scares me. Perhaps it’s my total lack of talent, chronic lack of patience or even a genetic malfunction, I can’t seem to ever get pastry right.

I know, I know, practice makes perfect and I’m sure one day I’ll be able to produce decent looking and usable pastry but right now is sadly, not the time.

I however have a knack for cheating in my cooking, regularly skipping steps that would make any established cook/chef gasps in horror. Just because my bird brain feels that it’s “unnecessary”. Needless to say, more often than I prefer, I find my cooking inedible or as my BF put it….nauseating. I’ll feature more of my inedible, nauseating creations but right now is fortunately, not the time.

This is a post about how I cheated, succeeded and most importantly, how my BF ate everything, right down to the last drop of sauce. Ladies & gentlemen, I present the “FRESH raviolis for idiots”. You don’t even have to know how to roll out a pasta ;)

For raviolis:

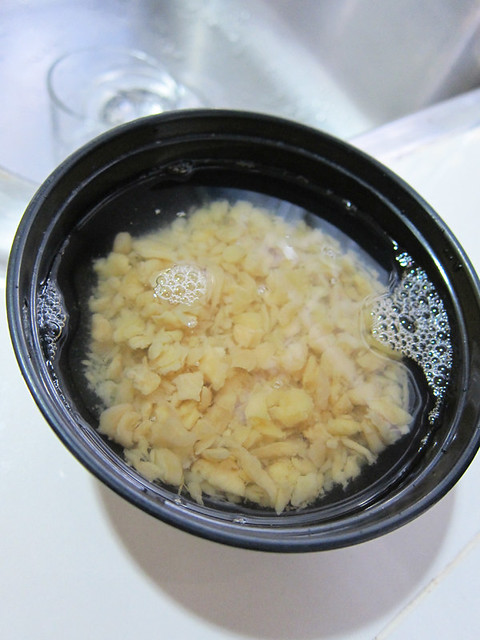
  • 60 gm of chinese salted vegetables (“choi bou” in cantonese)
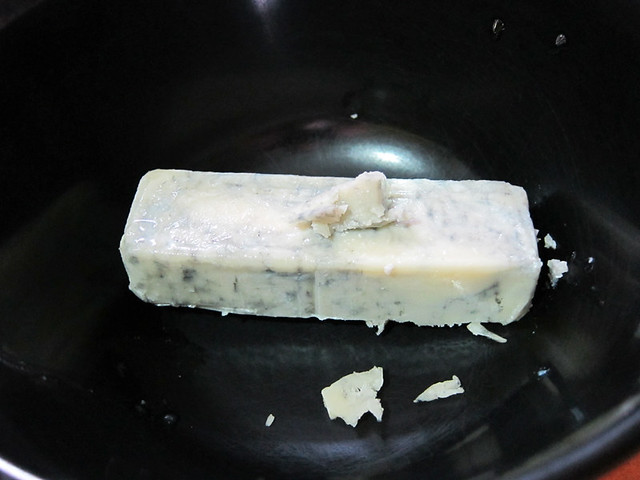
  • 80gm of any soft stinky cheese (I used Blue Jack)
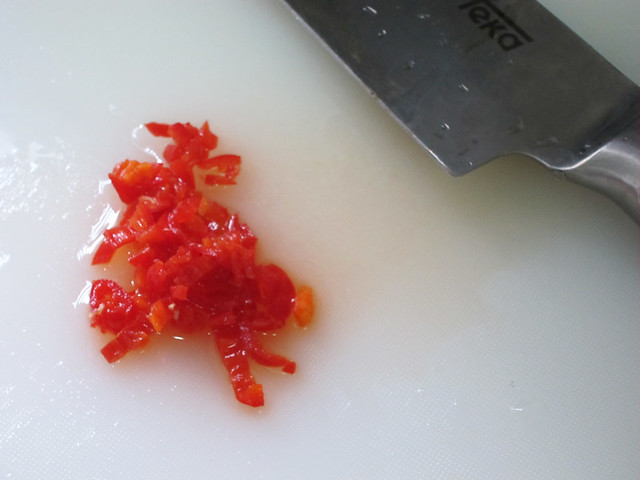
  • 1 chilli, chopped
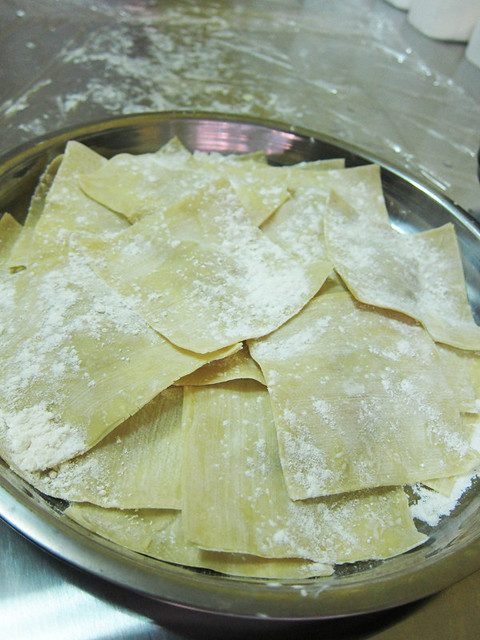
  • 1 packet of wonton wrappers

For sauce:

  • 4-6 pieces of streaky bacons
  • 1 chopped yellow onions
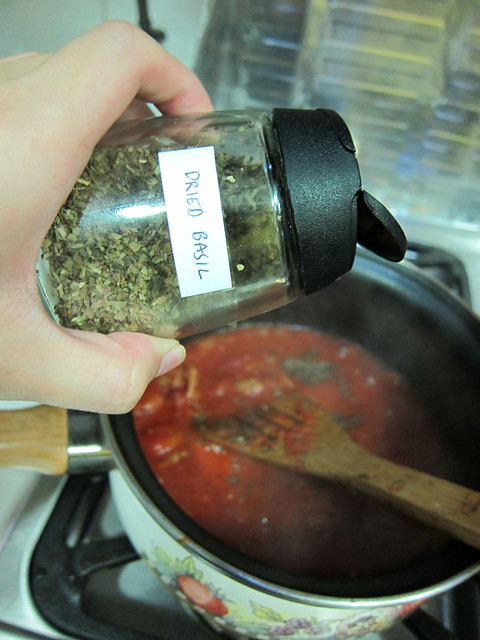
  • 1 tablespoon of dried basil
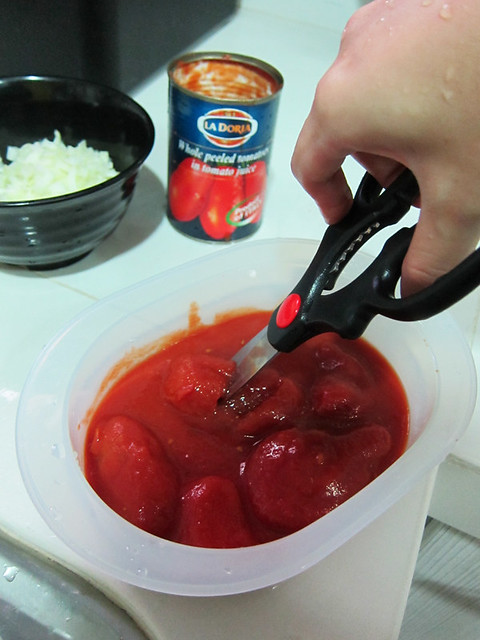
  • 1 can of tomato in juice
  • 100gm of chicken stock (you can make do with chicken cubes though I used homemade ones)

# – First of all, soak the salted vegetables in water for 1/2 hour. Remember to change the water at least twice during that time. Drain.

# – Also, take out the cheese and let it sweat and soften in room temperature.

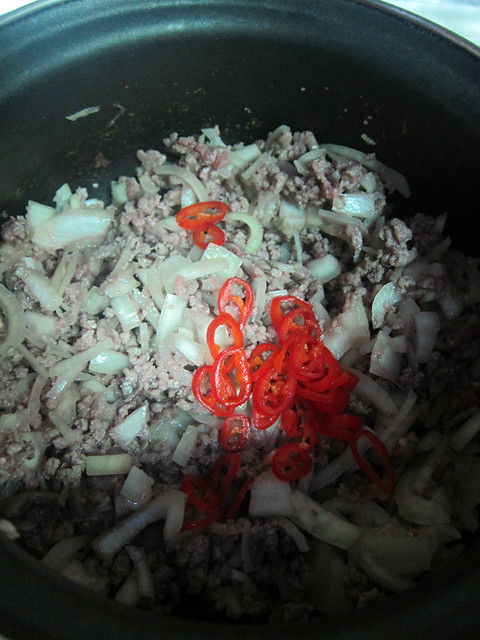
# – Chop up the chili into as tiny pieces as possible.

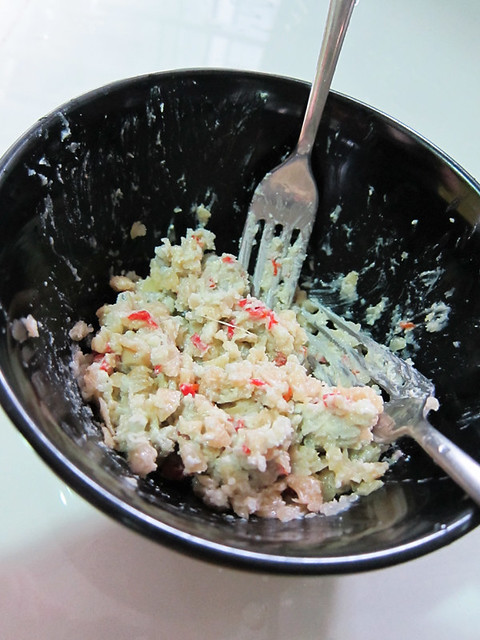
# – And then you mix the salted vegetables, chillies and cheese together till thoroughly blend.

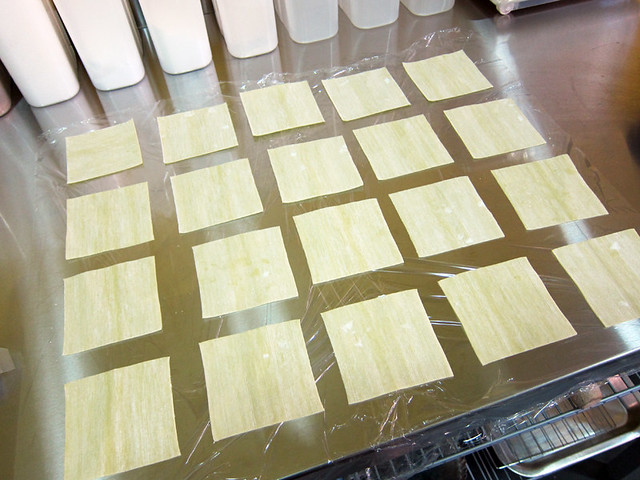
# – Lay out 20 pieces of wonton wrappers.

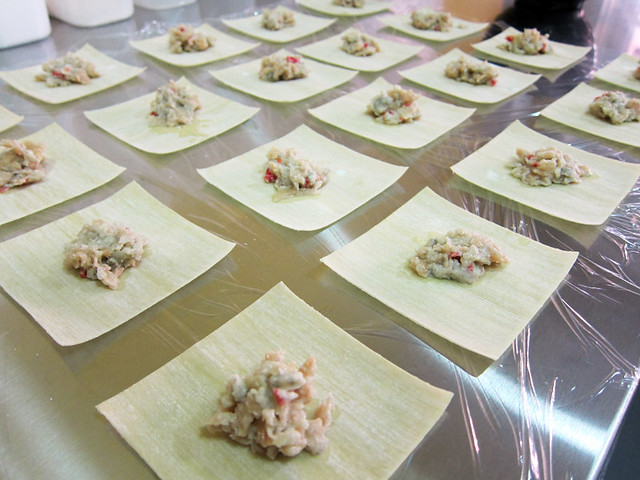
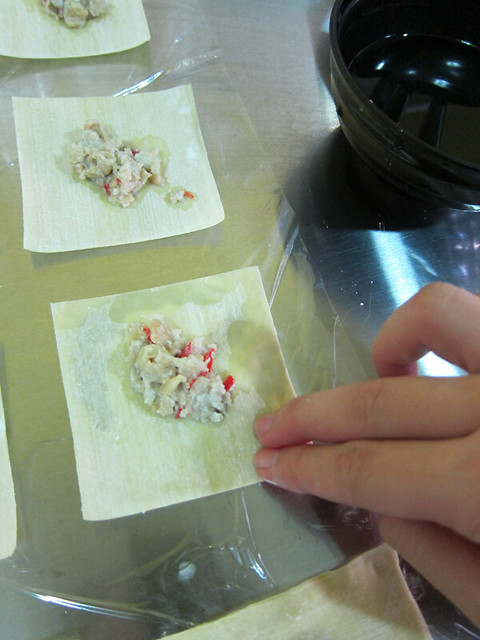
# – Put a teaspoon of cheese mixture on a wrapper each.

# – Use your finger to dab water all over the edge of the wonton wrapper.

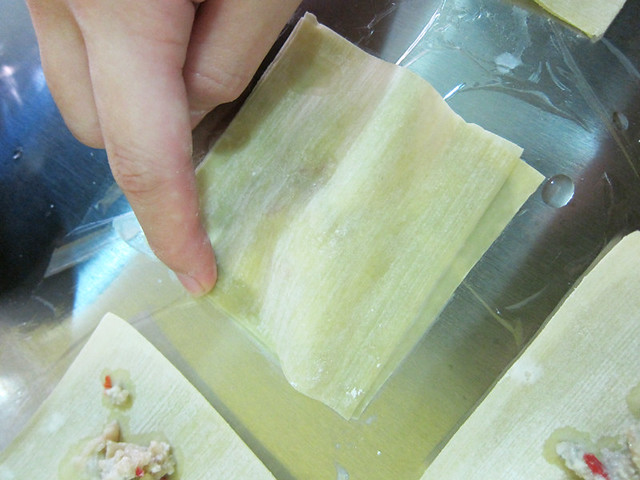
# – Now use another wonton wrapper, lay it on top and press it down the edges. If you can, try to press down around the filling too so that there’s no air trapped inside.

# – If you fancy, you can use a ravioli cutter to cut around the edges to form nice scallop designs but since this is a recipe for idiots, don’t bother…hehe.

# – Wooohoo, raviolis for idiots. DONE.

Now…to make the bacon tomato sauce to go with your raviolis..

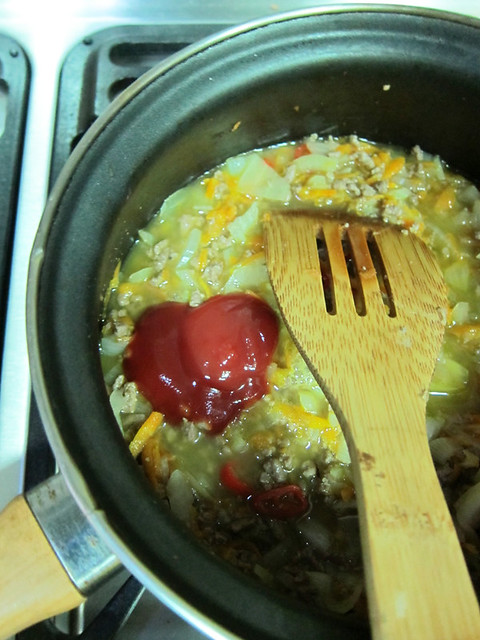
# – Cut up the tomatos if it’s not already cut in the can.

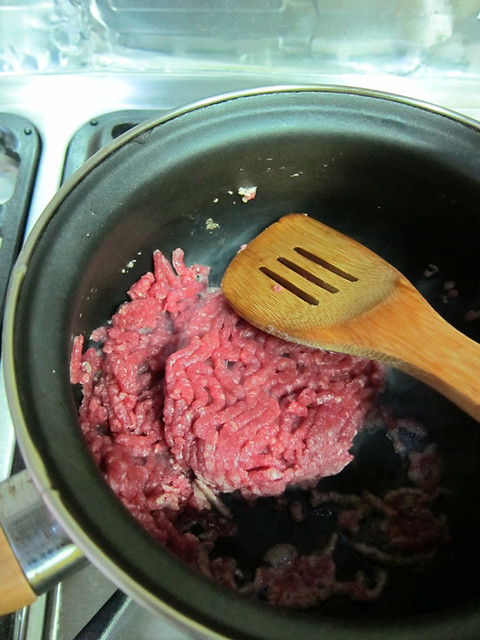
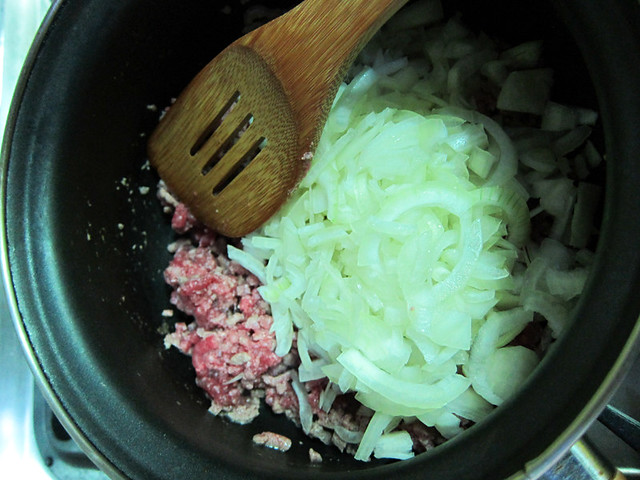
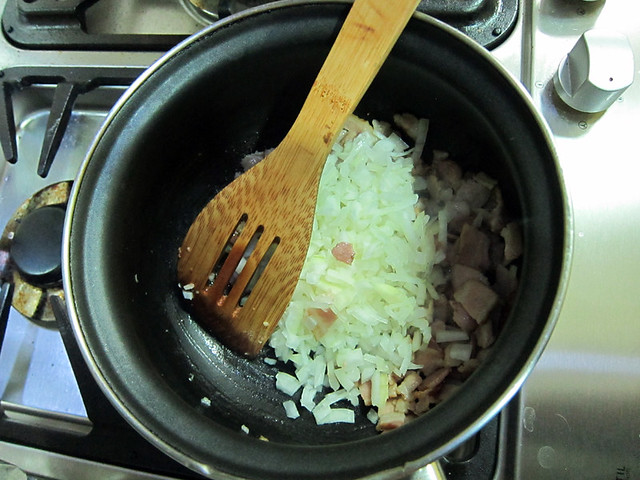
# – Heat up a pot and throw in onions and bacons to brown.

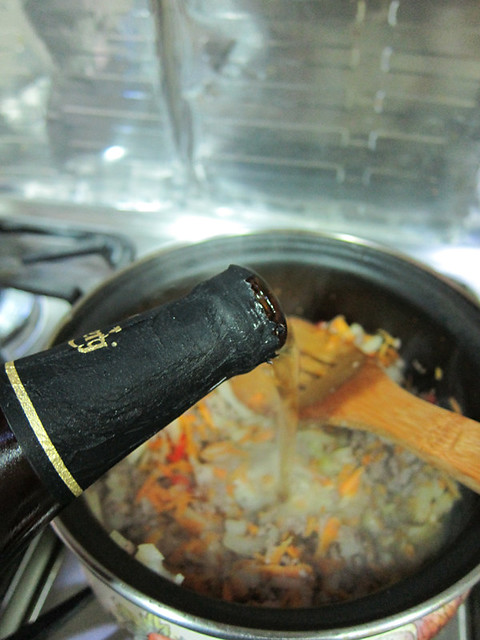
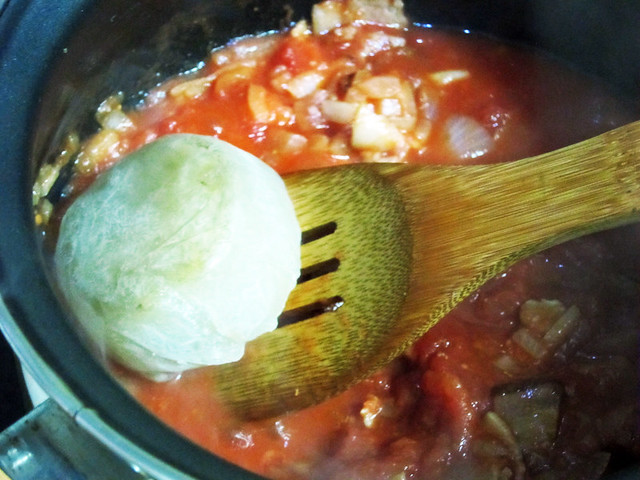
# – Pour in the cut tomatoes with its juice and chicken stock into bacons and onion mixture. Stir. The weird looking block in the picture is a piece of frozen homemade chicken stock by the way.
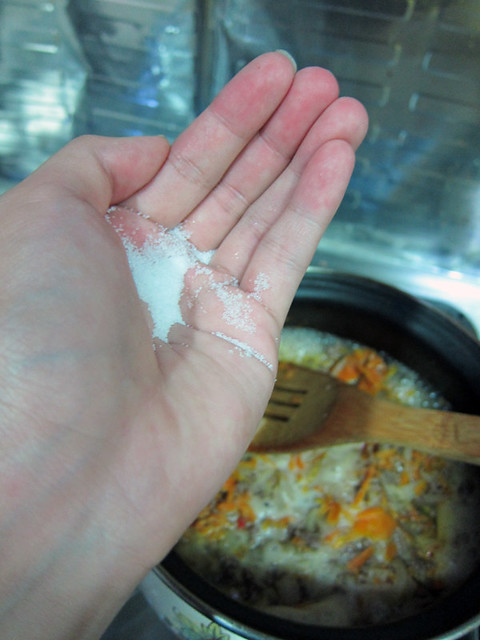
# – A dash of basil.

# – A dash of black pepper. Leave it to simmer while you cook the raviolis…

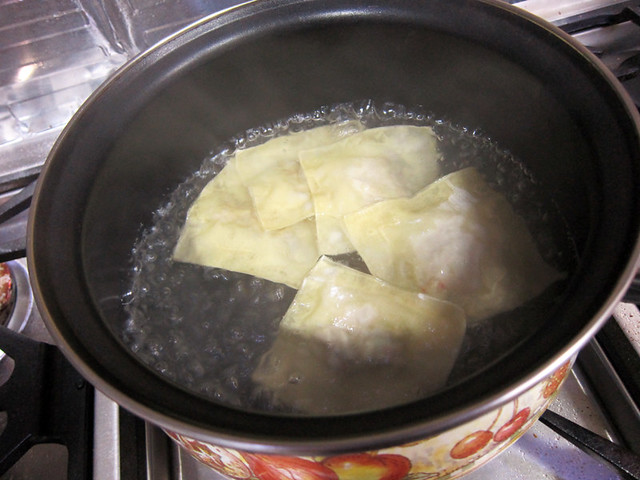
# – Boil a pot of water. Throw in a dash of salt. When it’s bubbling throw in the raviolis 5 at a time. It takes less than 2 minutes to cook. When cooked, they will float up to the surface and look very silky soft.

# – Prepare a plate, drizzle olive oil on it. You can omit this step but I don’t want to risk my raviolis sticking to the plate.

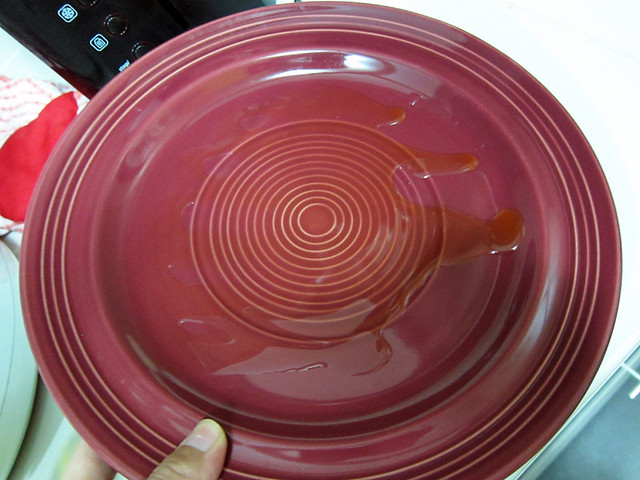
Also, instead of oiling the plate, you can just dump some bacon tomato sauce on it and place the cooked raviolis on top. Obviously I could have done this but it was my first time making this hence I was playing very, very safe.

# – Scoop up the cooked raviolis with a straining ladle and serve with bacon tomato sauce.

There, fresh raviolis without touching flour or eggs! I admit, they don’t rank very high when it comes to looks, but the taste?

Wow, I was prrrretttty impressed with myself. The salted vegetables (which had lost most of its saltiness from the soaking) gave the filling a good light crunch while the blue cheese contributed a creamy & savoury taste only a good cheese can. The chopped chilies gave the raviolis a kick and kept the dish interesting.

As for whether wonton wrappers can be passed off as pasta? My BF really thought I had made fresh pasta from scratch! The wrappers were thin but strong and they were silky and light after cooking. One of our best dinners to date!

Oh! And it was dirt cheap to make this too ;)

Spicy Beer Cottage Pie My Way

The BF has been dropping hints about cottage pies & shepherd’s pies since forever. So one day, because I’m just so unbelievably awesome, I decided to materialise his wish.

It’s definitely not the type of cottage pies he grew up eating. For one the ones he’s accustomed to pies that have no chillies. And, it’s nowhere near the standard of his grandmother’s (which according to him is the best cottage pie in the whole wide world) BUT mine was juicy and delicious ;)

So if you’re interested in making an impressive looking, impressive tasting but impressively simple dish, here goes:

For the filling:

  • 1 chili, sliced
  • 1 large onion, roughly chopped
  • 1 carrot, grated
  • 2 handfuls of frozen peas
  • 1 small bottle of beer
  • 300+ gm of minced beef
  • 3 tablespoons of ketchup

For the crust:

  • Peeled & chopped 8 small potatoes, or 2 large ones
  • Some milk (or whipping cream, which I naughtily used :P)
  • Salt & pepper

# – First of all, heat up some oil in a pot and brown the minced beef.

# – Throw in the onions. Stir.

# – Throw in the chillies. Stir.

# – Throw in the grated carrots. Stir.

# – Pour in beer till it covers the top of mixture slightly. Stir.

# – Throw in 3 tablespoon of ketchup. Stir.

# – Throw in 1 tablespoon of salt. Stir.

# – Throw in frozen peas. Stir.

Leave mixture to simmer till everything is pretty soft and the liquid reduced by half. If it’s too dry, add more beer :D During this time, boil some chopped potatoes for making mash. I steamed mine though cause I’m just preppy like that.

# – Mash the potatoes, add some milk, salt & pepper. Throw in some cheese if you’re not on a diet, why not? If you’ve got your own favourite version of mash potato, use it.

# – Pour the beef mixture into a casserole dish.

# – Spread mash potato all over the surface of the beef mixture, making sure there’s no hole in the crust anywhere.

# – Looks good enough to eat but it’s not done yet!

# – Stick it in pre-heated oven for 30 minutes at 190 degrees celcius.

# – After 30 minutes, bring the cottage pie out to rest.

# – Or dig in immediately, like what we did :)

This cottage pie is very juicy and flavourful. There’s no need to make any stock as the liquid is all from the beer. There’s a good kick from the chillies though if you can’t take the heat so well you can always omit the chillies.

# – YUMMMS!

My favourite thing about this dish? It’s a complete meal all in one bowl which means, less washing up! Hehehehe.

Sticky and ugly.

If there’s anything you truly need in your household, let it be an adhesive remover spray.

One bottle lasts you forever. We’ve got ours for nearly 5 years, the bottle has gone all rusty but it works every single time.

# – This is the shiznit.

Use it to remove the idiotically designed Malaysian road tax from your windscreen. Use it to remove stubborn labels from your bathroom’s sanitary-wares and cookwares. Most of all, use it to remove cheapass warning labels from your Ikea loots.

And that’s precisely what I’ve been doing lately – spending hours peeling off cheapskate Ikea sticky labels from my not so cheapskate furniture & knick-knacks. If it hadn’t been for my trusty adhesive remover spray I would probably be spending more time than I already had.

It is quite frustrating to have spent so much money on something and then end up at home peeling off stickers like a pathetic loser :P

I believe some of you may have chosen to live with the damn stickers constantly calling out for your attention every single time you enter a room as I had previously considered doing, but really we all deserve so much better!

So here’s a tutorial for you guys who are in similar predicament and would like to escape your destiny..

First of all, peel off the main part of the sticker. With your fingers. Yes, it is a frustrating and time consuming task.

My bf had experienced some sort of divine intervention where he soaked the entire label with adhesive remover and it literally slid off but I on the other hand have not had such luck. You can try though…

# – Peel off the main sticker. This is the hardest part of the task. Gather courage and patience before embarking on such activity.

# – They peel off like this, in little tiny pieces. Absolutely designed to annoy the hell out of you.

# – Even after you’ve peeled the main label off, sticky glue residue can still be clearly seen.

# – Spray adhesive remover onto the sticky residue till they’re soaking in the solution. Becareful when you’re spraying you don’t want the solution to end up everywhere. It’s got quite a distinctive “inhale-can-die” smell. I used thick paper towels to absorb the stray sprays.

After a minute or two, rub off the residue with a paper towel. In some parts you may have to rub harder or even use your nails to scrap it off, but it won’t take that much of an effort.

# – Shiny again!

We got our adhesive remover from either Ace Hardware or Eneos. I don’t remember, I often confuse both.