This is truly the easiest focaccia recipe.

I’ve never in my life made bread. What took me so long? Fear. Why now? Why not? Okay, I confess. I adapted a recipe that claims it’s the easiest. I’m a sucker for titles like that…so here are the ingredients….

  • 1 teaspoon white sugar
  • 10gm of active dry yeast
  • 80ml of warm water
  • 450gm of flour
  • 2 tablespoons olive oil
  • 1/4 teaspoon of ordinary salt
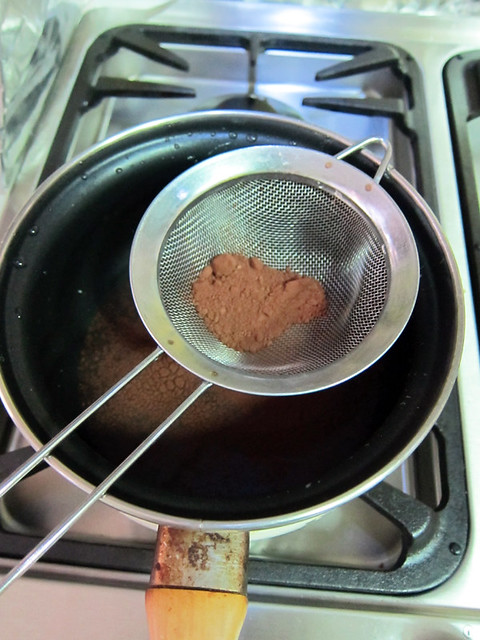
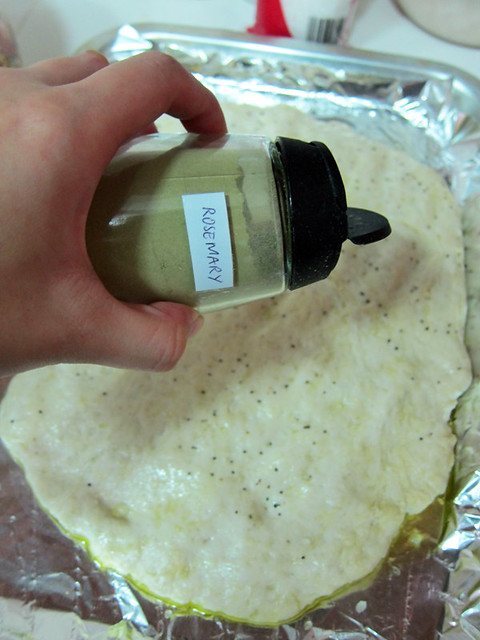
  • 4 tablespoons of Rosemary powder (you can of course use fresh rosemary!)
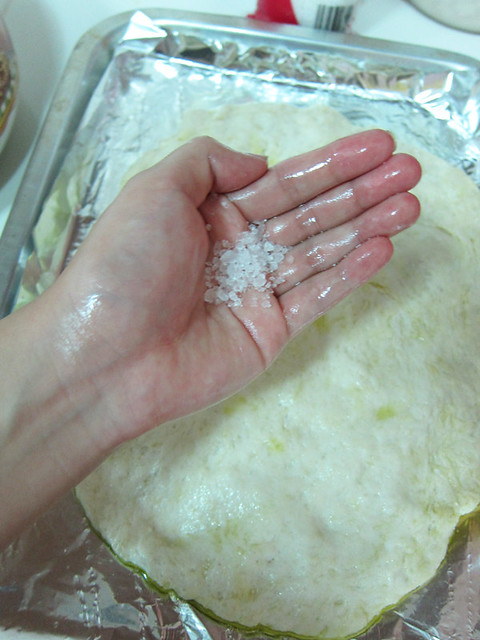
  • 1 tablespoon of coarse sea salt

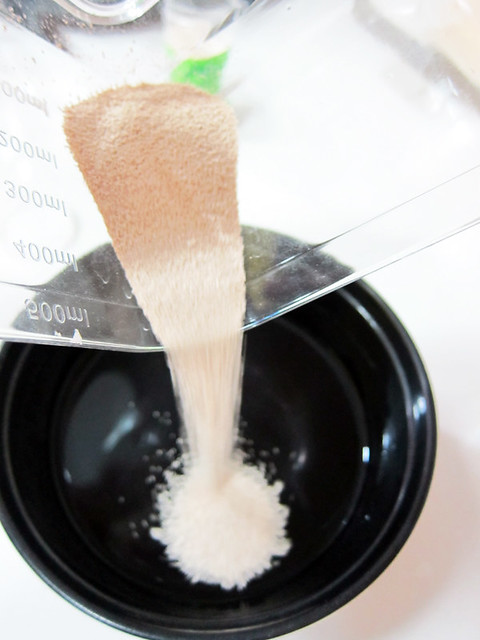
# – In a bowl, dissolve sugar and yeast in warm water.

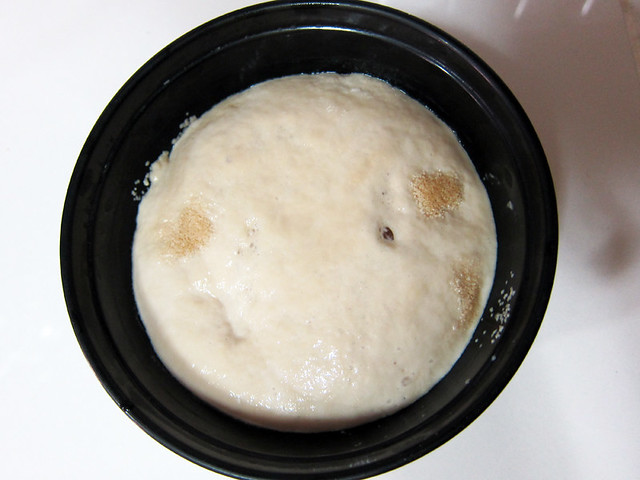
# – Let stand for 10 minutes until creamy. Brace yourself for the stench, lol.

# – Prepare flour and salt in a larger mixing bowl.

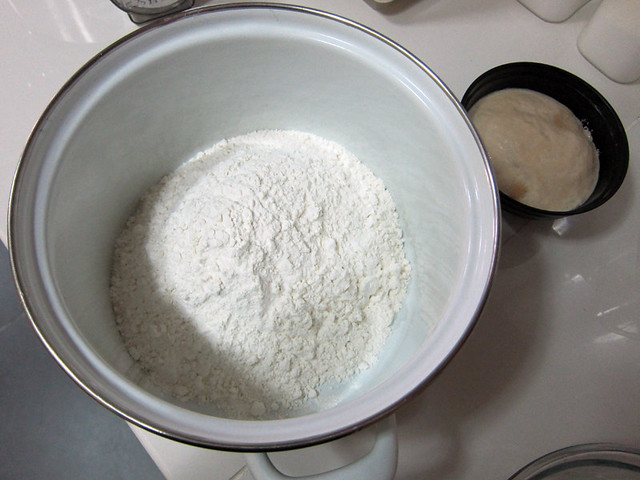
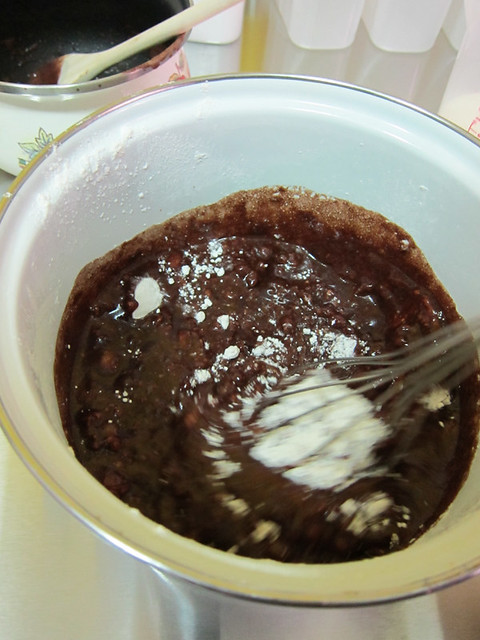
# – Combine the yeast mixture with flour; stir well to combine.

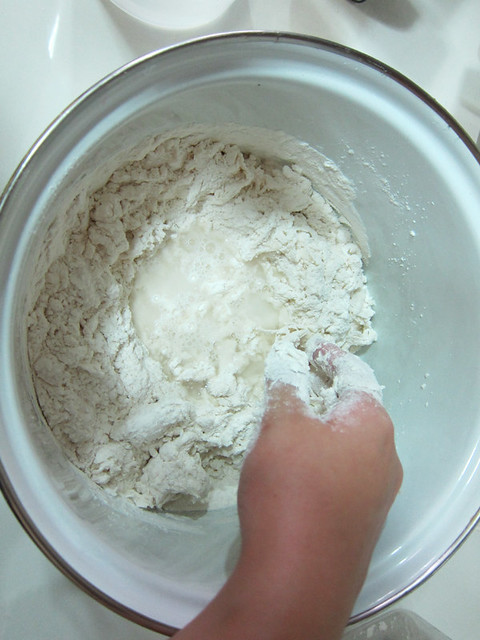
# – Add in the Rosemary powder too, for a beautiful fragrance. Stir in additional water, 1 tablespoon at a time, until all of the flour is absorbed.

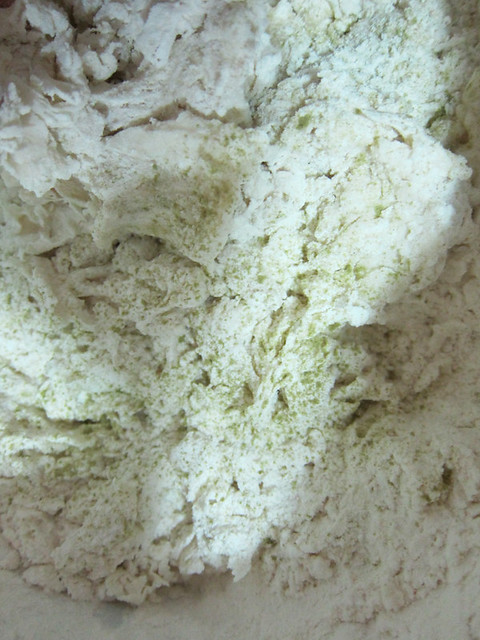
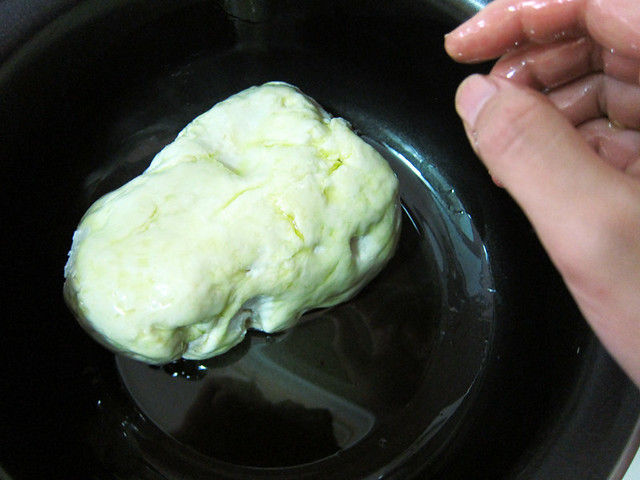
# – Till it forms a dough that looks something like this. Gently knead it for another minute.

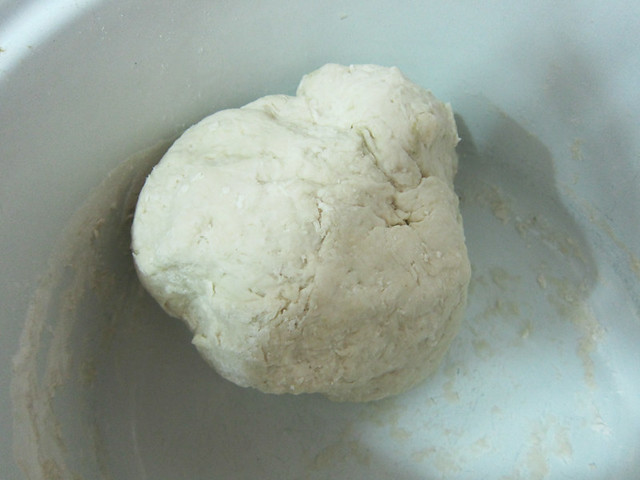
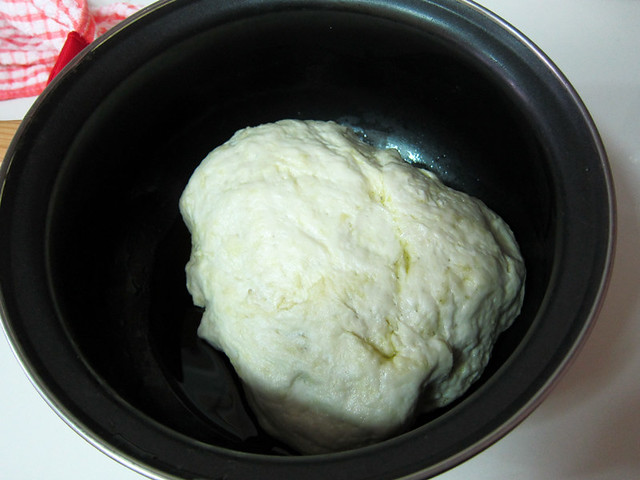
# – Now lightly oil a different bowl or pot and leave the dough inside.

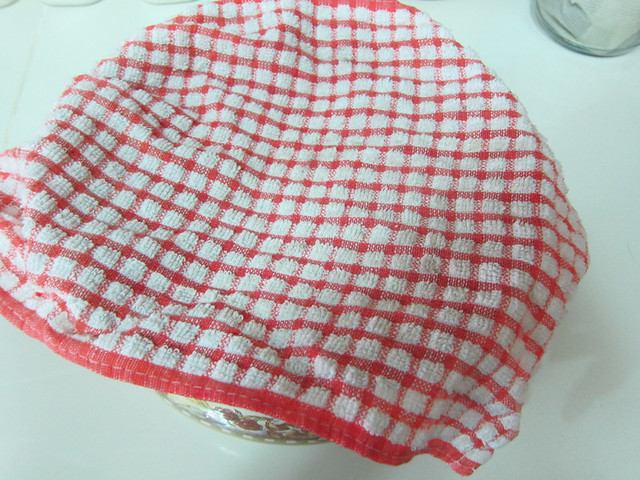
# – Cover the bowl with a damp but clean towel. Leave it for 30 minutes.

# – After 30 minutes, the dough would have doubled in size.

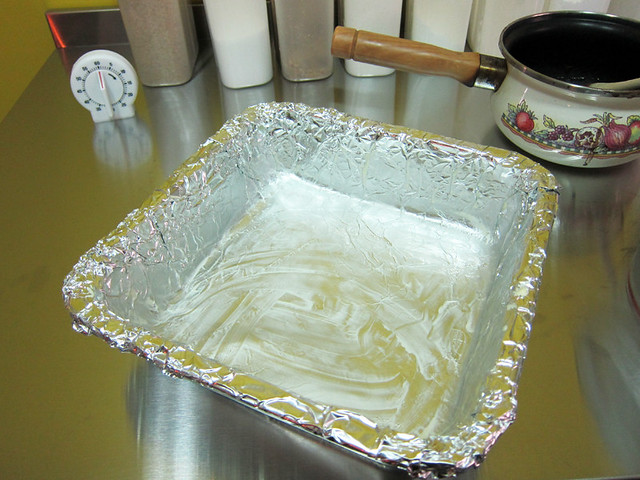
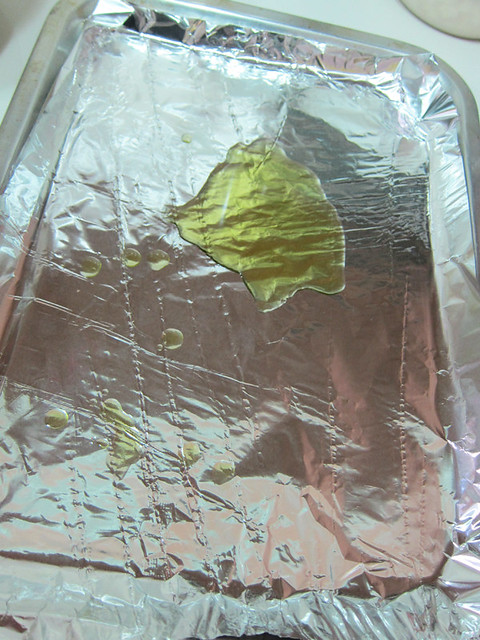
# – Grease a baking tray with olive oil.

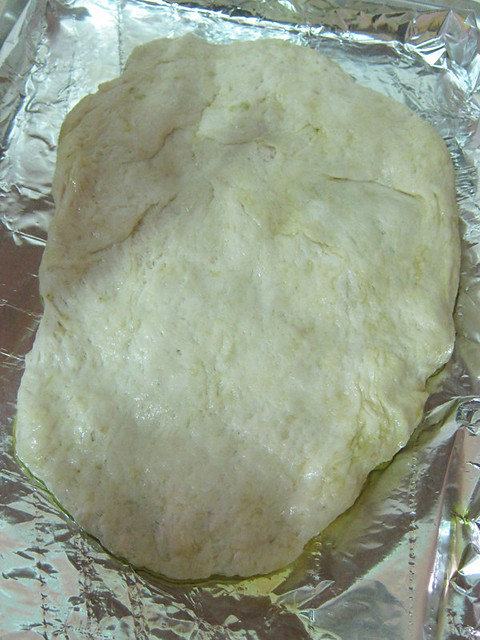
# – On a floured surface, deflate the dough and gently knead it for one minute. Then, pat or roll the dough into a sheet and place it onto the greased baking tray.

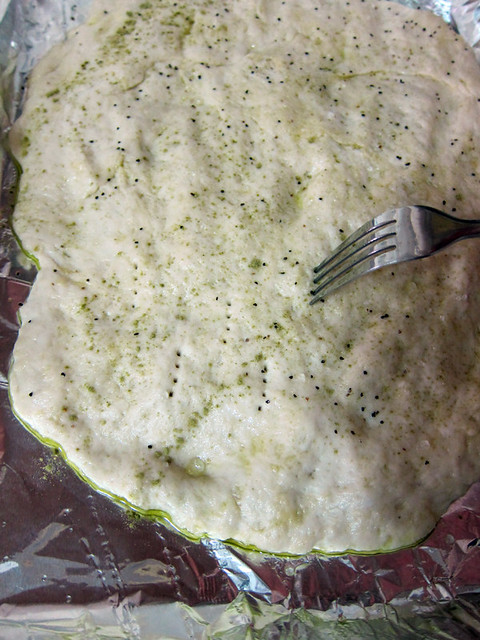
# – Sprinkle coarse sea salt all over the surface of the dough.

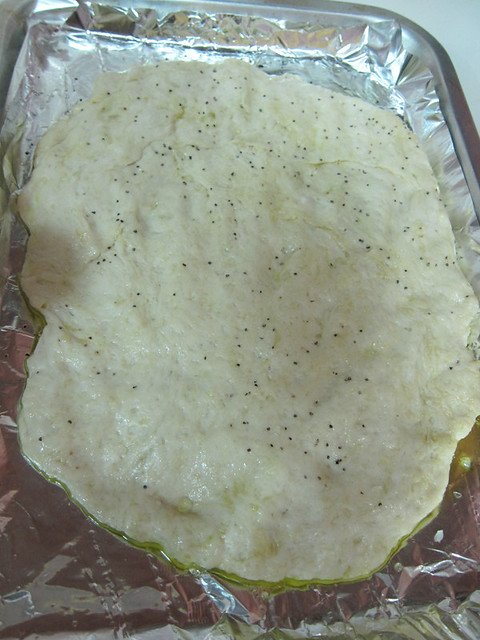
# – A few dashes of black pepper too.

# – And lastly, a sprinkling of rosemary powder all over…

# – With a fork, poke the dough all over.

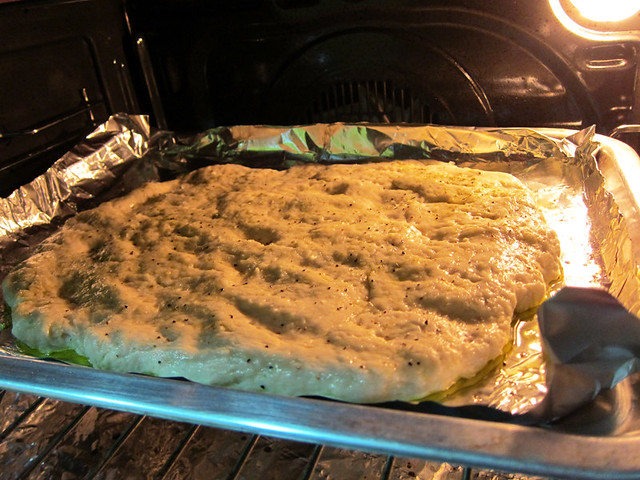
# – Then, stick it in a pre-heated oven of 245 degrees Celcius for 10-20minutes depending on the desired crispiness. The longer, the crispier. I baked mine for 15 minutes.

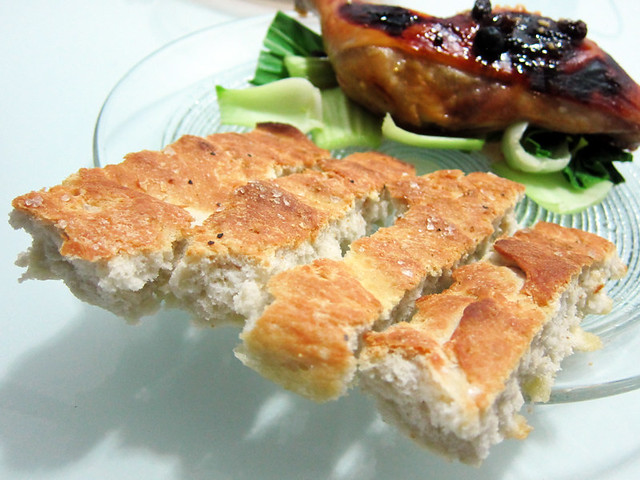
# – Easiest focaccia, DONE!

# – Great with olive oil + balsamic vinegar, creamy soup, gravy and my favourite…chopped crabstick mixed with mayo and tabasco sauce. Yums!

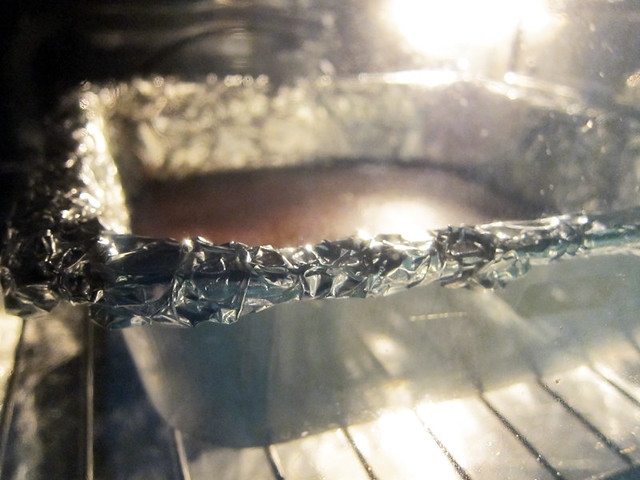
This bread freezes really well too. Just wrap it in foil and stick it in freezer. When you want to eat it, take the whole thing out (bread and foil), place it on a shallow baking tray filled with some water (make sure foil has no holes as you don’t want water to seep into the bread), open the foil so top of bread is exposed, and bake at preheated oven at 150 degrees celcius for 10 minutes.

Nothing beats the smell of homemade breads!

Chocolate buttermilk layer cake adapted from Donna Hay.

I found this recipe in a Donna Hay magazine. It’s their 50th issue birthday edition and the buttermilk chocolate layer cake is the cover cake. The last time I baked a cake was in 2005. That cake was not a looker but I was extremely proud of it, hahahahahaha.

# – The 50th issue birthday. The cake is just so gorgeous, isn’t it??? I just couldn’t stop thinking about it after seeing the picture.

Alright, here’s something I’ve been pondering over. Does “50th issue birthday” mean the 50th issue or anniversary of the 50th issue which could be years ago? I’m not a follower of Donna Hay magazines so if anyone could clarify this would be much appreciated. I scored this particular issue from a knocked down bin…

Anyway, I love this cake, even when I didn’t stick 100% to the recipe. I replaced the original cream cheese chocolate frosting with a regular chocolate frosting but it was still amazingly delicious. I bet the cake would be even more fantastic with the original frosting but if you don’t have cream cheese in your pantry, don’t fret!

Here are the ingredients that you need…

For the cake

  • 250ml of water
  • 125gm of butter, chopped
  • 35g of unsweetened cocoa powder, sifted
  • 300gm of flour, sifted
  • 1 teaspooon of baking soda, sifted
  • 350gm of caster sugar (as opposed to the recipe that called for 440gm because I used regular frosting instead of the more savoury cream cheese one)
  • 2 eggs
  • 125ml of buttermilk (if you don’t have it, just add 1/2 tablespoon of vinegar/lime/lemon juice to 125ml of milk and let stand for 10 minutes)

For the frosting

  • 550ml of icing sugar (roughly 2 cooking cups and a bit more)
  • 6 tablespoon of unsweetened cocoa powder
  • 6 tablespoon of butter
  • 5 tablespoon of evaporated milk (I used whipping cream…which is way more naughty :P)

# – First, boil 250ml of water in a pot and sift 35gm of cocoa powder over it.

# – Then add the 125gm of chopped butter. Stir until butter is melted and set aside.

# – Prepare 300gm of flour, 1 teaspoon of baking soda & 350gm of caster sugar in a mixing bowl

# – Now pour the cocoa mixture into the flour mixture and whisk till combined.

# – Add the 2 eggs.

# – Then pour in 125ml of buttermilk. If you don’t have buttermilk, refer to recipe above on how to cheat ;)

# – Whisk everything till combined.

# – Lightly grease two 10″ x 10″ cake tins & lay them with parchment papers. But due to lack of resources and my innate rebellious streak on top of my despise for washing cake tins, I used aluminum foil and grease it with butter. Trust me, it works like a charm :D

# – Now divide the mixture into two & pour half into each cake tin. Then stick into preheated oven at 160 degrees celcius for 40-45 minutes.

# – Let the cakes cool down completely, which takes a minimum of 1/2 hour to be absolutely safe. You do not want the frosting to melt upon contact with the cakes, ya.

# – While the cakes are cooling down, lets begin to make the frosting. Sieve 550ml of icing sugar and 6 tablespoon of cocoa powder into a bowl and set aside.
null

# – Lay out 6 tablespoons of butter in a mixing bowl, the cocoa & icing sugar mixture you prepared earlier, 5 tablespoon of evaporated milk and a hand mixer.

# – With the hand mixer, cream butter until smooth, then gradually beat in sugar mixture alternately with evaporated milk. Beat until light and fluffy. If necessary, adjust consistency with more milk or sugar till you get frosting!

# – Set the frosting aside and now, cut each cake into half. And lightly score the top of the cakes without cutting all the way.

# – Lay one piece with the scored surface down and slather the frosting all over the top. Be generous with the frosting, you will thank me!

# – Lay another piece on top of the frosted cake. Again, with the scored surface down and frost that baby. Don’t worry if your cake broke or cracked.

# – Repeat steps till you run out of cakes and you get this…

# – Now, frost the entire thing!!

# – Eventually, you will end up with this….

# – Oh, baby!

# – Oh, BABY!!!!

# – GIVE IT TO ME!!!!

For a cake that only had cocoa powder in it, it was surprisingly chocolaty! Not to mention, moist, rich and absolutely delicious. If I hadn’t told my BF, he would have thought I had used expensive dark chocolate bars to make the cake. But nope, just reasonably priced Van Houten’s cocoa powder that you can get at almost any grocery shop ;)

And oh, it is also very nice chilled. My BF, being a sucker for warm dessert also heated it up in the oven, till the frosting melted into some sort of rich chocolate sauce and ate it with a dollop of vanilla ice cream. Fantastic!

Please, make it happen! Yes, you, you and you!

Chilli trick by Gordon Ramsay does work.

You’ve probably noticed that most, if not, all my dishes that I’ve posted recently contained chillies. Well I can’t help it that I love my food with kicks but mostly, you got to blame Gordon Ramsay for my chilli obsession.

Well, through television, he taught the world and me the neatest way to seed chillies. This tutorial is for those without the privilege of a food channel…

# – First, roll the chilli with the your palm on a chopping board for about 10 seconds. You can roll it between two palms too.

# – Then cut off the top of the chili. You can see all the nasty, spicy seeds inside.

# – Now, hold it firmly in your hand, over the rubbish bin, with the cut part facing downwards, shake vigourously. Listen to the satisfying sound of the chili seeds falling out.

# – Look ma, no more seeds!

Now you can slice, dice, julienne, do whatever you want with your clean, seeded chillies :)