Mom’s All in One Pot Asian Ginger Chicken Rice Recipe.

Hello again, this is another recipe from my childhood….my mom’s signature ginger chicken rice. It’s so shockingly easy to make, you wouldn’t believe how delicious and satisfying this dish is.

It’s best to use chicken meat with the bones still attached, parts like drumsticks and chicken thighs are the best. Also, go easy on the fat trimming as you do need a bit of chicken fat to make this dish a true winner :)

You need a rice cooker for this recipe, otherwise it wouldn’t be as convenient or easy a recipe as it should be…

For the chicken marinade:

  • 3 chicken thighs, with excess fat trimmed off
  • A piece of ginger the size of your thumb
  • 2 tablespoons of oyster sauce
  • A dash of pepper
  • 1 tablespoon of chinese rice wine
  • 1 tablespoon of sesame oil

For the rice:

  • 1 1/4 cup of rice (Kim from 2022: by cup I had meant the vessel you use to scoop your rice grains not the actual 250ml measuring cup)
  • A piece of ginger the size of your thumb, sliced
  • 3 tablespoons of oyster sauce
  • A dash of pepper
  • 5 cloves of garlic, whole
  • A dash of salt

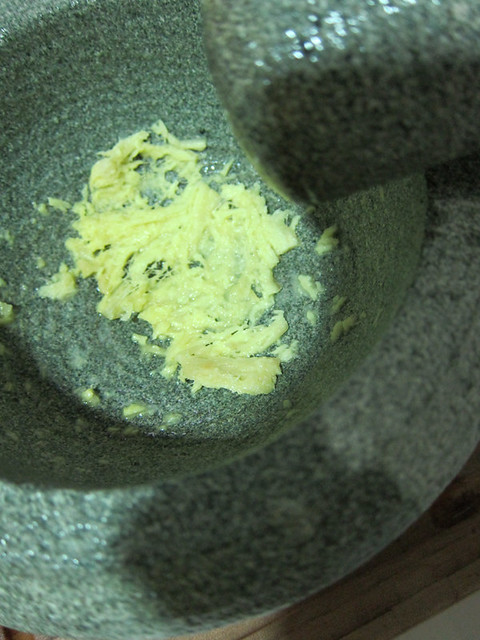
# – To make the chicken marinade, first of all, pound the ginger into a pulp to render out the juice.
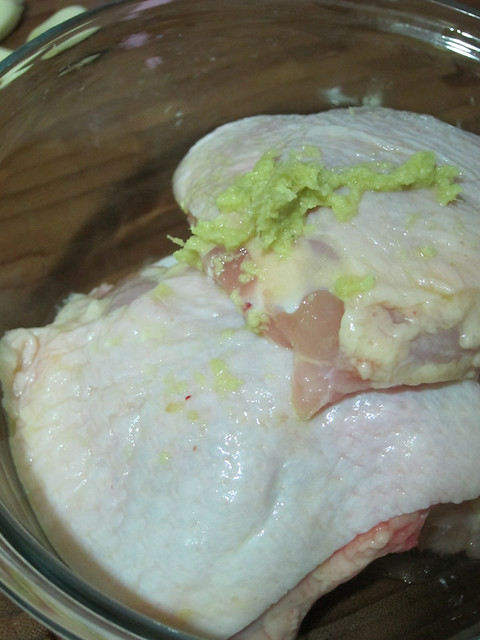
# – Then, throw the ginger pulp and juice onto the chicken thighs.
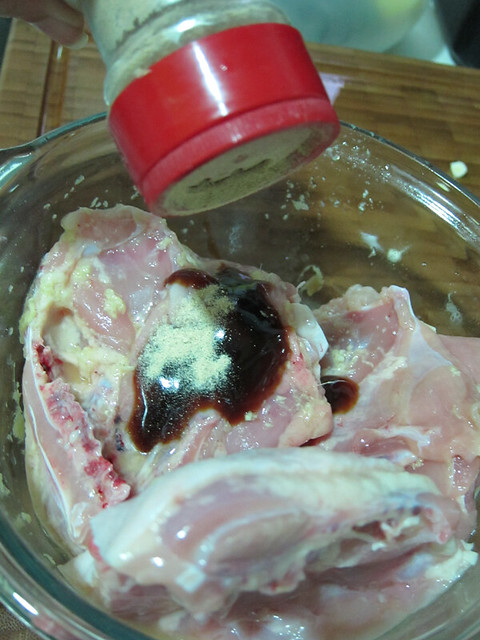
# – Followed by 2 tablespoons of oyster sauce…

# – And a few dashes of pepper…
# – Don’t forget the sesame oil
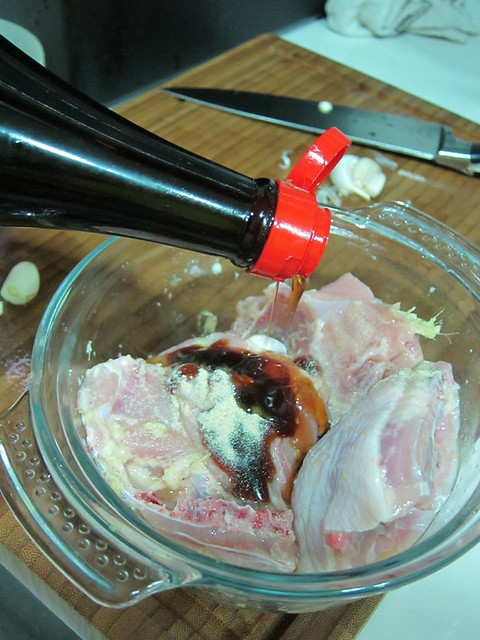
# – As well as the chinese rice wine.

# – Mix together and set aside in the fridge for minimum of 2 hours.

# – Next, prepare the rice as you normally would with plain rice in the rice cooker. Basically, the amount of water needed to cook rice is the same as the amount of rice PLUS one more cup. Hence, for 1 1/4 cup of rice, you need to cook them with 2 1/4 cup of water. (Kim from year 2022 here: Sorry for the unclear instructions about water amount, now reading it a decade later I have no idea what I was even on haha. So, please don’t be bothered by the water amount – just use the same amount of water you normally do when you cook plain rice. Chicken also releases fluid as they cook so you don’t have to compensate with more water;  however don’t over pile bone-in-chicken as this may lead to uncooked meat.)
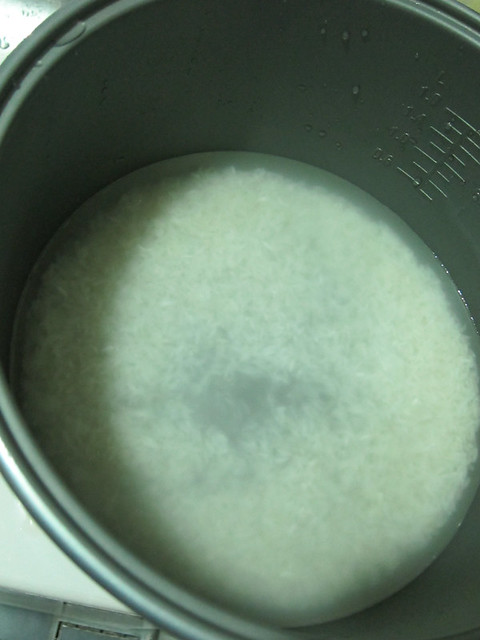
# – Add 3 tablespoons of oyster sauce, and a dash of salt (I forgot to take the picture).

# – Throw in a few dashes of white pepper..

# – Mix it up till everything’s combined.

# – Next, lay the garlic cloves all over the surface of the rice.
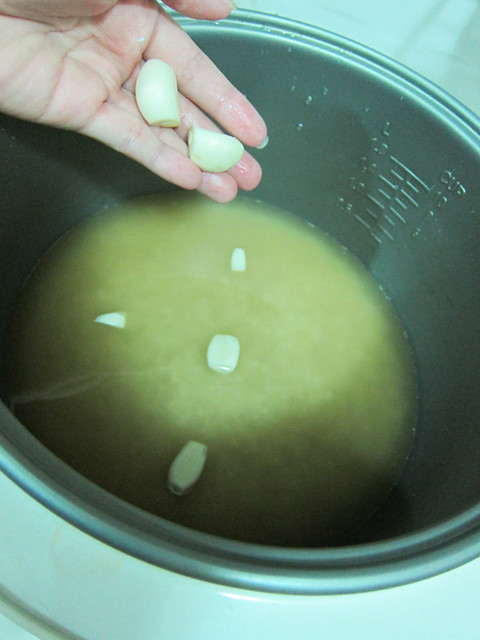
# – Followed by the ginger slices.

# – Lastly, take out the chicken thighs and lay them over the rice, skin facing upwards.

# – Cook for 25-30 minutes (as how you would normally cook rice).

# – Mom’s all in one pot ginger chicken rice recipe, DONE!

# – Garnish with some chopped spring onions before serving.
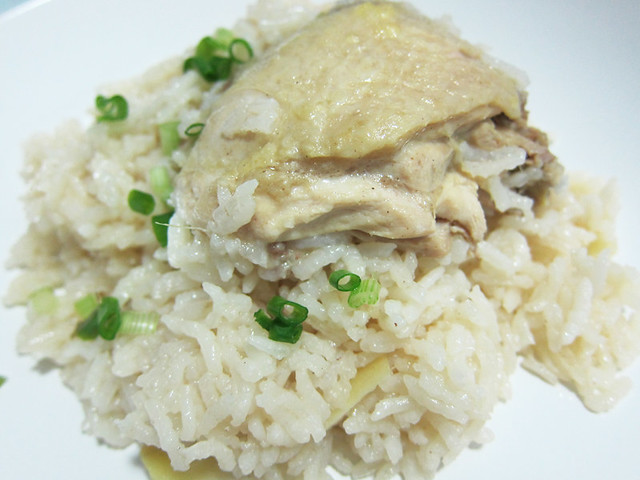
# – The chicken is tender and delicious.
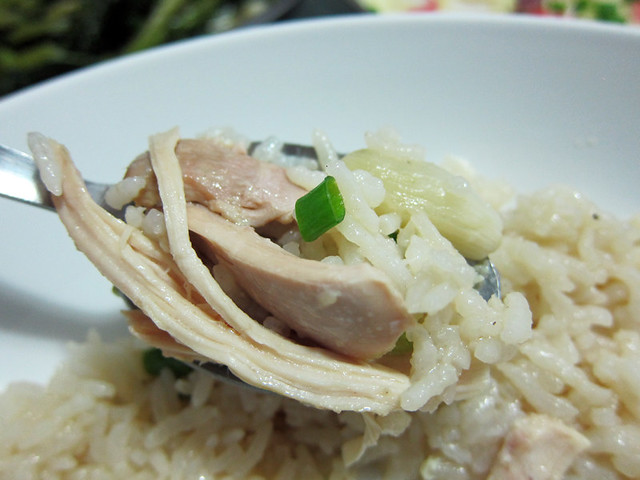
This is truly an easy way to cook Asian chicken rice. The chicken meat is tender and silky while the rice is fluffy and full of flavours.

I must say this is perfect for busy folks who have not much time as you can marinade the chicken the night before and then just throw them into the rice cooker the following day. As for me, I just whip it up on a lazy day ;)

This is not a mango and apple creme brulee recipe.

Everytime I see chefs on television torching sugar on their creme brulee, I tell myself, “I want one of those!”. Kitchen torch that is.

I’ve seen them around but they don’t look very well built and I’m not too sure about holding something in my hand that spits out blue flame without so much of a warranty card. Not to mention, they’re priced quite expensively here too.

So I delayed buying one for a while until last weekend, I spotted THE torch. It’s the right colour, it’s of a decent brand, it’s on sale and it’s got 3 year warranty. I bought it on the spot.

# – My new kitchen torch :D

So kitchen torch search done. It was time to look for a creme brulee recipe. Every single one that I had come across required between 8 – 16 eggs and about a kilo and a half of double cream in weight (lets not begin on the sugars….).

I admit, it’s very tempting. I can almost taste how freaking delicious my creme brulee could be, but even then….EVEN THEN, my logic was telling me that I could be suffering from severe mental issues by knowingly consume 16 eggs, 1.5 kilos of double cream and lots, and lots, and lots of sugar.

And so, I google low fat creme brulee, and I got…..this. It is egg-less AND cream-less. It should not be called a creme brulee. But hey, I could torch sugars with recipe and so, inspired by the recipe, I made something similar albeit with minor changes.

The ingredients:

  • 2 mangoes, peeled and cubed
  • 2 apples, peeled and cubed
  • 500 grams of plain yogurt
  • 4 tablespoons of pure honey
  • 2 teaspoons of vanilla essence
  • 6 tablespoons of brown sugar

# – First, divide the cubed mangoes into 6 ramekins.

# – Followed by the cubed apples. Set aside.

# – Now pour 2 teaspoons of vanilla essence into the yogurt.

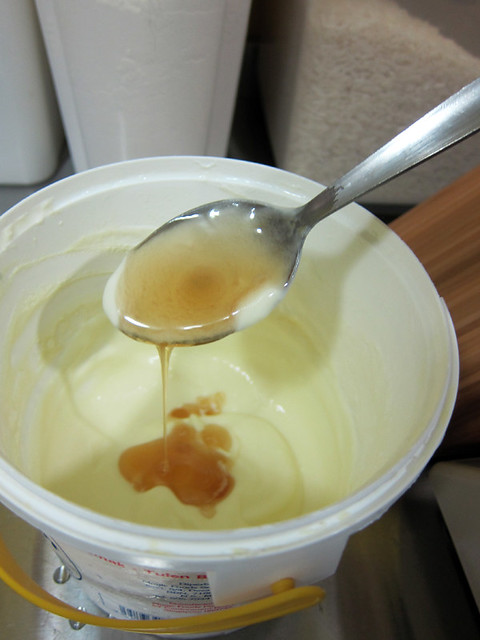
# – Then, the 4 tablespoons of honey. Taste, if it’s still too tart you can add more honey. In fact, you can totally omit this step if you don’t have a sweet tooth.

# – With a spoon, mix until everything’s combined.

# – Spoon the yogurt mixture into all the ramekins.

# – Submerging the fruits in the yogurt like this. You can tap the ramekins gently to get rid of air pockets in the mixture.

# – Sprinkle a tablespoon each of brown sugar onto the surface of the yogurt in each ramekin.

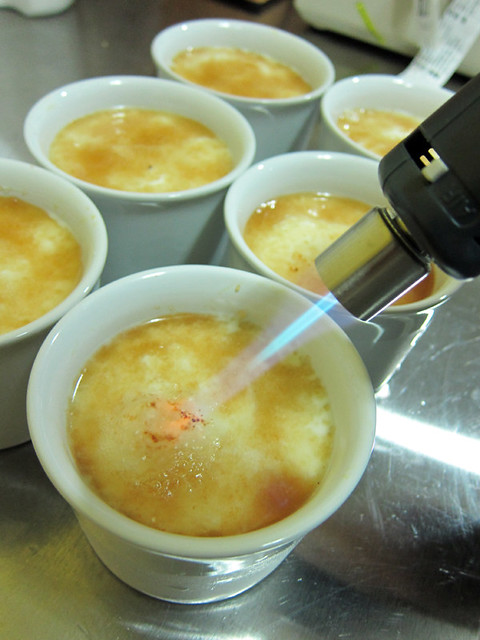
# – Then, with your kitchen torch…torch the sugar till they melt. Ahhhhh blue flame :)

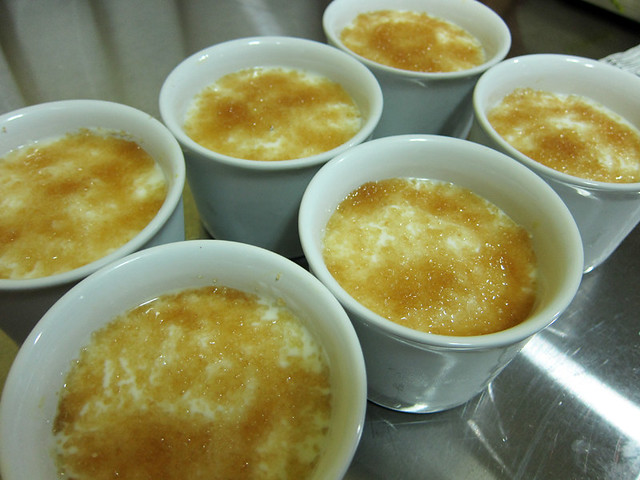
# – The melted sugar will cool down to form a thin layer of crispy caramel.

# – “This is not a mango and apple creme brulee”, DONE!

This dessert is certainly more healthy than a creme brulee made with 16 eggs but I think it’s on par where satisfaction is concerned. It is creamy but refreshing, sweet but not in a sickly sort of way. And best of all, I got to torch sugars :D

Have fun!

Lemonade with salted plums recipe.

Kuala Lumpur seems to be experiencing some kind of heat wave recently. The weather is so bloody hot! The other day the temperature on my car’s dashboard was reading 42 degrees Celsius?

What the hell…I warm my plates in the oven at 40-50 degrees and I still need oven gloves to handle them!

It’s so warm I really don’t feel like doing anything other than hanging out in the nude with the air-conditioner switched on full blast while sipping lemonade with salted plum.

Speaking of my lemonade with salted plum, it is currently my favourite drink! Tangy, sweet, slightly salty and fizzy, my mouth waters thinking about it.

I feel rather shy posting this because all you need to know what to do is open a can and hold a spoon….

The ingredients:

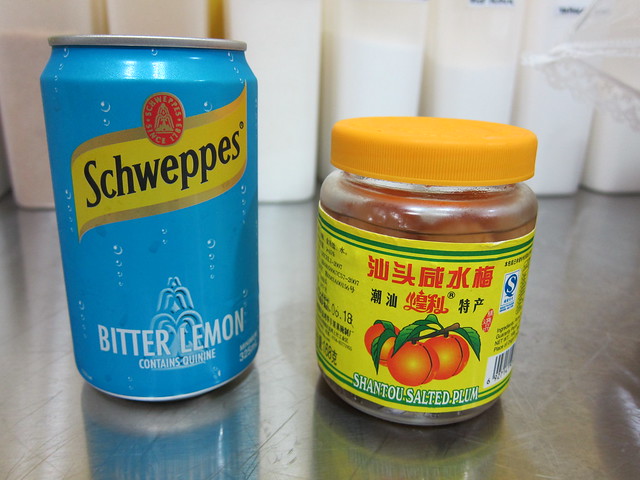
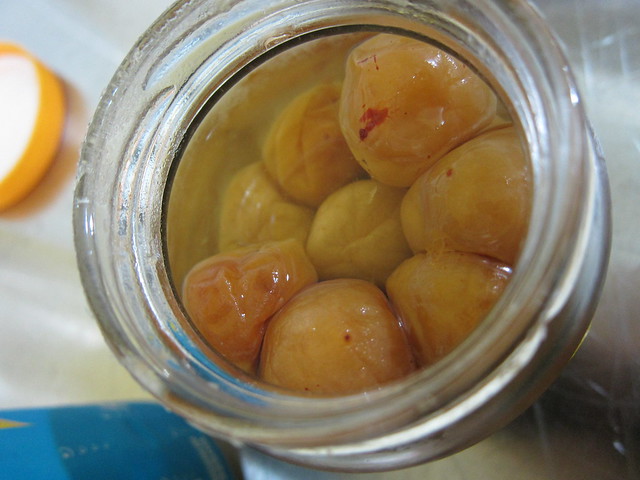
  • Wet salted plums (you can get them from asian stores)
  • Lemonade (you can use Sprite or 7UP though I highly recommend Bitter Lemon because it’s way more awesome)

# – Yeap, there are only two ingredients for this thirst quencher!

# – These are how wet salted plums look like. They are preserved in some kind of brine.

# – First, drop in two salted plums into a glass. Bruise them with a fork.

# – The plums looking a bit mashed up…

# – Then put in two tablespoons of the salted plums’ brine into the glass. You can choose to omit this step but I really like the taste of the tart and salty juice.

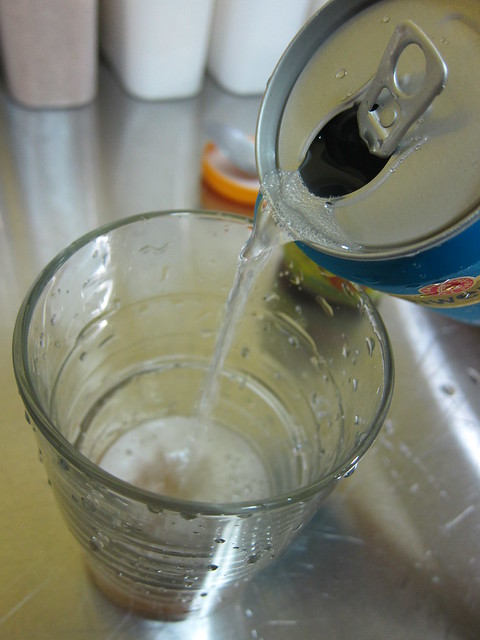
# – Next, open the can of lemonade and pour everything in.

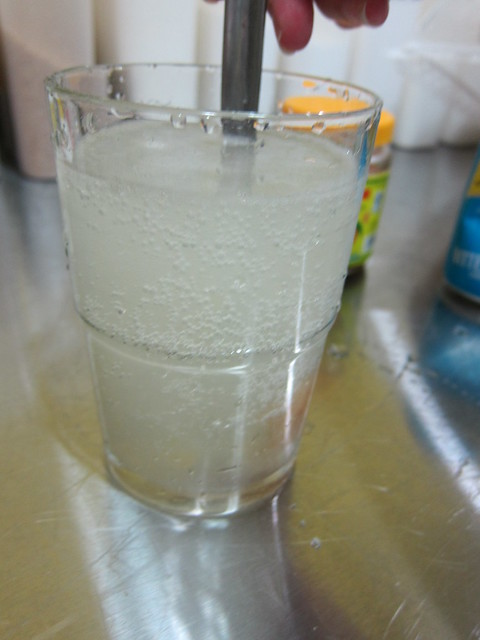
# – Stir….

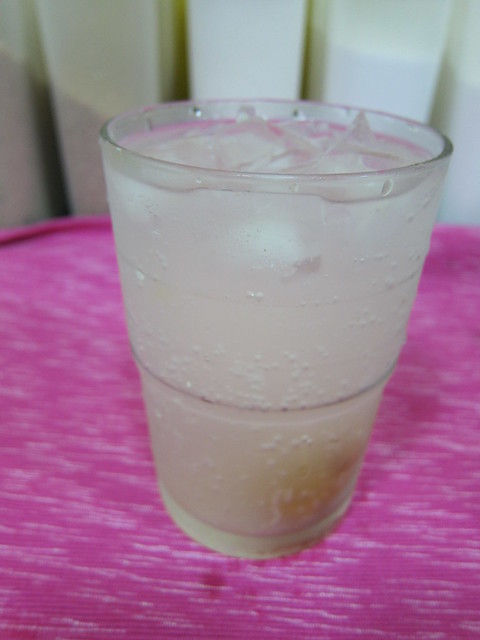
# – Lastly, top with ice.

# – Lemonade with salted plum, DONE!

# – I could drink this all the time…

I think I’m going to make one now. Oh wait….I just finished a glass 10 minutes ago. Urgh, I don’t care, I’m going to make another glass. I’m hot.

I think I’ll be okay with this crazy heat as long as I get my lemonade and salted plums fix.