Delicious and seriously easy apple crumble.

What do you do when you have only a couple of hours to spare before bedtime? You make apple crumble for supper!

Fruit crumble is possibly one of the easiest desserts to make from scratch. It looks impressive and tastes as though there’s a huge labour of love involved but the truth is, I only needed less than 15 minutes to prepare and 60 minutes to watch TV while it baked in the oven.

If you don’t cook or bake very much, I most definitely think that this is the dish to make to impress your friends & family! And what’s more, you don’t even need a whole lot of ingredients, which is a winner in my book. This recipe serves 2, so if you want to make more just multiply the amounts accordingly.

For the filling:

  • 2 green apples, peeled, cored and cut into wedges
  • 50grams of granulated sugar

For the crumble:

  • 85 grams of flour
  • 35 grams of butter
  • 25 grams of caster sugar (I used demerara sugar though)

# – First, lay the apples on an ovenproof dish or ramekins (for individual serving).

# – Then pour granulated sugar over the apples and ensure they are well coated. Set aside.

# – Sift the flour into a mixing bowl.

# – Add the butter into the flour.

# – Rub flour and butter with your fingers until they resemble fine breadcrumbs.

# – Now throw in the caster sugar (demerara sugar in my case) and mix. This is now the crumble.

# – Next, sprinkle the crumble evenly over the apples.

# – Make sure the apples are fully and evenly covered by crumble, like this.

# – Stick it in pre-heated oven at 190 degrees celcius for 15 minutes then reduce to 180 degrees celcius for a further 40 minutes or till top is lightly brown, so check your oven, ya!

# – Serve with a dollop of vanilla ice-cream for a perfect but simple & delicious dessert.

The combination of the tart & juicy apples with sweet, crunchy crumble is pure heaven! I’m going to make this regularly because the ingredients are readily available & reasonably cheap, the recipe is so easy an 8 year old can make it no problem and most importantly, I LOVE IT!

Baking meringues is easy!

I believe a lot of people think that baking meringues is quite a daunting task. I was one of those people. After 2 unsuccessful attempts, I’ve finally figured out the way to get perfect meringues, every single time and there are just two things:


1. Vinegar
2. Patience

Why vinegar? Use it to rinse your mixing bowl & beaters to get rid of traces of grease. This is important as apparently grease prevents the egg whites from fluffing up or something. No need to soak them in vinegar, just a couple of dashes into the bowl and onto the beaters, rub them around, rinse off and wash again with ordinary dish washing liquid. Then, dry them with kitchen towels.

As for patience…as long as you can keep your mind pre-occupied with something else for 2.5 hours other than “eat meringues now”, you’re just a step away from baking perfect meringues as far as I’m concerned, hehe.

So have you established whether you’ve got the 2 items that would ensure your meringue baking success? If you do, great! Now lets move on to the actual ingredients for meringues. Coincidentally, there are only two as well…….

  • 3 egg whites
  • 300 grams of sugar

# – Firstly, separate the egg yolks from egg whites. Don’t throw away the yolks, you can use them for other cookings.

# – Be patient with your camwhoring boyfriend who’s supposed to be taking pictures of you only. By the way, that’s how I look while separating eggs…INTENSE!

# – Beat the egg whites until they’re shiny & fluffy.

# – Kind of like this….

# – Now, gradually add the sugar while still beating the eggs. You will notice the fluff starts to get glossier and thicker.

# – You can stop beating when the mixture is glossy and stiff. Stick your index finger in and rub it against your thumb, if there’re still grainy bits of sugar, continue beating until sugar has completely dissolved. I’m not the extreme type though, I don’t mind slightly grainy meringues ;)

# – Time for piping. Next, spoon the mixture into a freezer bag. Or, if you’ve got one, use a proper piping bag.

# – Nip off one corner of the bag.

# – Pipe the mixture onto a slightly greased baking tray. You can use ordinary cooking oil which is generally tasteless.

# – This is the time to be creative.

# – Obviously, we had a bit of fun with the makeshift piping bag.

If you’re making pavlova, you can also put a large dollop onto the baking tray and then spread it with a spatula for a nice meringue nest.

# – Now stick it in your pre-heated oven at 110 degrees celcius for 2.5 hours.

Watch a movie, play with your dog, take a bath. Do something. Just don’t open your oven and probe the meringues.

# – 2.5 hours later. Slight cracks on the meringues are normal.

# – Bite into one. Firm, and powdery sweet :D

# – Meringues!!! DONE!

Our favourite way to eat meringues is with chopped sweet mangoes and a dollop a cream, which is basically mango version of Eton Mess. Put them in your ice cream for a nice, sweet crunch or even, eat them on its own. Why not? :D

Remember, vinegar and patience.

Chocolate buttermilk layer cake adapted from Donna Hay.

I found this recipe in a Donna Hay magazine. It’s their 50th issue birthday edition and the buttermilk chocolate layer cake is the cover cake. The last time I baked a cake was in 2005. That cake was not a looker but I was extremely proud of it, hahahahahaha.

# – The 50th issue birthday. The cake is just so gorgeous, isn’t it??? I just couldn’t stop thinking about it after seeing the picture.

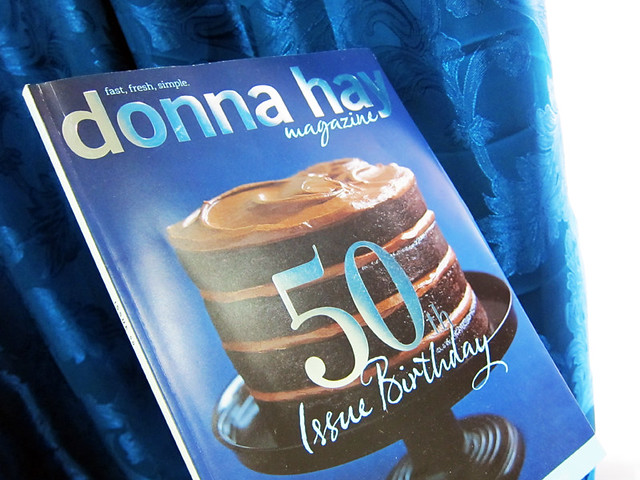
Alright, here’s something I’ve been pondering over. Does “50th issue birthday” mean the 50th issue or anniversary of the 50th issue which could be years ago? I’m not a follower of Donna Hay magazines so if anyone could clarify this would be much appreciated. I scored this particular issue from a knocked down bin…

Anyway, I love this cake, even when I didn’t stick 100% to the recipe. I replaced the original cream cheese chocolate frosting with a regular chocolate frosting but it was still amazingly delicious. I bet the cake would be even more fantastic with the original frosting but if you don’t have cream cheese in your pantry, don’t fret!

Here are the ingredients that you need…

For the cake

  • 250ml of water
  • 125gm of butter, chopped
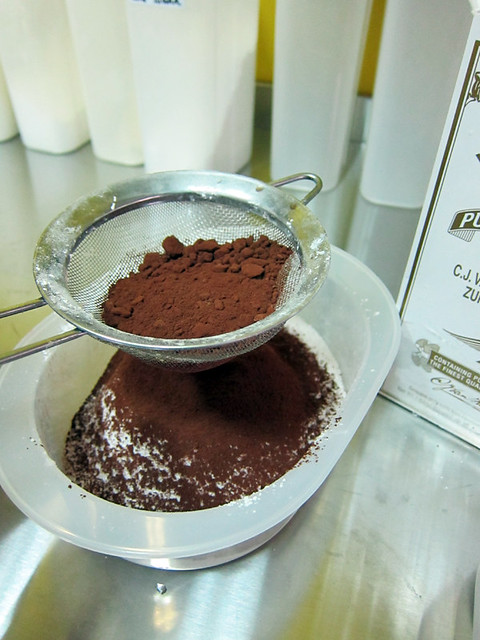
  • 35g of unsweetened cocoa powder, sifted
  • 300gm of flour, sifted
  • 1 teaspooon of baking soda, sifted
  • 350gm of caster sugar (as opposed to the recipe that called for 440gm because I used regular frosting instead of the more savoury cream cheese one)
  • 2 eggs
  • 125ml of buttermilk (if you don’t have it, just add 1/2 tablespoon of vinegar/lime/lemon juice to 125ml of milk and let stand for 10 minutes)

For the frosting

  • 550ml of icing sugar (roughly 2 cooking cups and a bit more)
  • 6 tablespoon of unsweetened cocoa powder
  • 6 tablespoon of butter
  • 5 tablespoon of evaporated milk (I used whipping cream…which is way more naughty :P)

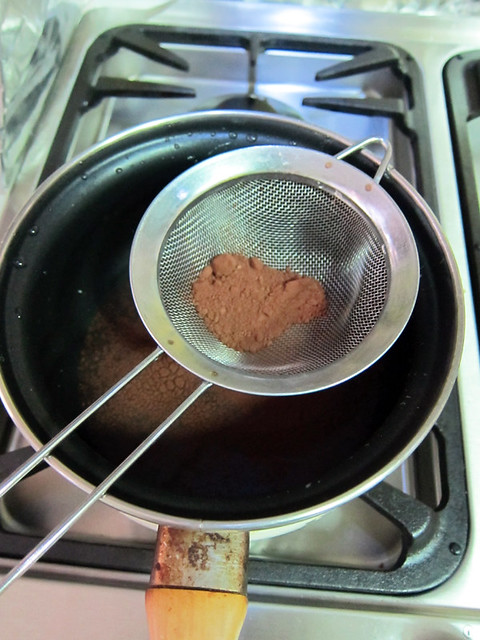
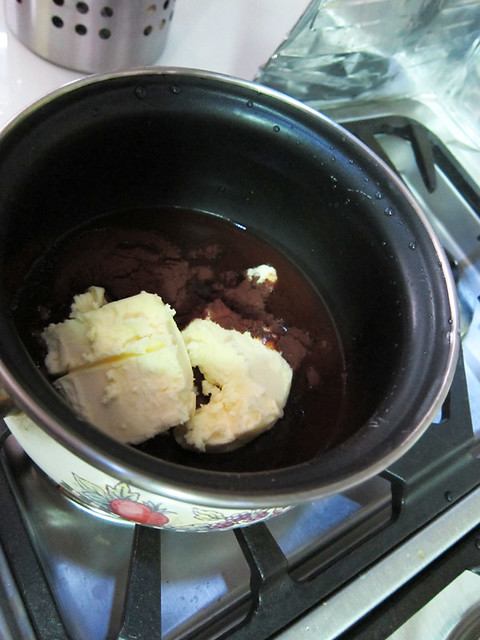
# – First, boil 250ml of water in a pot and sift 35gm of cocoa powder over it.

# – Then add the 125gm of chopped butter. Stir until butter is melted and set aside.

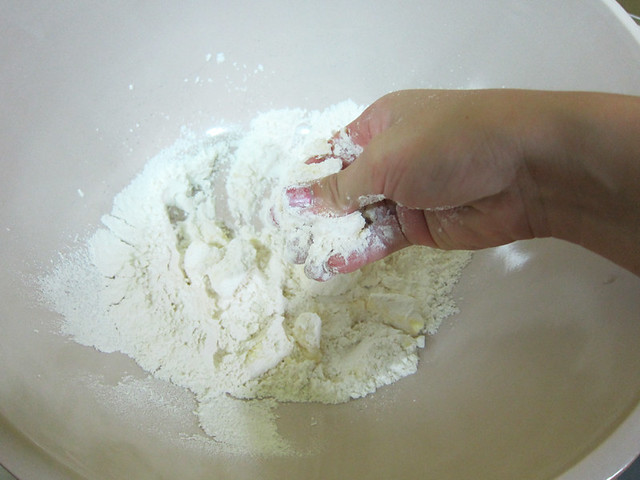
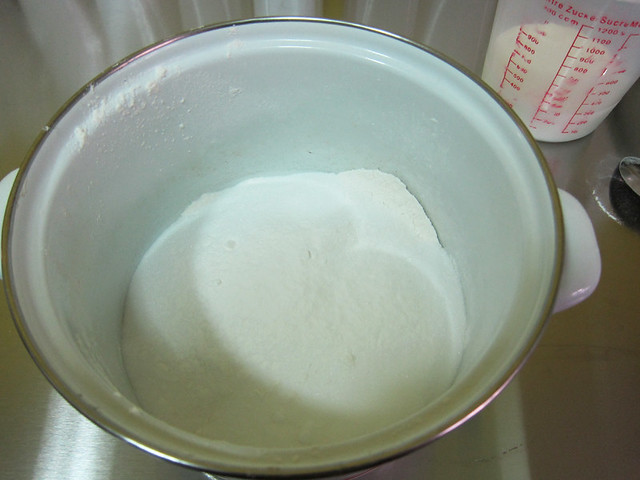
# – Prepare 300gm of flour, 1 teaspoon of baking soda & 350gm of caster sugar in a mixing bowl

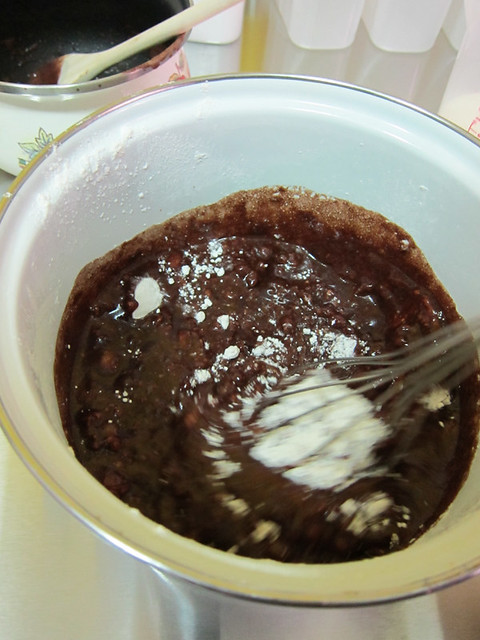
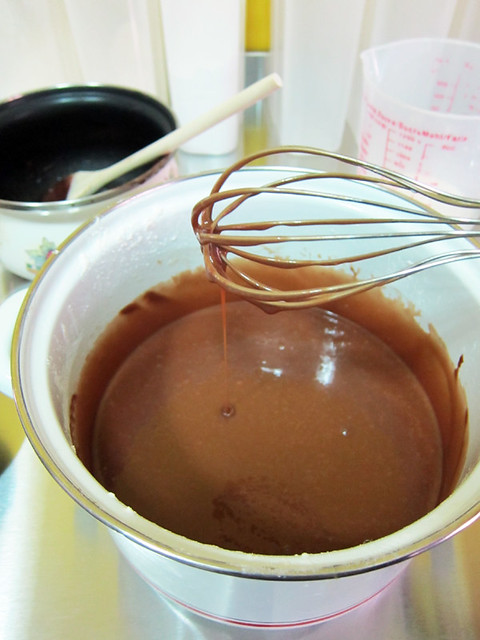
# – Now pour the cocoa mixture into the flour mixture and whisk till combined.
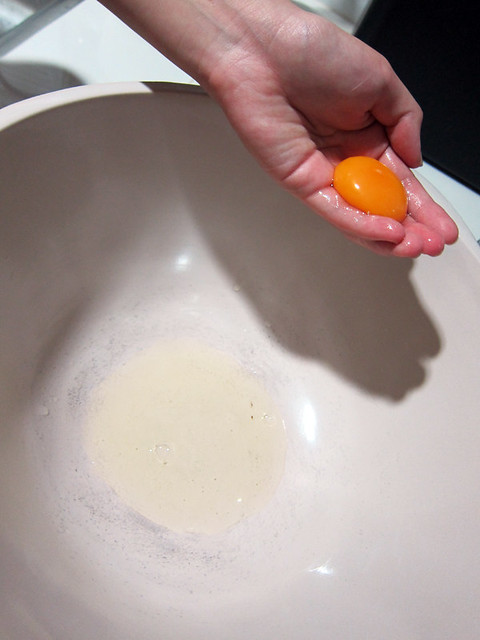
# – Add the 2 eggs.

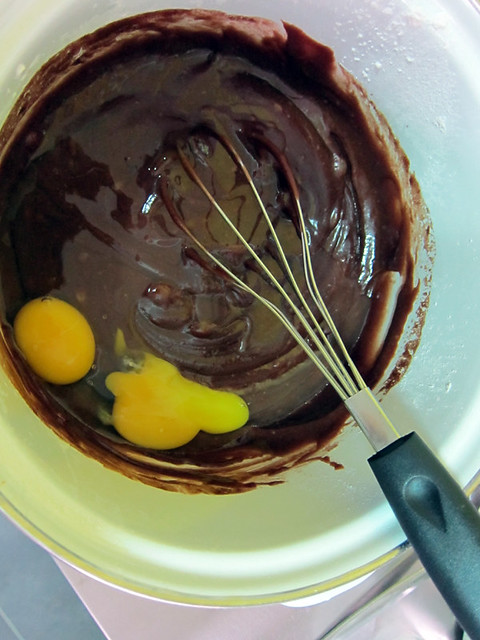
# – Then pour in 125ml of buttermilk. If you don’t have buttermilk, refer to recipe above on how to cheat ;)

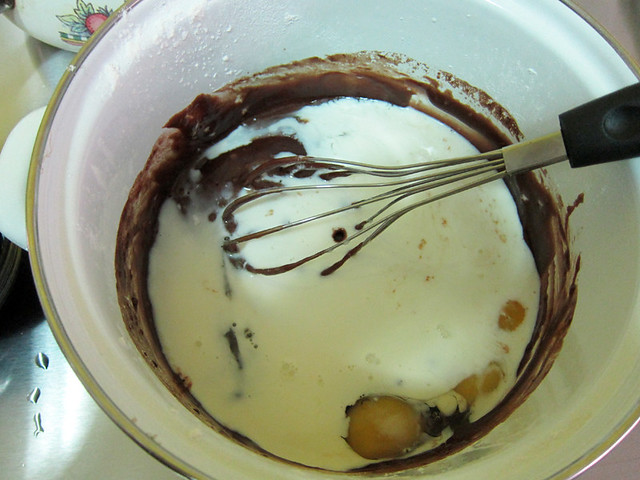
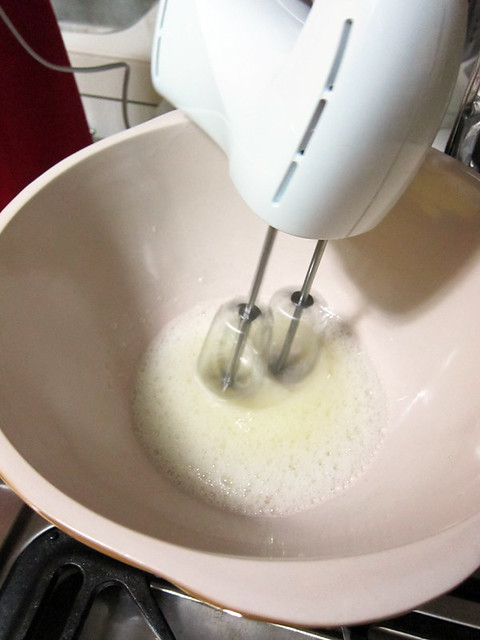
# – Whisk everything till combined.

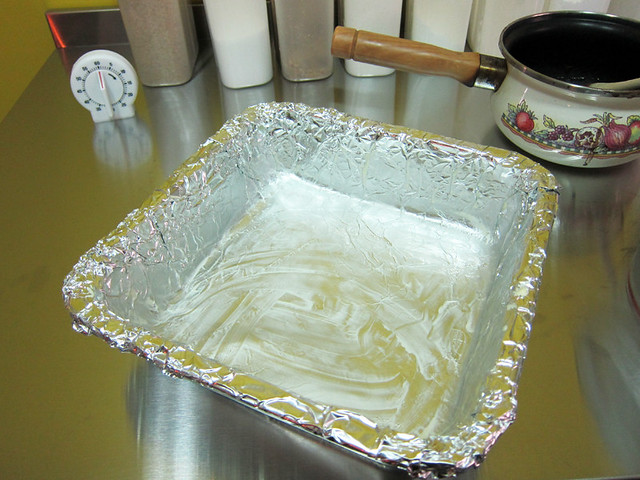
# – Lightly grease two 10″ x 10″ cake tins & lay them with parchment papers. But due to lack of resources and my innate rebellious streak on top of my despise for washing cake tins, I used aluminum foil and grease it with butter. Trust me, it works like a charm :D

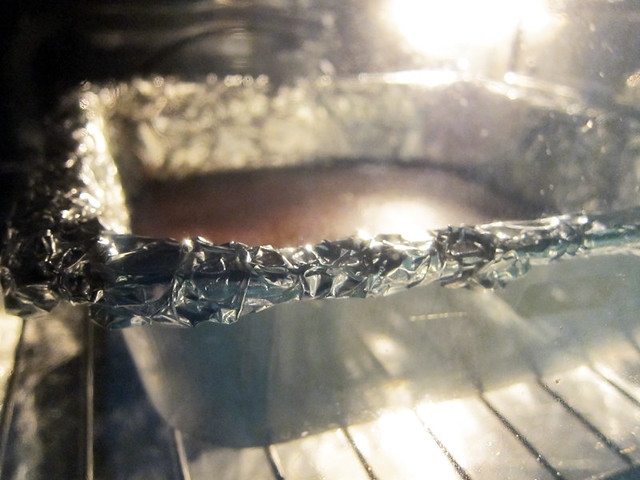
# – Now divide the mixture into two & pour half into each cake tin. Then stick into preheated oven at 160 degrees celcius for 40-45 minutes.

# – Let the cakes cool down completely, which takes a minimum of 1/2 hour to be absolutely safe. You do not want the frosting to melt upon contact with the cakes, ya.

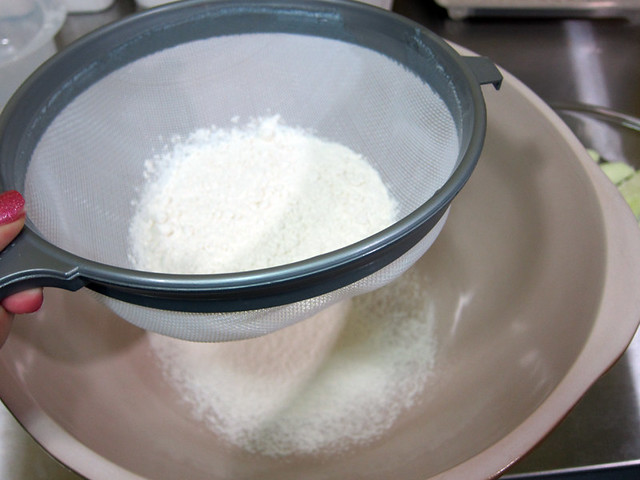
# – While the cakes are cooling down, lets begin to make the frosting. Sieve 550ml of icing sugar and 6 tablespoon of cocoa powder into a bowl and set aside.
null

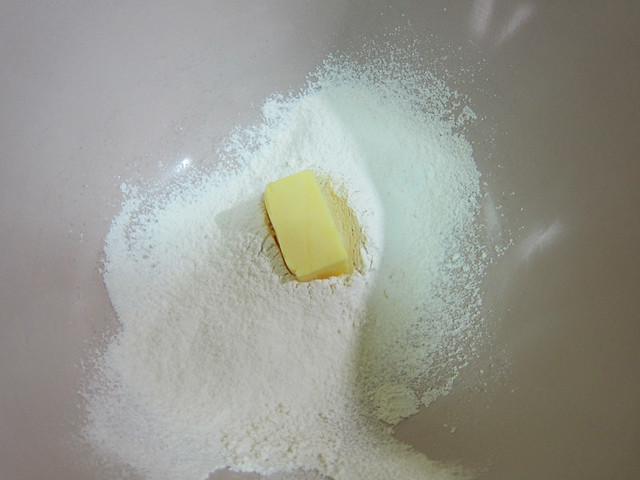
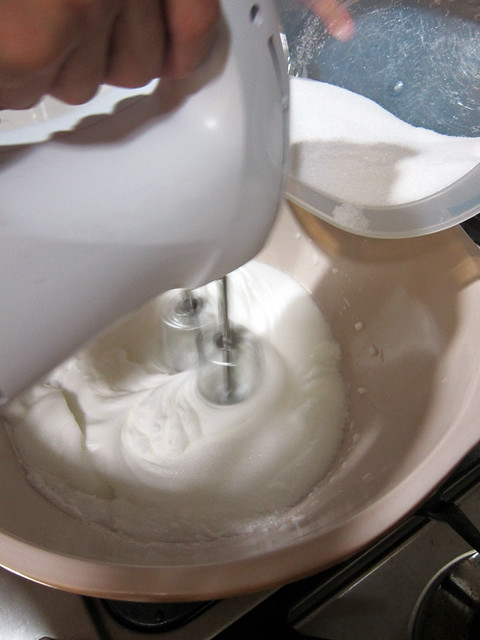
# – Lay out 6 tablespoons of butter in a mixing bowl, the cocoa & icing sugar mixture you prepared earlier, 5 tablespoon of evaporated milk and a hand mixer.

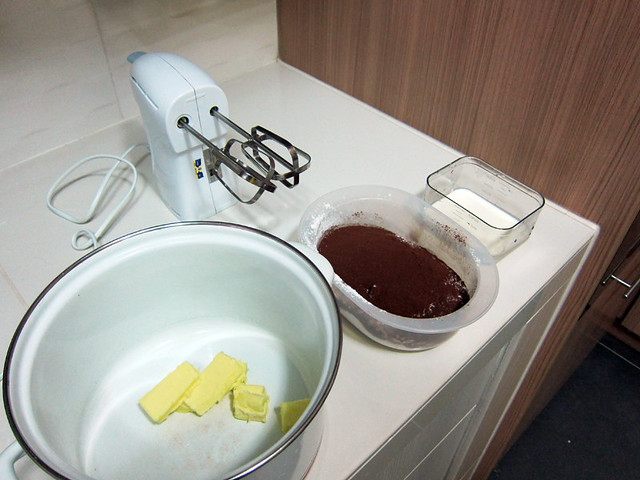
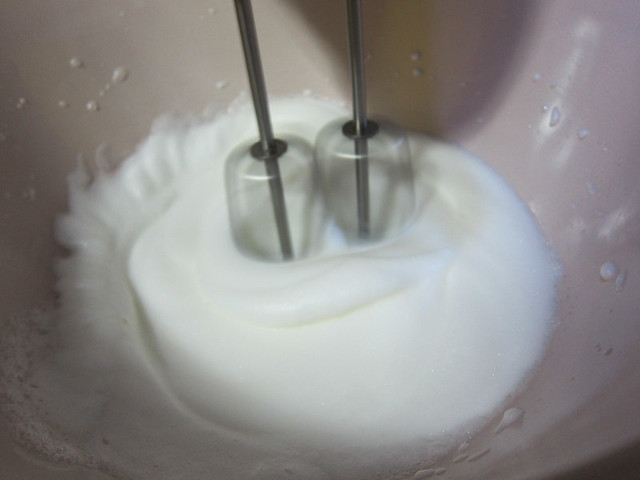
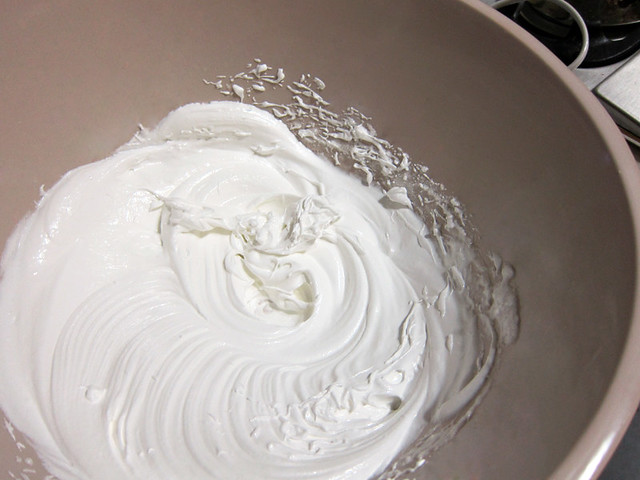
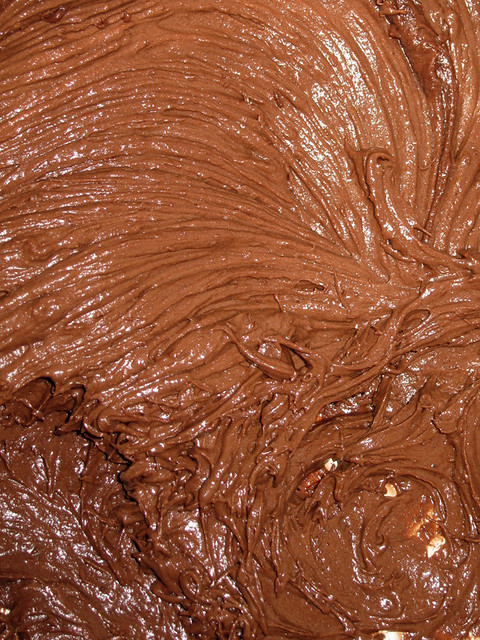
# – With the hand mixer, cream butter until smooth, then gradually beat in sugar mixture alternately with evaporated milk. Beat until light and fluffy. If necessary, adjust consistency with more milk or sugar till you get frosting!

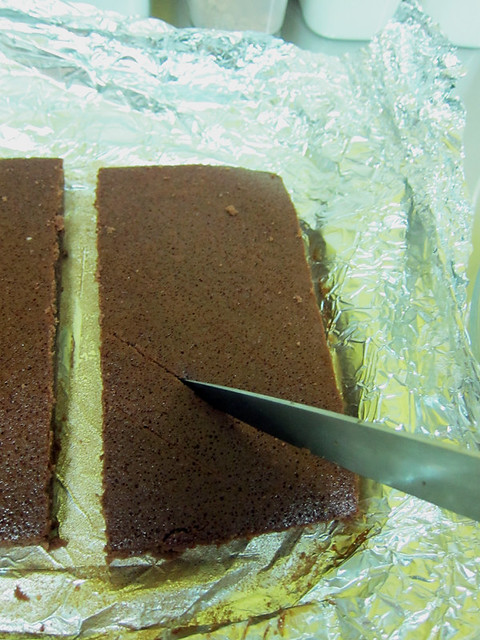
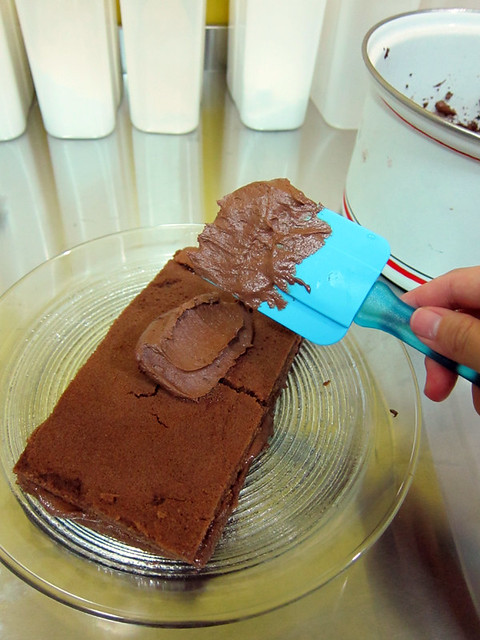
# – Set the frosting aside and now, cut each cake into half. And lightly score the top of the cakes without cutting all the way.

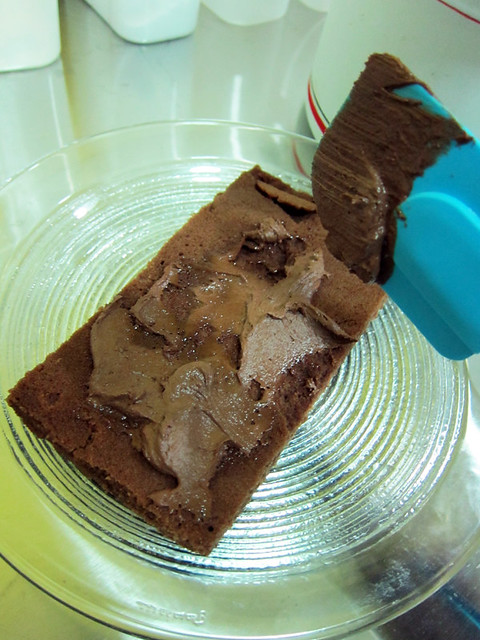
# – Lay one piece with the scored surface down and slather the frosting all over the top. Be generous with the frosting, you will thank me!

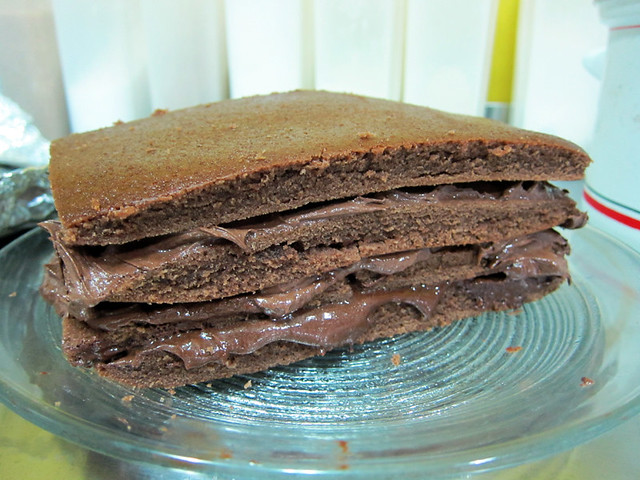
# – Lay another piece on top of the frosted cake. Again, with the scored surface down and frost that baby. Don’t worry if your cake broke or cracked.

# – Repeat steps till you run out of cakes and you get this…

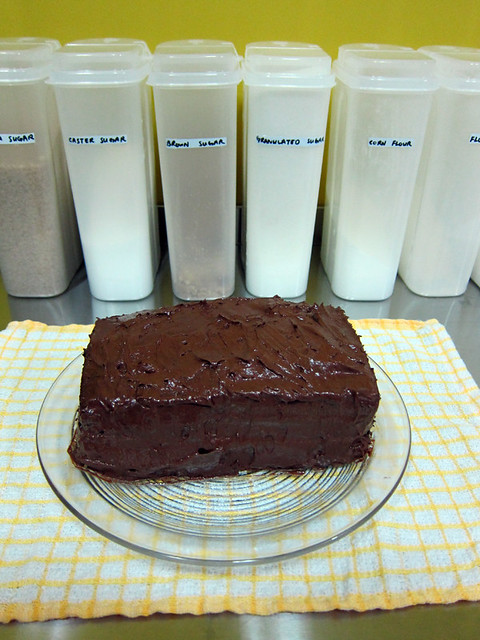
# – Now, frost the entire thing!!

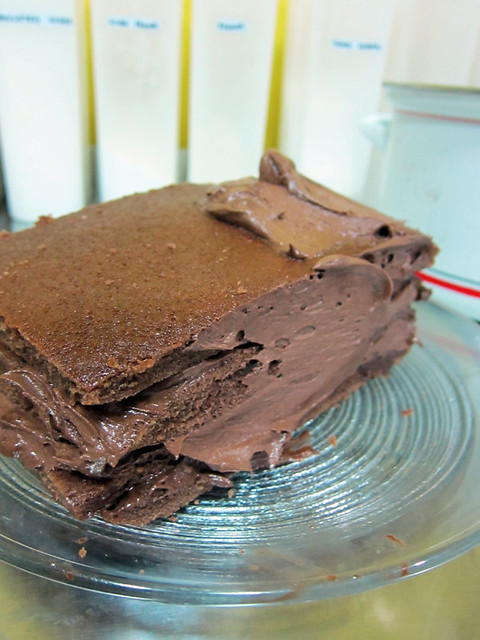
# – Eventually, you will end up with this….
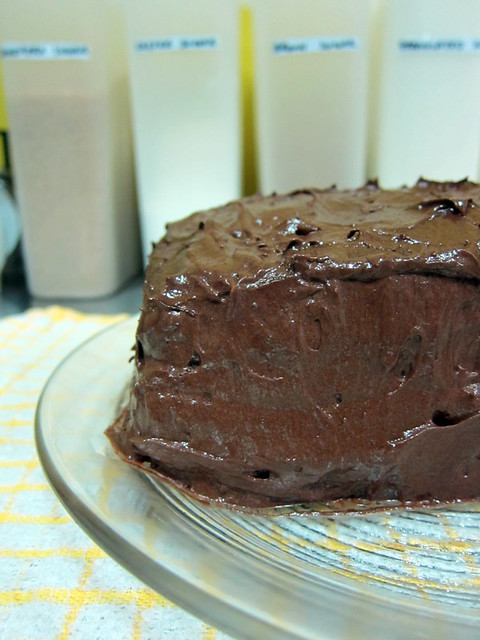
# – Oh, baby!

# – Oh, BABY!!!!

# – GIVE IT TO ME!!!!

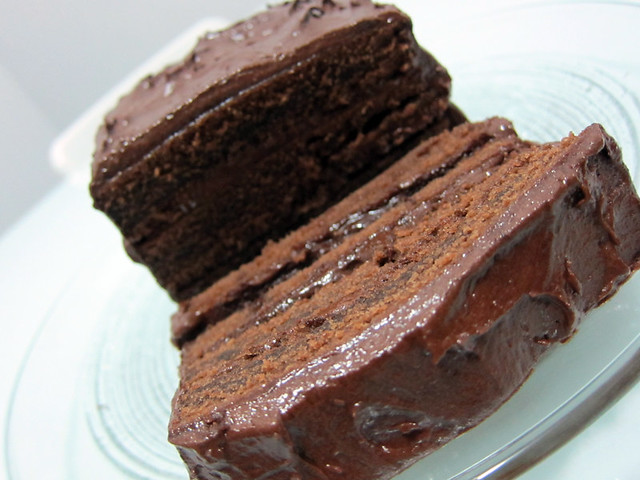
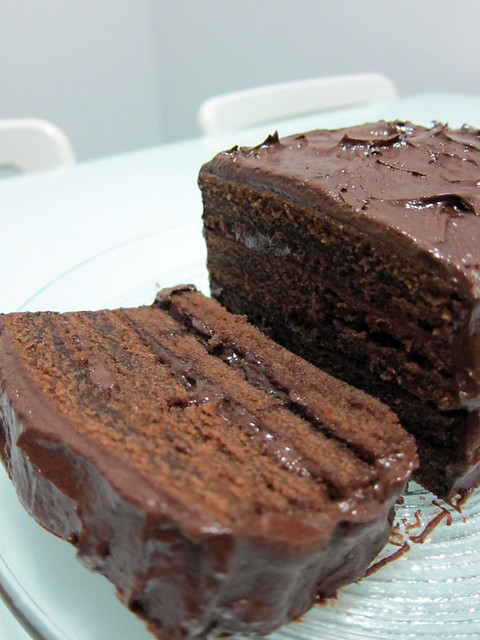
For a cake that only had cocoa powder in it, it was surprisingly chocolaty! Not to mention, moist, rich and absolutely delicious. If I hadn’t told my BF, he would have thought I had used expensive dark chocolate bars to make the cake. But nope, just reasonably priced Van Houten’s cocoa powder that you can get at almost any grocery shop ;)

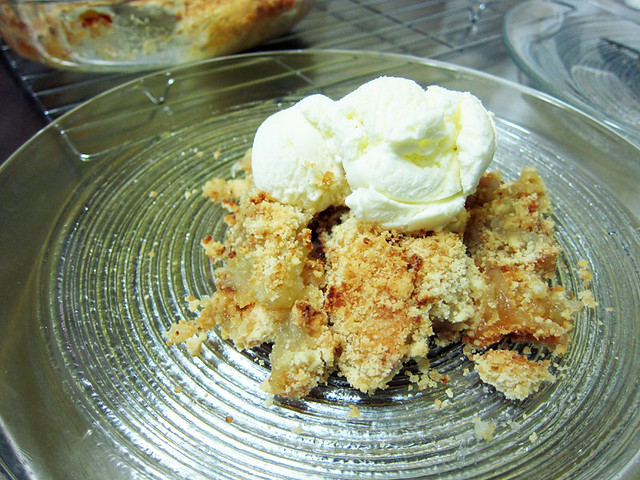
And oh, it is also very nice chilled. My BF, being a sucker for warm dessert also heated it up in the oven, till the frosting melted into some sort of rich chocolate sauce and ate it with a dollop of vanilla ice cream. Fantastic!

Please, make it happen! Yes, you, you and you!