This recipe is from Oliver Rowe, someone I stumbled upon on BBC website. If I had read the recipe thoroughly, I probably would not have made it. But like most Malaysians, I don’t read everything and hence found myself completely horrified half way through making this tarte tatin.
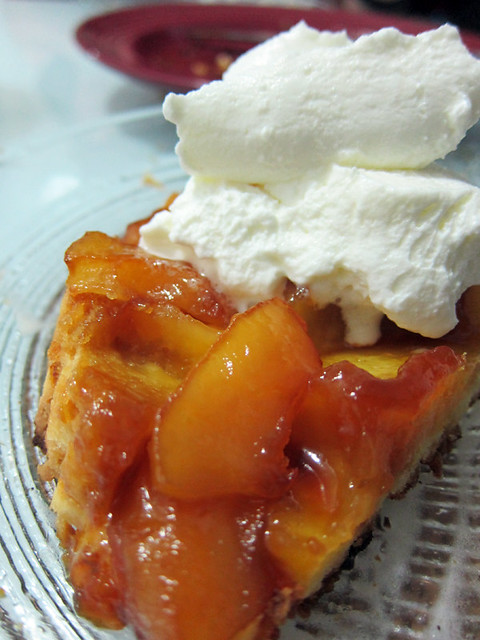
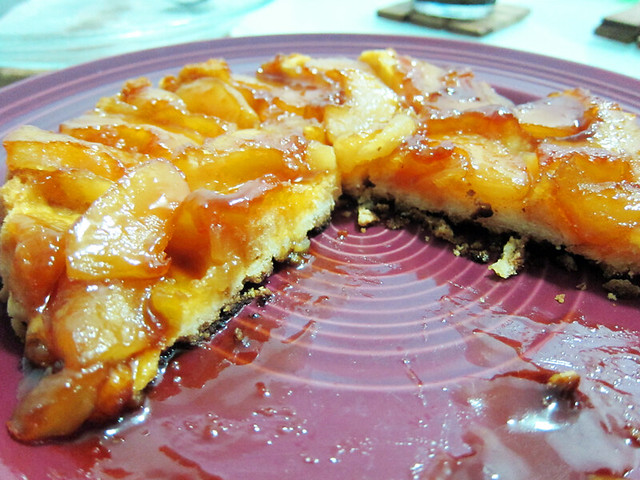
That said though, I’m so glad I pushed on and followed the recipe to a T. Okay…..maybe not to a T because I accidentally missed out putting a dollop of butter in one of the final steps. Still, the tart turned out extremely delicious. I’m not kidding, look at this:
# – Does this not look delicious to you?
What is tarte tatin? Basically, it’s an upside down tart of caramelised fruits such as apples or pears. I halved the recipe because there were only two of us. The tart still turned out perfect, so I have now promoted Oliver Rowe to my list of trustworthy chefs (as in those that dish out reliable recipes), joining the ranks of Gordon Ramsay and…and..Gordon Ramsay :P
Anyway, these are the ingredients you need for making tarte tatin for four. And yes, it only took two of us to clear up a dessert for 4. Now you know why I’ve been lamenting about buying a treadmill on Twitter.
For the pastry:
- 115g of plain flour
- 113g of ice-cold butter
- 55g of icing sugar
- 1 egg yolk
For the filling:
- 2 Royal Gala apples (I totally veered off from choice of apples. What’s that phrase? Yeah, local limitations :P)
- Juice from 1 lime (Also, instead of lemon, I used lime)
- 55g of caster sugar
- 55g of butter
And lets begin…
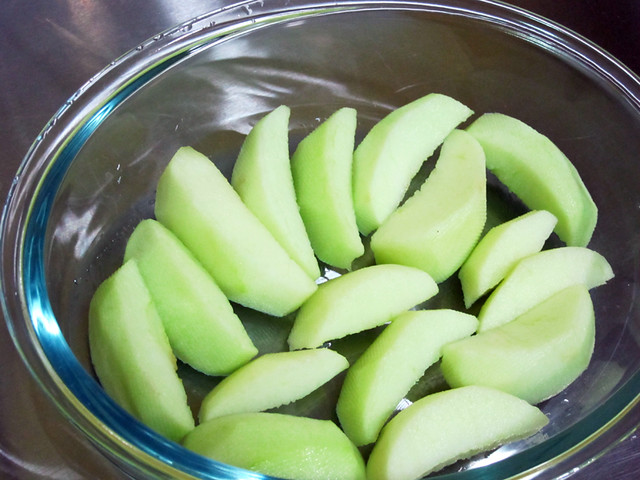
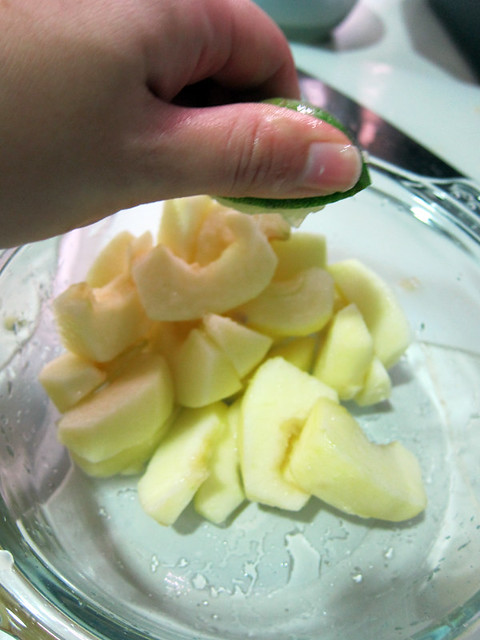
# – Peel and core apples then cut into wedges. Toss them around in juice of 1 lime. Stick them into the fridge.
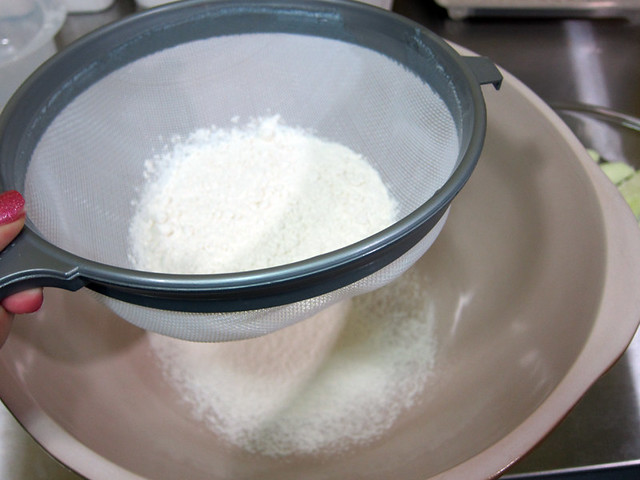
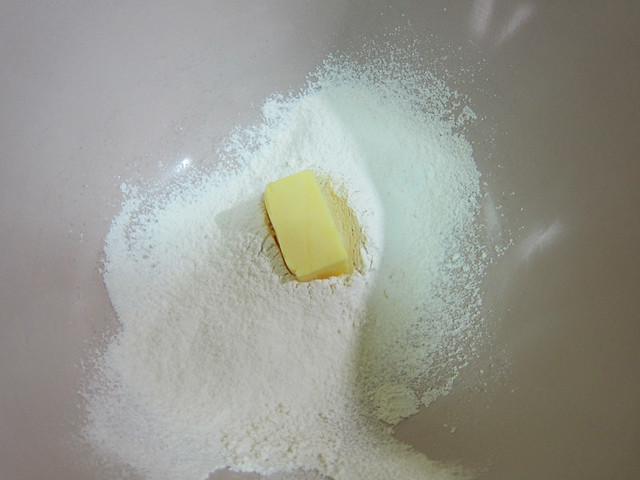
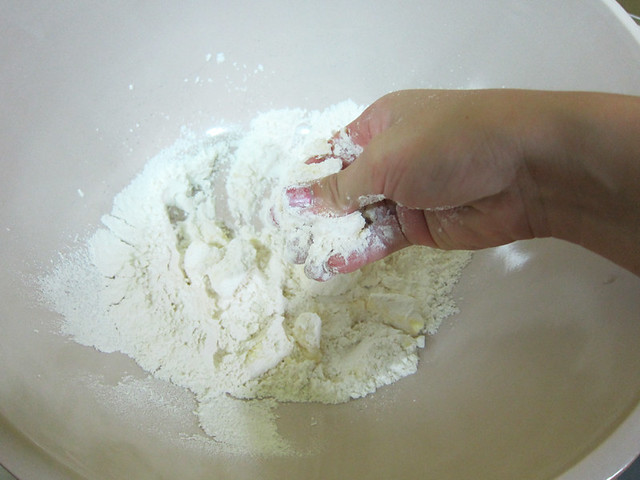
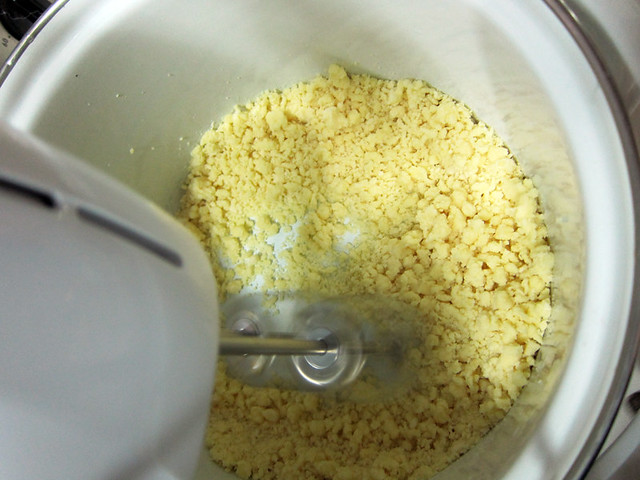
# – Combine flour, icing sugar and butter in a bowl…
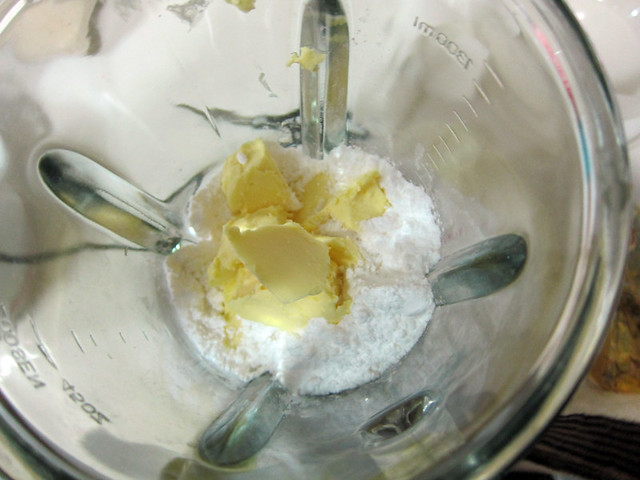
# – Then beat until resemble bread crumbs.
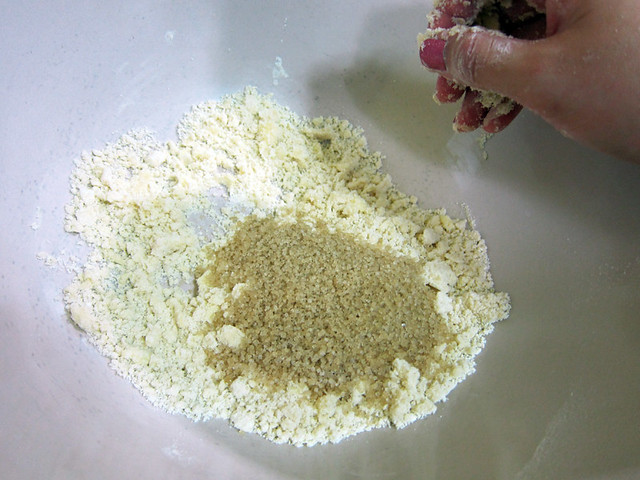
# – Now, pour in the single egg yolk. Beat again till combined.
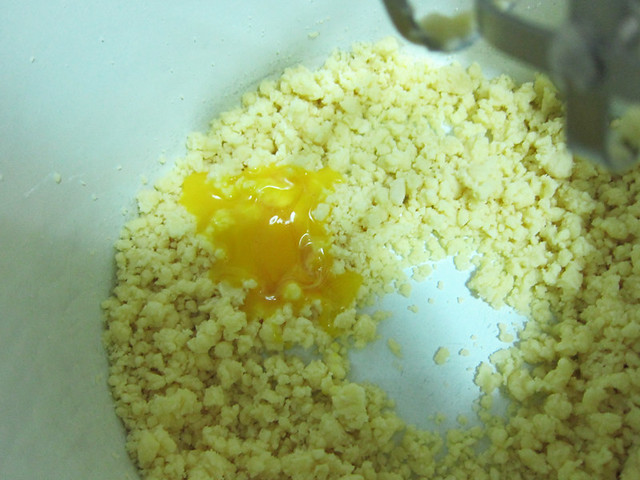
At this point, the mixture will become somewhat of a cross between dough and batter – soft but not too soft. Now switch off your electrical hand mixer and use the very hands that your mother gave you to pack the mixture into a ball.
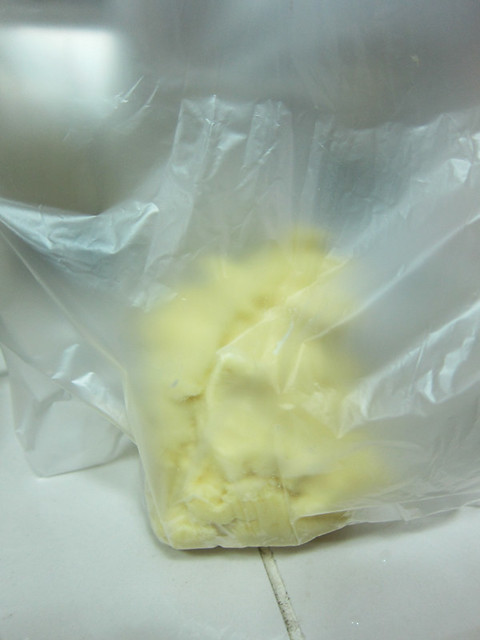
# – Then stick the mixture into a freezer bag.
# – And shove the bag of dough/batter in your freezer for an hour.
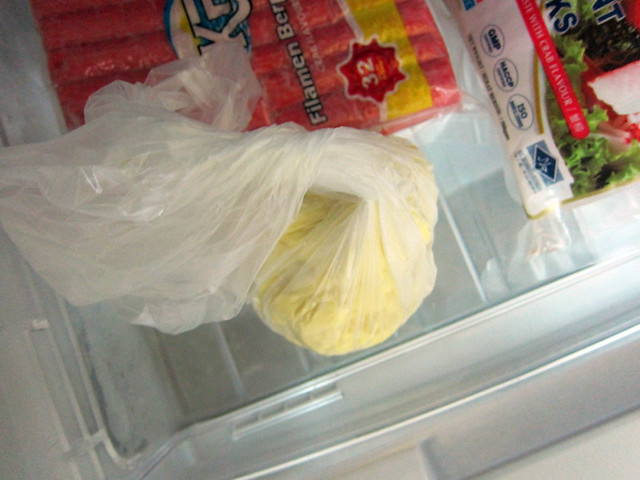
Basically you have about 45 minutes to kill, while waiting for your dough/batter thing to harden. Watch some TV, stalk someone online or play with your dog. As for me, I made cottage pie. You may now go sob in a corner.
Tick tock tick tock tick tock tick tock…
45 minutes later…
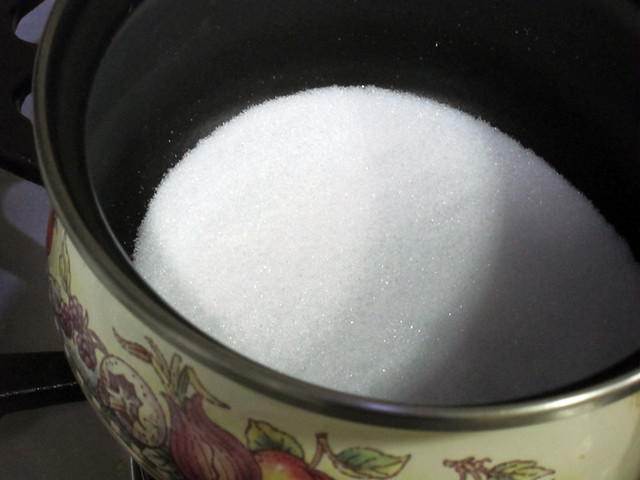
# – Heat up the castor sugar in a pot on medium heat for 10 minutes. Turn the pot all the time and keep a watchful eye as you want the sugar melted, not burnt.
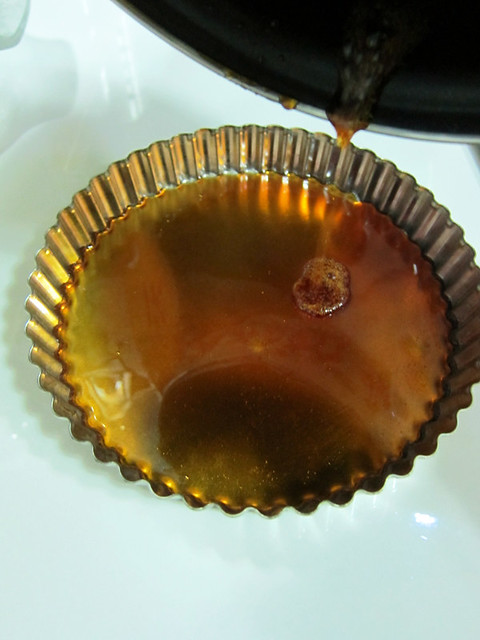
Oliver Rowe used a saucepan that can be used in an oven, which greatly decreased dish washing duties. As I don’t have such acclaimed saucepan, I poured my melted sugar into a flan tin that I got from Daiso for RM5.
# – Pour melted sugar or jeng jeng jeng, CARAMEL!!!! into flan tin and make sure it’s covered all surface.
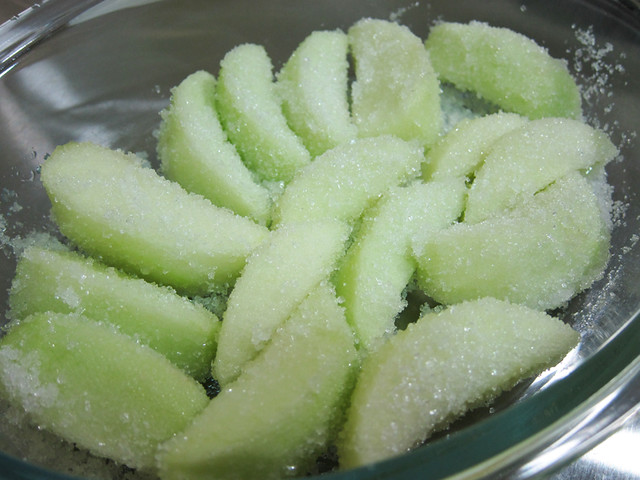
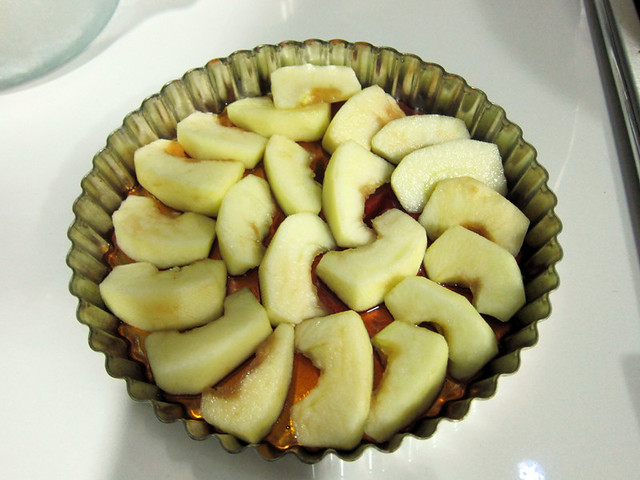
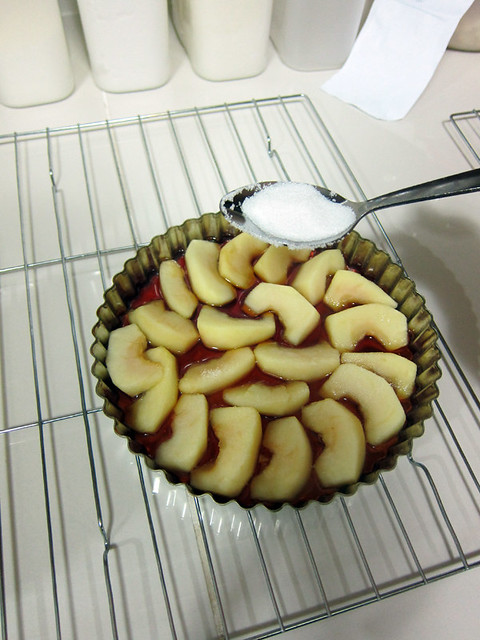
# – Now, take your chilled apples out from the fridge and lay them on the bottom of the flan tin, over the caramel. Just one layer because less is more. Less is more…
Something must have distracted me here because I don’t have any picture to illustrate but you have to stick the flan tin into the oven at 250 degrees celcius for 10 minutes, to bring out the juice in the apples.
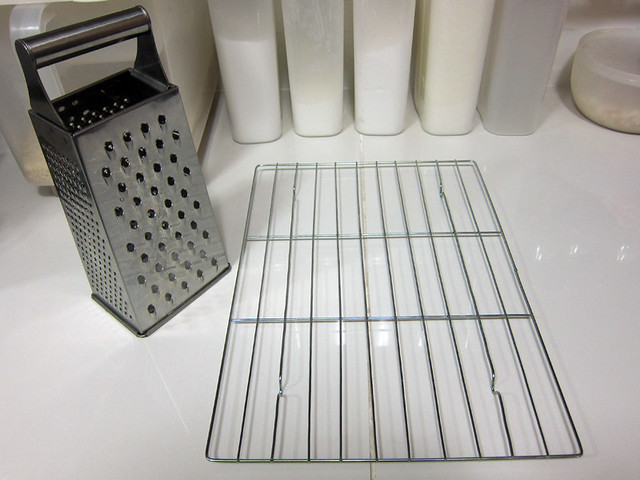
# – In the meantime, prepare a grater, a bowl of caster sugar and a heatproof stand. You’re handling a really hot flan tin here so you don’t want to be scrambling for your stuff.
# – After 10 minutes, bring the flan tin out from the oven, put it over the heatproof stand and sprinkle caster sugar all over the apples. You’re supposed to put a dollop of butter now too but I forgot and it didn’t matter one bit.
And now, you must be thinking about the pastry right? Yeah, we’ve come to that stage…
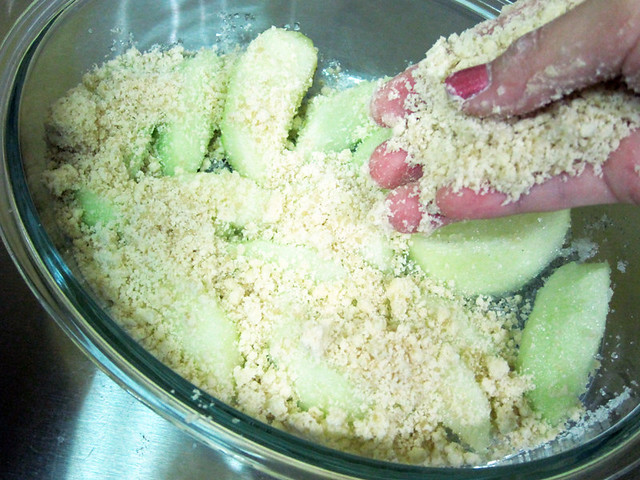
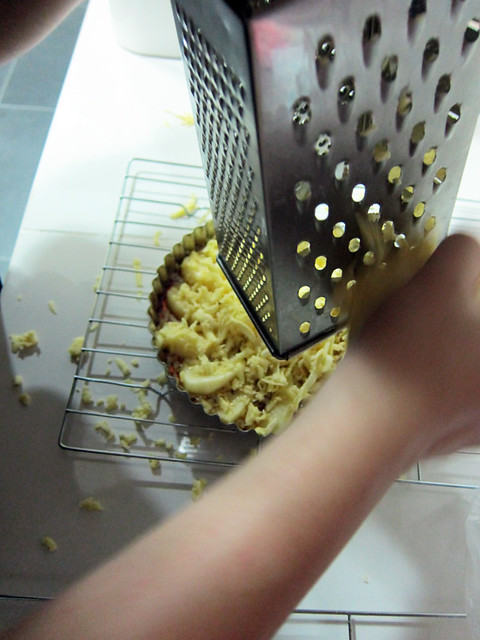
# – Take out the hardened dough from your freezer…and grate it over the flan tin.
Say WHAT?
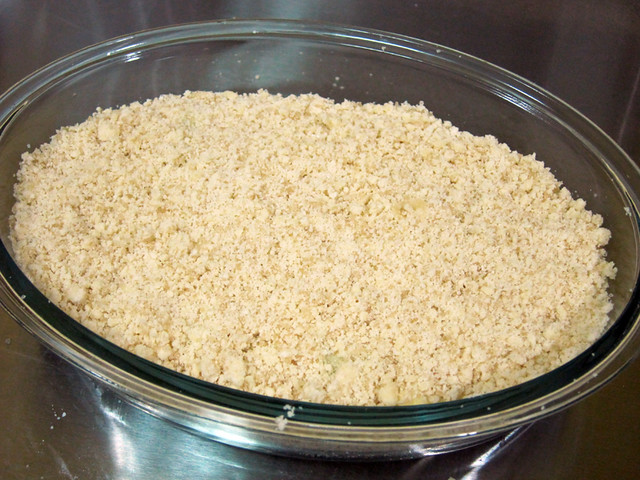
# – Yeap, grate the effin dough over the flan tin till you can’t see what’s underneath and it’s about 1 inch thick. DO NOT press the grated dough down.
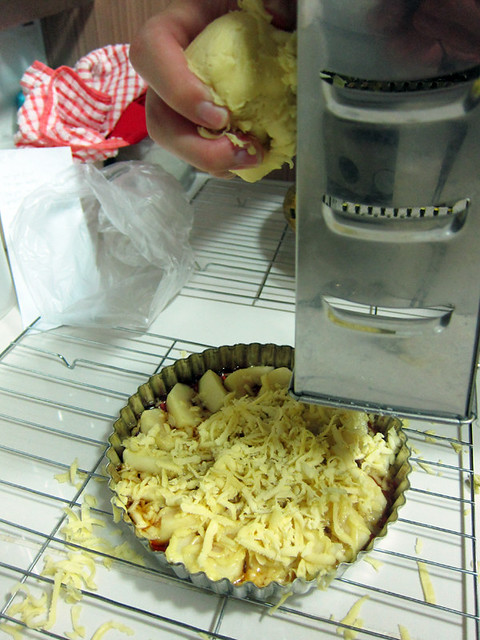
Now stick the flan tin back into the oven for 20 minutes at 220 degrees celcius. Please don’t leave the tarte tatin in the oven to rest after 20 minutes because it will continue cooking. A mistake I made that caused my pastry to burnt slightly :(
(Though it did not hamper the taste of the tart one bit, not even a little.)
Put a plate over the flan tin and turned the tarte tatin out.
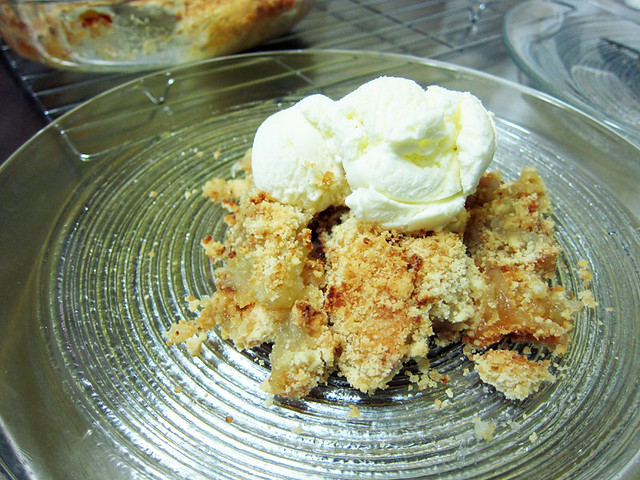
# – My first tarte tatin.
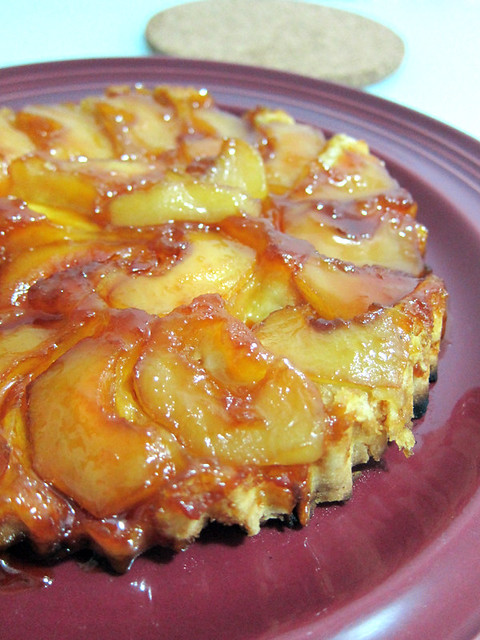
# – Juicy, caramelised apples on a buttery pastry…hmmmmm.
# – Great with a dollop of whipped cream but perfect on its own too ;)
Thanks Oliver for such an excellent dessert! My man loves me a little bit more thanks to you, hehehe.