My version of milk pudding.

It all started with a mad craving for taufufa in the middle of the night. As it’s impossible to find someone selling it at those hours, I decided to make it myself. Not taufufa, but something similar – milk pudding. A search on Google yielded so many results but I finally settled on a recipe that called for eggs, milk, sugar and ginger. Easy peasy, so I thought.

I had got sugar; but no milk, eggs and ginger. So I scurried off to the nearest 7-11 and thankfully found milk and eggs but still no ginger. The bf came up with the brilliant idea of asking the neighbourhood food stall for some. I was hesitant because it’s an odd request but my cravings were intense so I put on my bravest face and asked the proprietor. He gave me a bunch of them and even refused payment. The world has nice people :)

So I got home and immediately started cooking. As I discovered, making ginger juice is difficult! As I don’t have a juicer, I used a garlic presser and it’s one of the most tedious thing I’ve ever done. The worse thing was the amount of juice was not even much -_-

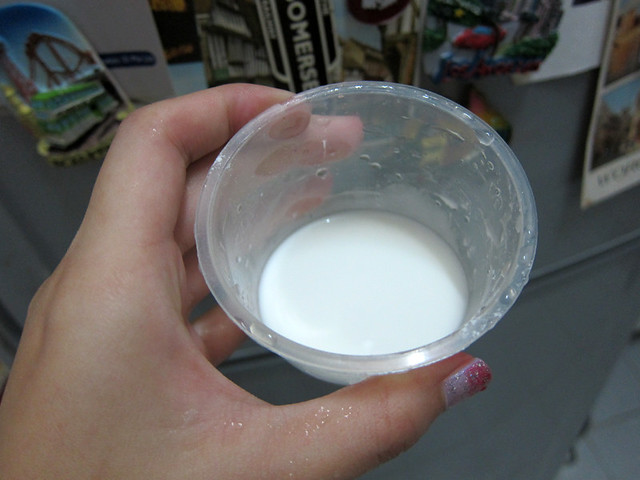
Anyway, long story short, the milk dessert that I so looked forward to eating failed. I think it’s something to do with the “fake” milk from 7-11. I ended up drinking steamed sweetened, eggy milk with ginger juice. Nasty shit, but as I told my boyfriend, I ALWAYS eat my own food. I just forgot to mention “regardless of bad or good”.

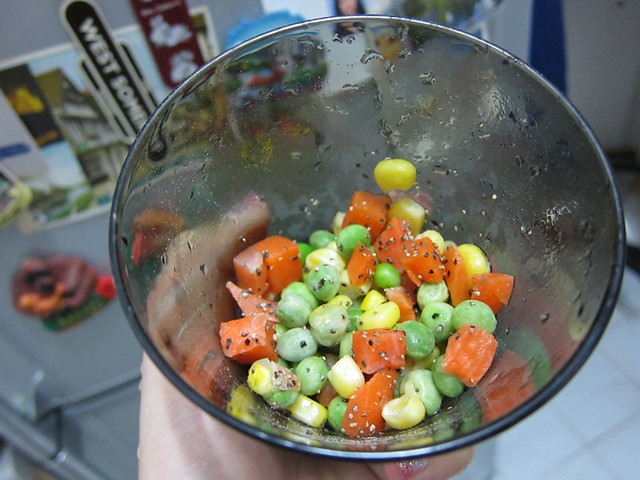
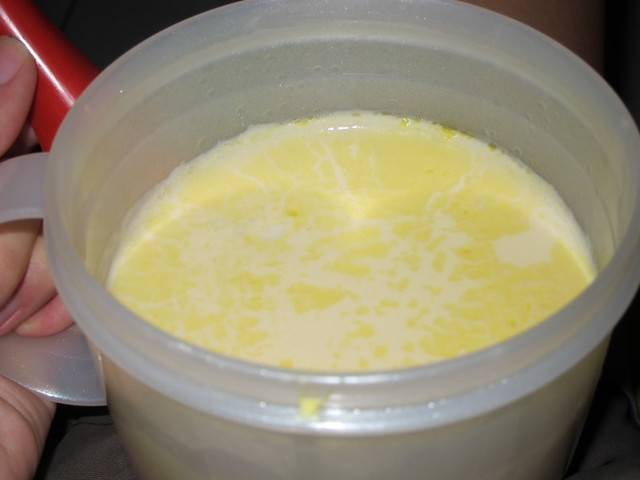
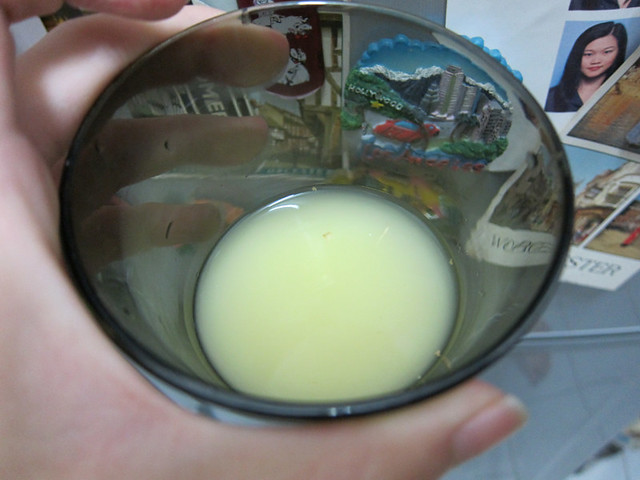
# – Yeap, this is a picture of the eggy, gingery, milk mess I gulped down. I bet it made me strong & healthy.

So I did more scientific (ahem) research and apparently, warm milk coagulates upon contact with ginger juice. So the recipe that I was following which called for all ingredients to be mixed together and steamed was utter bollocks and to be honest, a pain in the ass :P

Without further ado, please allow me to share my recipe for milk pudding:

First of all, you need the following ingredients; milk, sugar and ginger.

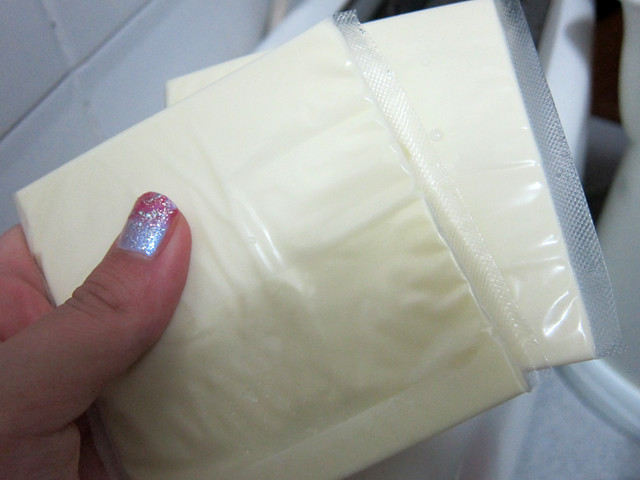
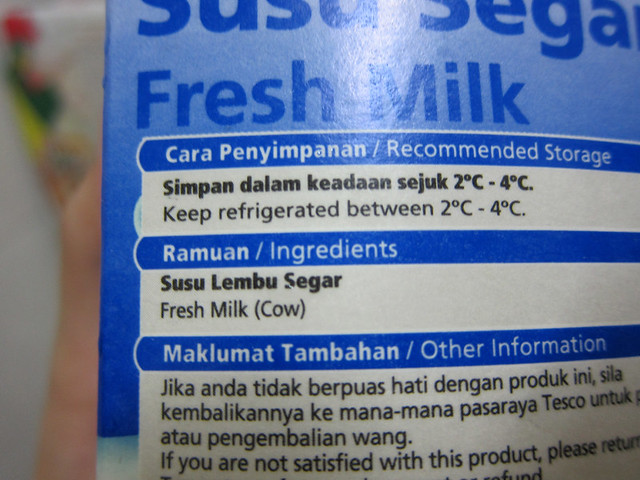
# – Milk. Make sure that the ingredient list on the carton has only ONE ingredient – milk. Anything more is NOT MILK!

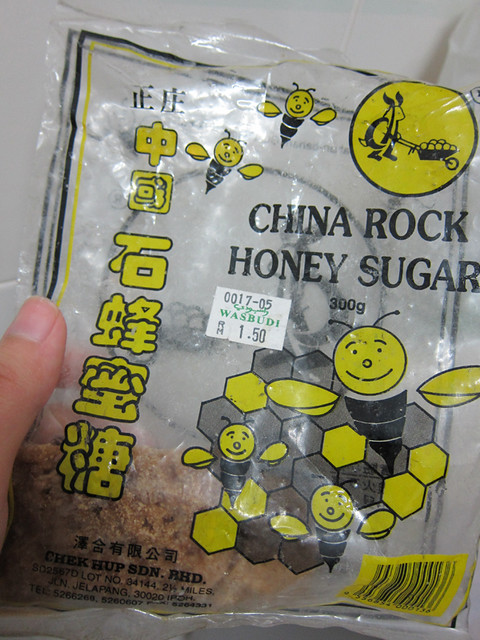
# – Sugar. I used honey rock sugar because I happen to have them. I guess you can use other types of sugar that you fancy.

# – Ginger. Find ones that are not too young and not too old.

First of all, juice the damn gingers. This is the part that I hate most but it must be done. I recommend using an electrical juicer or even pestle/mortar. Ideally there shouldn’t be any fibre in the juice for a smoother pudding but cause I’m just messy like that and I don’t mind a bit of bite to it, I didn’t bother to remove the bits of ginger.

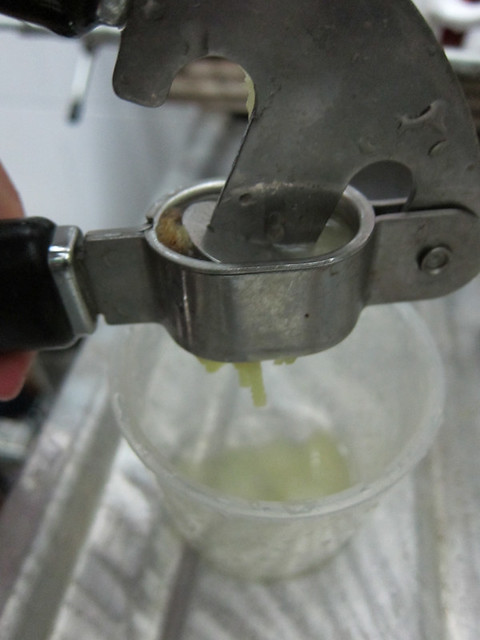
# – I used a garlic presser but if you’ve got better methods, please knock yourself out.

# – The amount of juice was not much. So do buy more ginger than you think you need. At least when you’ve got enough juice you can keep the rest another time. Or more milk pudding :D

From my experiments, the best ratio of milk and ginger juice to ensure coagulation is 2:1. So lets say you’re hoping to coagulate a cup of milk, please make sure you’ve got at least 1/2 cup of ginger juice!

# – Heat up the milk. The amount should be twice the amount of ginger juice you’ve got. Remember, the objective here is to warm it up, not boil. DON’T BOIL THE MILK.
null

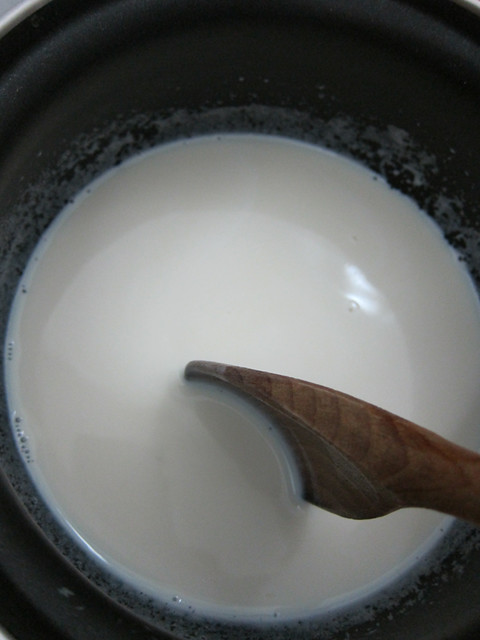
# – Then add sugar to your taste and stir till it melts. DON’T BOIL THE MILK.

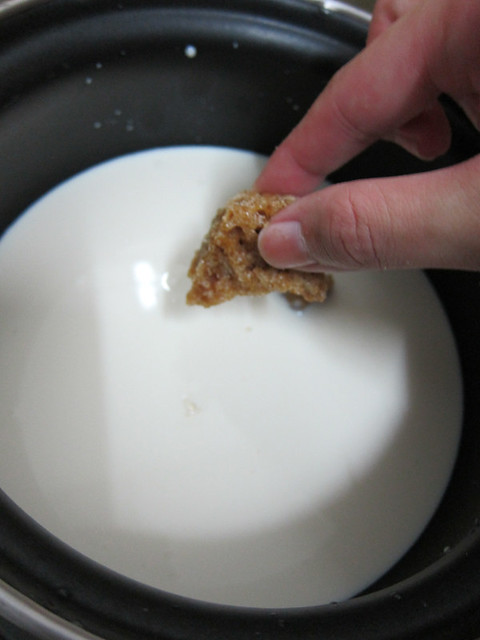
As soon as you see the tiny bubbles forming around the edge of the milk surface, lift the pot off the fire and continue stirring for another minute. After that just pour the sweetened warm milk into the ginger juice and leave it be for 5-10 minutes. Be patient and watch the milk magically coagulates!

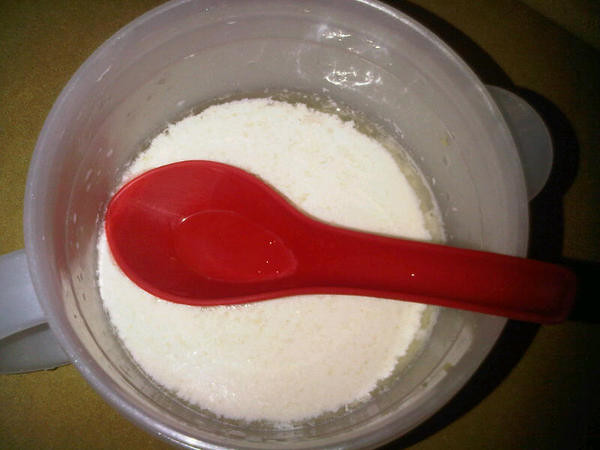
To test whether it has solidified properly, put a spoon on top of the pudding. If the spoon sank, sorry I have failed you. If it stayed on top, congratulations!

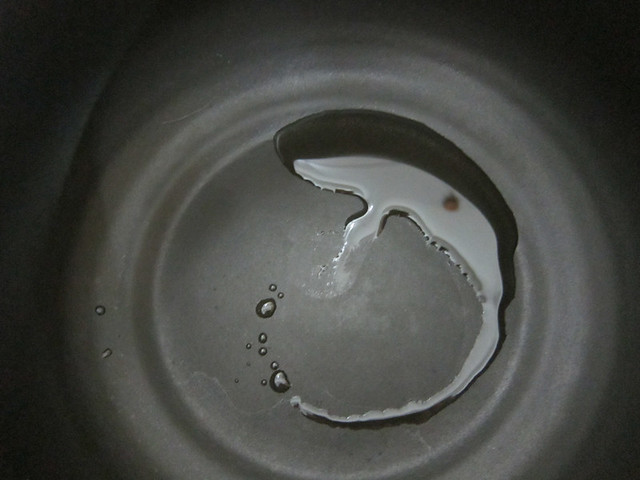
# – The spoon stays afloat. Success!

If you like your dessert to be piping hot, you can steam it for a while too. I don’t recommend heating it up in the microwave because I haven’t done it myself but why not? Just make sure you’ve got cleaning cloth in hand just in case it decides to explode.

Happy cooking, peeps!

Awesomesauce Golden Treasure Puff.

I’m sorry but I have an incurable habit of giving my recipes tacky names. It rained really heavily in the afternoon today so instead of going out for lunch I decided to cook.

As I don’t have many stuff in the pantry, I don’t even have eggs or onions for goodness’ sake, I decided to check those websites that supposedly give you recipes that match the combination of ingredients you have. As it turned out, those websites are pretty useless. Yes, they’ll give you recipes which incorporate the ingredients you have but they also include stuff that you don’t have. Pointless -_-

Anyway, I gave up searching for recipes online and decided to just make something deep-fried. I’ve read an article about a chef before who said that you can eat anything deep-fried, even socks. In all honesty, I’d rather bake than fry but since I don’t have an oven, I had to do what I had to do. I wonder if one can eat baked socks.

Here are the ingredients for making Awesomesauce Golden Treasure Puff:

# – Bread. I used 4 slices because my brains are always hungrier than my stomach.

# – Frankfurters. Half a frank to one slice of bread, so I used only 2.

# – Cheese. I love cheese slices cause they’re so cheap and taste great after being treated with some heat. Like the franks, half a slice to one piece of bread.

# – Butter. You can omit this really since it’s a deep-fried dish but my life wouldn’t be the same without butter.

# – Half a cup of mixed vegetables. Season with black pepper for more bite.

# – Mustard. I’d prefer English mustard for a stronger kick, but beggar can’t be chooser. This will do for now.

# – Cornflour. This is not that important, I’m just using it for the sealant mixture later. You can replace with flour or even egg white.

Now on how to cook this baby…

# – First of all, cut off all the bread crusts. This is important because it’s very hard to seal the puff with the crusts on.

# – Then, flatten the bread slices as much as possible with a rolling pin. As we don’t have a rolling pin in this god-forsaken kitchen, I used a metal ladle to press the bread down.

# – Now butter the flattened bread. Like I said, you can omit this step….but WHY????

# – Next, lay the cheeses on the buttered bread slices.

# – And now, the defining moment of the dish, the mustard. Squeeze a line a mustard on each of the cheese slices.

# – Time to slap some meat on. Place the franks on the cheese slices.

# – Throw in some mixed vegetables for fibre count ;) By the way, becareful not to overstuff, it won’t be a pretty sight when your puff decides to explode in a pot of boiling oil.

# – Right about now, you can make the cornflour sealant. Basically it’s a water and cornflour mixture, just get the consistency gooey enough and you’re good to go.

Ok, now lightly dab the sealant mixture on the edges of the bread and then fold the bread in half and press the edges together. You may use a fork to press down the edges for security but I just use what my Mom gave me.

Wish I had photos to illustrate this step but it’s impossible to seal puffs and maneuver the camera at the same time. Use your imagination and most importantly, common sense, ok?

# – Awesomesauce Treasure Puff. At this point they are not golden yet.

# – By now you should have heated oil in your pot, throw in the Awesomesauce Treasure Puffs and fry till golden brown.

# – Voila! Awesomesauce Golden Treasure Puffs. Those itsy-bitsy stuff clinging onto the puffs are leaked cheese, not very pretty but oh so delicious! You may notice from the uneven colours of the puffs that I have yet to master the deep-frying skills. I intend to improve for future assignments :P

# – It’s so delicious that if I had a male organ, I would be jizzing in my pants. Just imagine: deep fried bread enveloping beef frank and sweet mixed vegetables drowning in melted cheese laced with mustard. I feel like I deserve an award or something.

# – Now, that is a look of pure happiness.

Remember, don’t forget the mustard!

Delicious fusilli with tuna in mushroom sauce.

Don’t be fooled by the title of this post. It’s so easy to make that a 9 year old would have no problem doing so. But best of all, you’d probably already have all the ingredients in your pantry. Especially if you’re one of those lazy people (ie: me) who shop for convenience (read: frozen food, instant food, canned food, errr ready-diced garlic FML). One thing I’m sure of is that if a nuclear bomb were to go off now, I would probably survive better with all the food stuff that we have, due to the fact that they don’t have expiry dates and therefore do not expire.

That’s my version of immortal food. Okay without wasting anymore text space on my grocery shopping behaviour, lets move on to the ingredients that goes into the making of “Delicious Fusilli with Tuna in Mushroom Sauce”:

# – Italian herbs. Just to pay homage to the fact that it’s sort of an Italian dish.

# – Paprika. Because chopping up fresh chilis is such a bloody chore.

# – Olive oil. You can use whatever oil that rocks your pants but we’re sticking to olive oil because it makes me feel like I’m eating healthily.

# – Butter. You may use any kind of aromatic solid fat really (ie: lard and ghee) but please for heaven’s sake, throw away the margarine! You might as well melt a plastic spoon and eat it. As you can see, ours is blended with vegetable oil – same reason as to why we use olive oil above.

# – Salt for taste.

# – Drumroll!!!! Here comes the mushroom……soup. Didn’t expect that did you? Yeah, the entire mushroom content of the dish belongs to this box of powdered mushroom soup (which by the way is my favourite powdered mushroom soup of them all).

# – Tuna. If you’ve got fresh good cuts of tuna, good on you! But I’m nothing but a mere mortal, so I’m getting my tuna from a can.

# – Last but not least, the fusilli of course. Make sure you get a packet that says ‘Authentic Italian’ because that will inject more culture into your dish.

And now…..the cooking!

# – Boil 3 fistfuls of fusilli in a pot of water seasoned with a dash of salt and olive oil. Salt is supposed to make your pasta less bland and olive oil is supposed to keep them from sticking together in case you got too engrossed with checking your Twitter timeline and overcooked the poor pasta.

# – If you have botched the above up, it’s okay, you can start over but make sure you switch off the computer before you begin. If you didn’t botch it up, congratulations! Now pour off the water but not all of it, make sure to leave some for the pasta sauce. Throw in a dollop or 5 dollops of butter into the pasta. Mix well.

# – Now open a packet of powdered mushroom soup and slowly pour the content into the pasta. Mix as you pour. This is the part of the cooking where your logic needs to kick in. Don’t get too excited and dump the entire packet in because it might end up to be too salty. Taste as you go. Remember, taste as you go.

# – While still stirring the mushroom soup + pasta mixture, put some paprika into it. This serves to give the dish a little kick. If you prefer spicier, you may throw in leftover Domino’s chili flakes in (I save them all the time, don’t you?).

The pasta part is now done, set it aside and keep it warm. Which in my world means, turn off the flame for now and turn it on again later when the tuna’s done :P

# – In a different pot, heat up some olive oil.

# – Get the tuna as dry as possible by draining the brine. You don’t want to have oil popping in your face from cooking tuna, seriously. Then chuck them into the pot. They’re already cooked, but the point of this exercise is to brown them to a crisp, so you’ll have crispy and juicy tuna to chomp on. You may throw in a dash of Italian herbs to flavour the tuna.

# – Lastly, transfer the fusilli onto a plate and lay the tuna carefully on top. Garnish with more Italian herbs, paprika and some black pepper.

# – Ladies & gentlemen, delicious fusilli with tuna in mushroom sauce. Tasty and feels surprisingly healthy. Must be the olive oil ;)