Making the perfect bowl of cucumber raita.

I have tried making cucumber raita in the past by simply chopping cucumbers up and chucking them into a bowl of yogurt.

Easy peasy right? Well the raita always turned out a little water-logged and tasted far too soggy, quite the opposite of refreshing.

Fortunately, I found a recipe for cucumber raita some time ago which guarantees a raita infused with cucumber flavours and the perfect texture too.

The secret to a yummy bowl of raita isn’t any special ingredient, instead, it’s the additional methods involved in making it which results in a whole lot of difference.

Ingredients:

1 cucumber
400 grams of plain yogurt
A handful of mint leaves (optional)
Salt to taste

Tools:

Muslin or cheesecloth (in my case, I bought bandage fabric from Daiso)
Grater

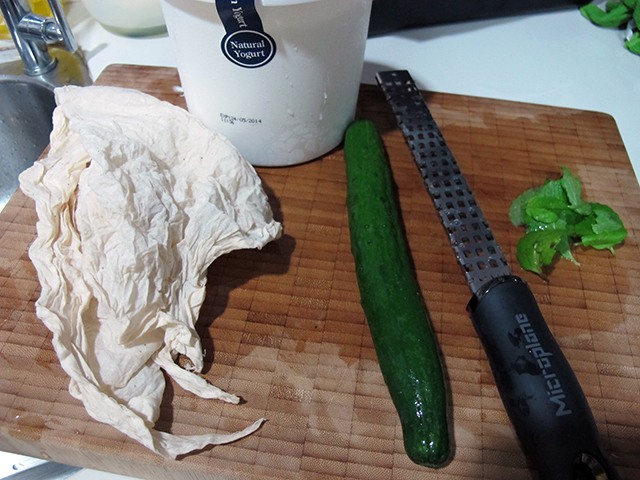
# – The ingredients and tools for making awesome cucumber raita.
Cucumber raita recipe

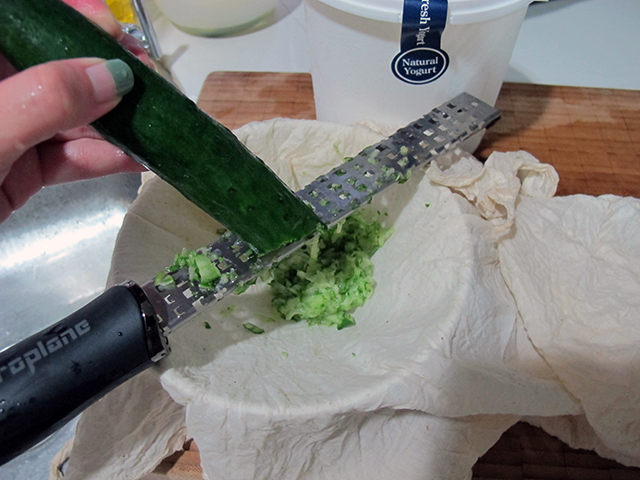
# – First, grate the cucumber – skin, seeds, flesh and all into a bowl covered with muslin/cheesecloth/bandage fabric.
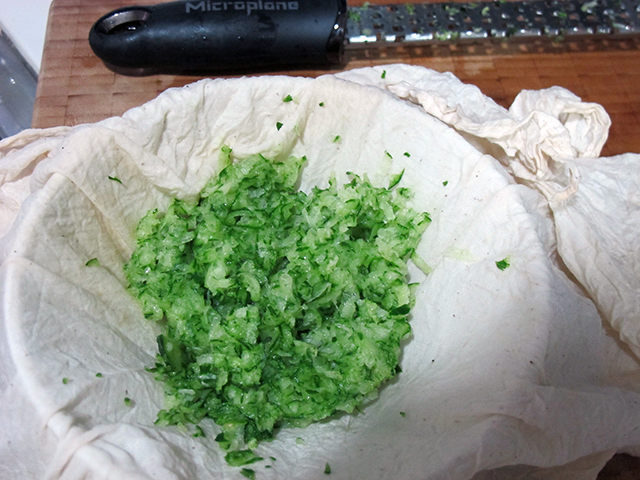
Cucumber raita recipe

# – Grated cucumber.
Cucumber raita recipe

# – Then gather the cloth together and squeeze all liquid into the bowl. Squeeze out as much liquid as possible.
Cucumber raita recipe

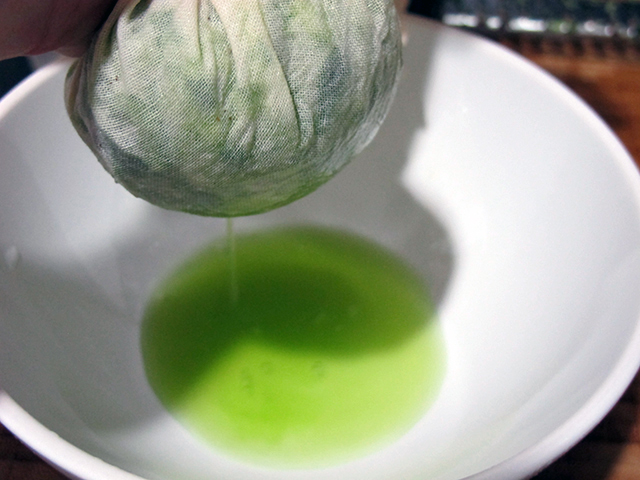
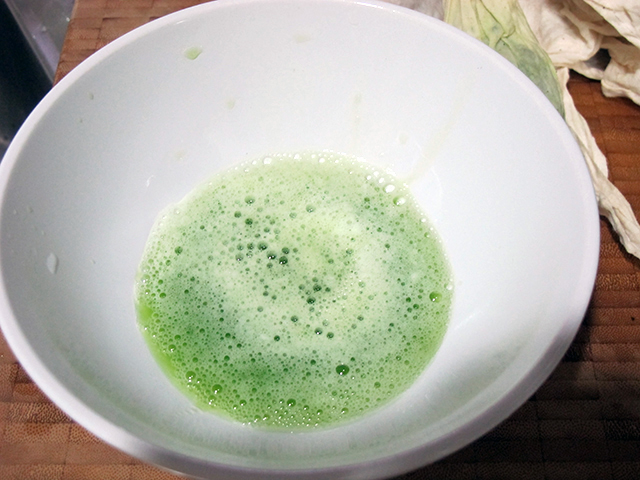
# – Pure cucumber juice. What do you do with this green nectar of life? Drink it up of course!
Cucumber raita recipe

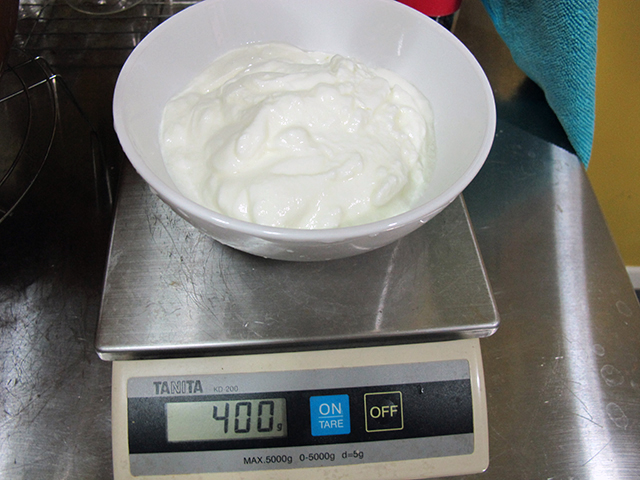
# – Weigh out 400 grams of plain yogurt – 400 grams to one cucumber.
Cucumber raita recipe

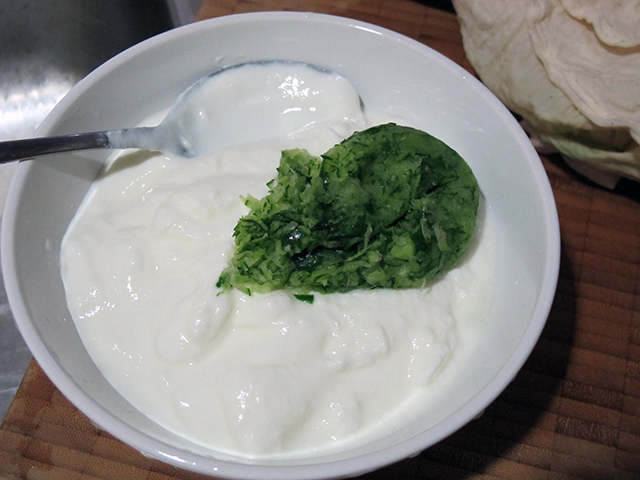
# – Dump in the now squeezed up cucumber bits.
Cucumber raita recipe

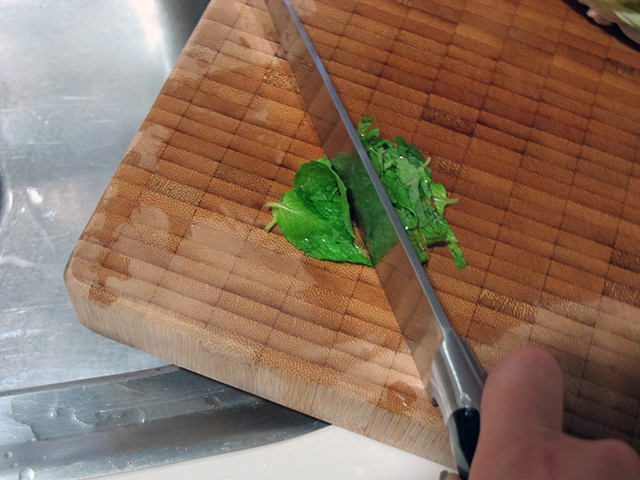
# – Finely chop up the mint leaves.
Cucumber raita recipe

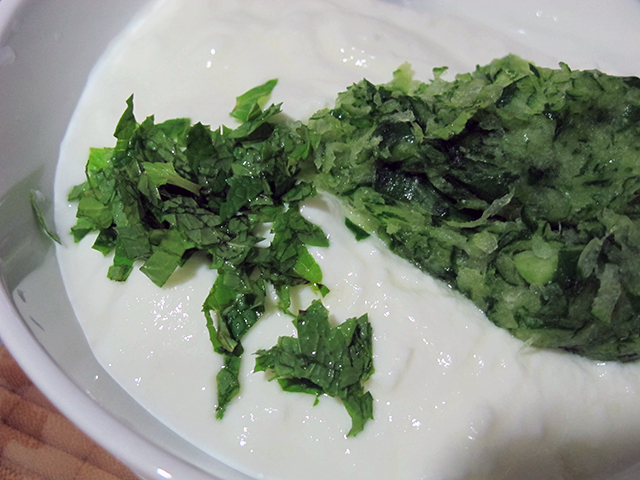
# – Throw the mint leaves into the yogurt as well.
Cucumber raita recipe

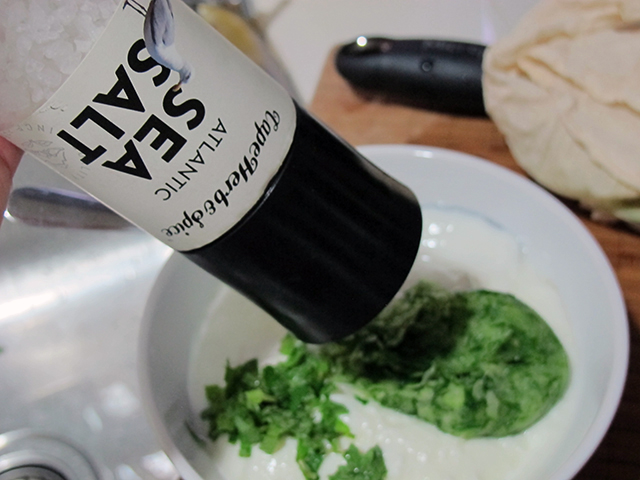
# – Add a pinch of salt to taste.
Cucumber raita recipe

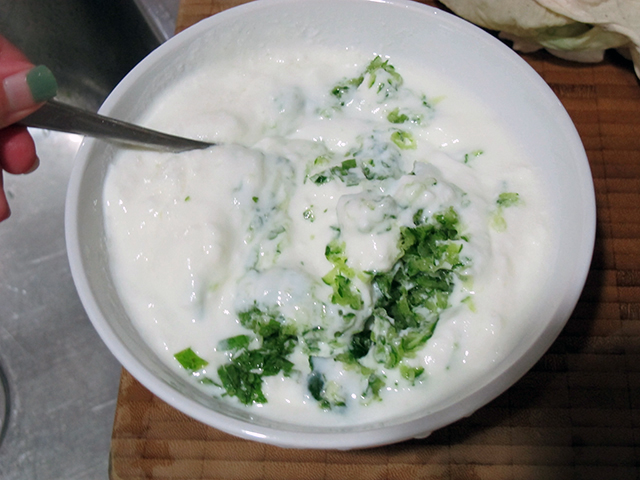
# – With a spoon, mix it all up. Stir and stir.
Cucumber raita recipe

# – Cucumber raita, DONE! Garnish with a sprig of mint leaf if that’s your kind of thing.
Cucumber raita recipe

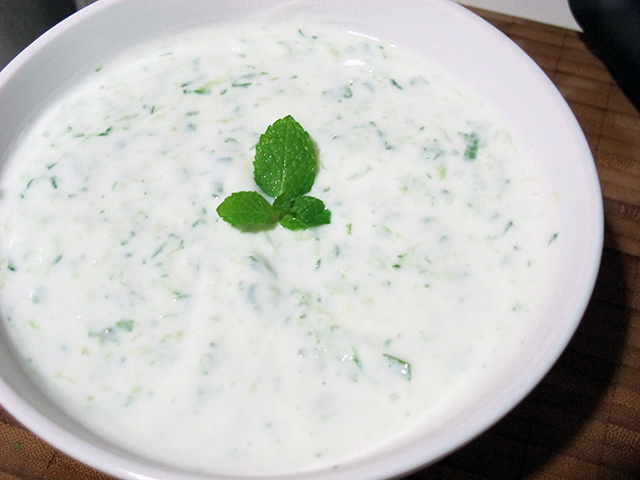
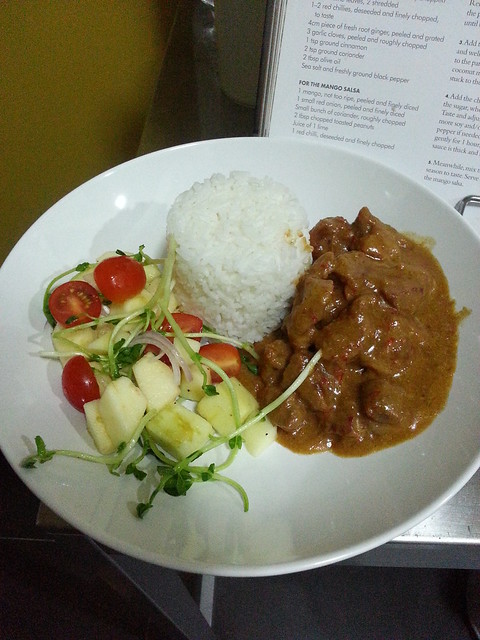
While you can eat it straight, I like to chill it in the fridge for a couple of hours so that the cucumber has more time to flavour the yogurt. Serve it with curries or use as crisps/vegetable dips. Delicious!

Rachel Khoo’s Croque Madame Muffins – cute and super delicious!

It’s been a looooong time since I published a proper recipe post. I haven’t cooked as much I used to due to work, but now that I have quit my full time job as a Dilbert I reckon I could go back to more hardcore cooking! Yay!

# – Rachel Khoo’s Croque Madame Muffin.

Today I made Rachel Khoo’s version of croque madame, which are in muffin shape. Eversince I saw her made them on tv, I had wanted to do it so bad, but with work and the water rationing (by the way, it’s officially ending 1 May yahooooo!) I kept putting it off.

Not today!

Ingredients:

For bechamel sauce:

1 tablespoon of butter
1 tablespoon of flour
200 ml of milk
1/2 teaspoon of dijon mustard (I used 1 teaspoon cause I like more kick)
1/2 teaspoon of ground nutmeg (optional)
salt and pepper to taste

Other ingredients:

6 eggs
6 slices of bread
3 slices of ham/bacon (I used 3 slices of honey glazed hams which I cut into halves so they make 6)
A handful of grated gruyere or mature cheddar
Some butter

# – We begin by first making the bechamel sauce. Melt the one tablespoon of butter in a saucepan.

# – When the butter has melted, add one tablespoon of flour and stir with a wooden spoon.

# – When it’s all combined, slowly pour milk in while whisking.

# – It will get clumpy but don’t panic and continue whisking.

# – Eventually it will become a smooth sauce. At this point, add the dijon mustard.

# – Followed by ground nutmeg.

# – Of course, season with a pinch of salt.

# – As well as black pepper. Love our electronic grinder with light, a gift from Lance and Mel! Thank you! Whisk till combined, switch off flames and let it cool. Set aside.

# – Now to prep the bread slices. Cut off all the crusts.

# – Flatten the bread slices with a rolling pin.

# – Butter both sides of each bread.

# – Lay them in the muffin tin to form cups. Please make sure you have greased the tin with butter earlier.

# – Now put a slice of ham into each bread cup.

# – Then, crack an egg into each cup, making sure the yolk doesn’t break and the white does not spill out of the cup. This is because I found that too much of egg white that spilled over the cup would soak into the bread making it a bit soggy and hard to remove from the tin. So, the next time I do this, I will separate yolk from white first into two different bowls and then only pour the yolk in, followed by the white. This way I can control the amount of egg white I put into each bread cup.

# – Lastly, spoon a heaped tablespoon of bechamel sauce over into each cup…

# – Stick the muffin tray into a preheated oven at 180 degrees celcius for 13 minutes for runny yolks, 15 minutes for soft yolks or 20 minutes for firm yolks. I went for 13 minutes of course. (p/s: In my pregnancy haze I had totally forgotten to grate cheese over the cups before sticking them into the oven FML. So please do so with either gruyere or mature cheddar!)

# – Voila! Croque Madame Muffins, done!

# – Oooh la la.

It was very delicious! The crispy bread with savoury ham and the rich, soft egg were music in my mouth. The bechamel sauce certainly brought the flavours together, even without cheese it was very creamy thanks to the milk and butter. Must try!

A few things I cooked in the past months.

I am consciously trying not to write about babies and hormones. So I am going to blog about food instead.

+++++++++++++++

A while ago, I attempted to make Seremban beef noodle, one of my favourite things to eat pre-preggers.

Seremban beef noodle is quite different from KL’s. The former is lighter and has a variety of textures while the latter is richer and more punchy in flavours.

It was easier to cook than I initially thought, and the recipe I used was from this lovely blog.

# – My first Seremban beef noodle attempt.

I used Korean udon noodles, which were a tad too stodgy for my taste, so stick to chinese rice noodles!

I have since developed a disdain for innards of any kind, so I probably won’t make this dish until after the baby has arrived.

+++++++++++++

Another thing I really loved pre-preggers was salt beef. The only place I know that serves good salt beef is Nutmeg at Bangsar Village 2.

Salt beef is just a cheap cut of beef that has been cured and then boiled, so instead of paying extra I decided that I should make them myself.

The recipe I used is from The Telegraph.

# – Cure brisket in spiced brine.

# – After 7 days…

# – Poach for 3 hours until tender.

# – Salf beef, DONE!

We ate it with potatoes and Dijon mustard. Well, must say I was a little underwhelmed despite the amount of effort put in to make the dish.

So, I think I will stick to going to Nutmeg (after baby comes cause the idea of eating salf beef right now makes me want to hurl), hehehe.

++++++++++++++

I friggin loveeeeeeeee hummus. I could eat it everyday. It’s quite a pity that hummus is not a more common sight at supermarkets here.

Fortunately, it’s very easy to make hummus, if you cheated….

The traditional way of making hummus is complicated, you have to pre-soak and grind the chickpeas, grind sesame seeds till they become paste, boil olive oil till it’s scalding hot etc etc but the angmoh way of doing it is very easy…just blitz with a food processor. Don’t even need cooking.

The recipe I used is from BBC.

# – Stick canned chickpeas, tahini (sesame paste), crushed garlic, lemon juice, ground cumin, olive oil, salt and water into the food processor.

# – Blitz and season if needed.

# – Serve with flat bread….so healthy and easy.

Use it like a bread spread too in sandwiches..healthier than butter. Yummy!

+++++++++++++

I had leftover pears, so I made a pear cake. I used a recipe from this blog, and it’s easily one of the easiest things I’ve ever baked.

Looks quite beautiful too I must say. The sponge was light and fluffy, the pears were soft and chewy. Yums.

# – Italian pear cake.

# – Served with vanilla ice cream.

++++++++++++++

Lastly, I made Gordon Ramsay’s pork neck curry again. I used shoulder loin (funnily, they are also called butt) and it worked very well.

Instead of mango salsa, I made apple salsa because I forgot to buy mangoes and I had loads of apples in the fridge. They worked well…just cubed apples, halved tomato cherries, lemon juice, salt & pepper and a handful of pea sprouts.

# – Yummy yum yum….served with rice.

++++++++++++++

That’s all, kthxbai.