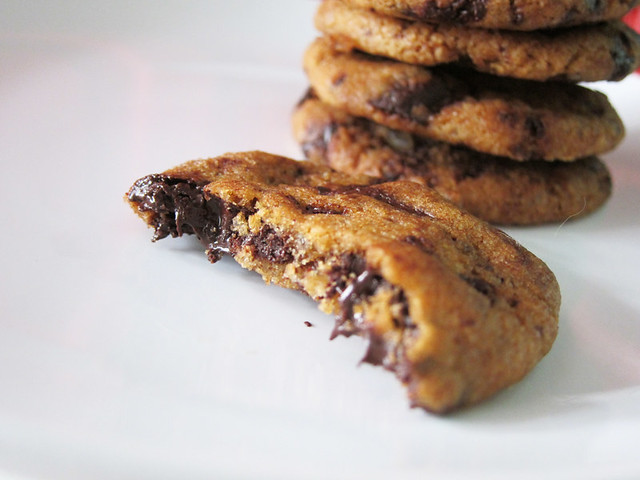
It started with Fiqa bringing back some Garrett’s popcorn from Singapore for us to try. OMG the popcorn was gorgeous!!
But since we were sharing the popcorn and I’m like really chinese when it comes to stuff like this, I didn’t eat more.
I pretended that I was considerate and that I cared about my friends and like I was totally into this thing called “sharing”.
No, it’s all a BIG FAT LIE!
So, because I didn’t get to satiate my popcorn craving, I decided to make some myself, at home!
# – Homemade caramel popcorn.

For the popcorn:
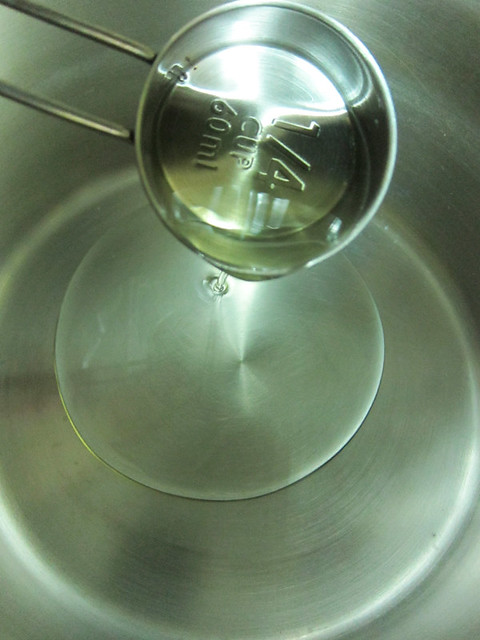
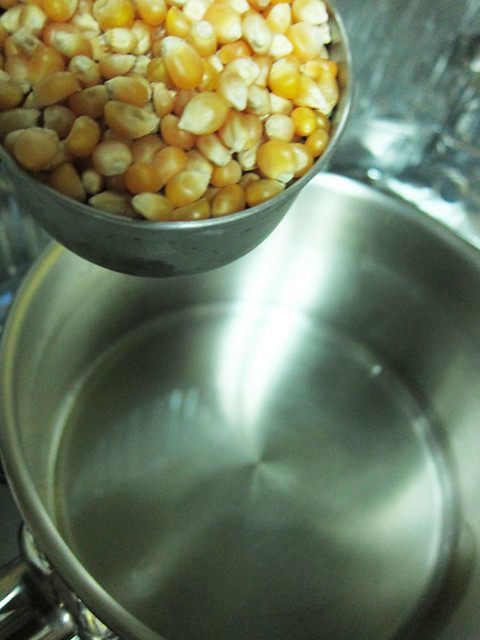
1/4 cup of dry corn kernels (easily found at spice section in supermarkets) 60 ml of cooking oil For the caramel:
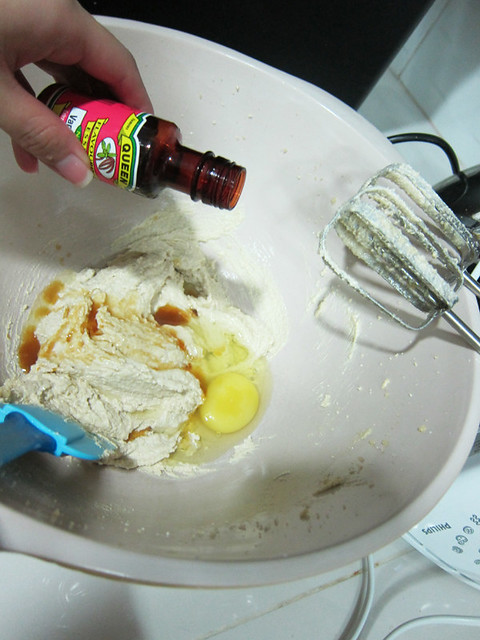
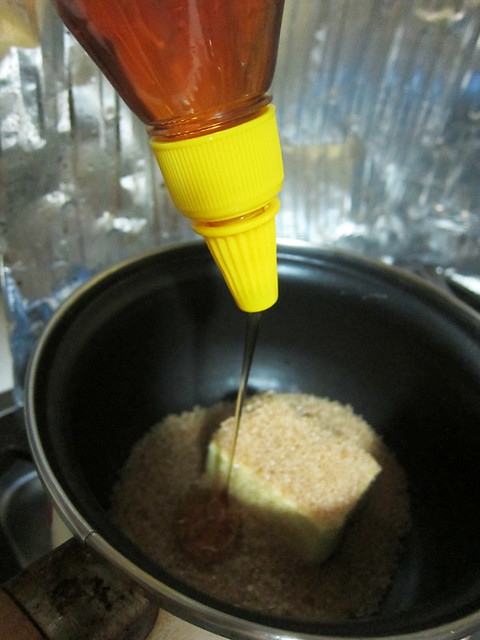
125 grams of salted butter 3/4 cup of demerara sugar (you can use ordinary sugar) 2 tablespoons of honey 1 teaspoon of paprika, optional 1 teaspoon of black pepper, optional 1 teaspoon of chilli powder, optional
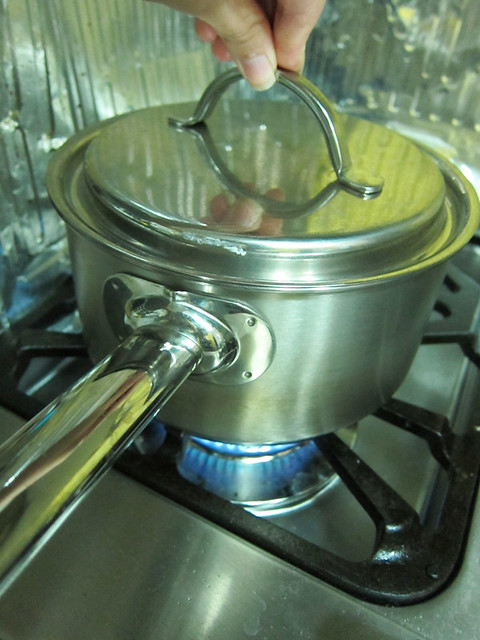
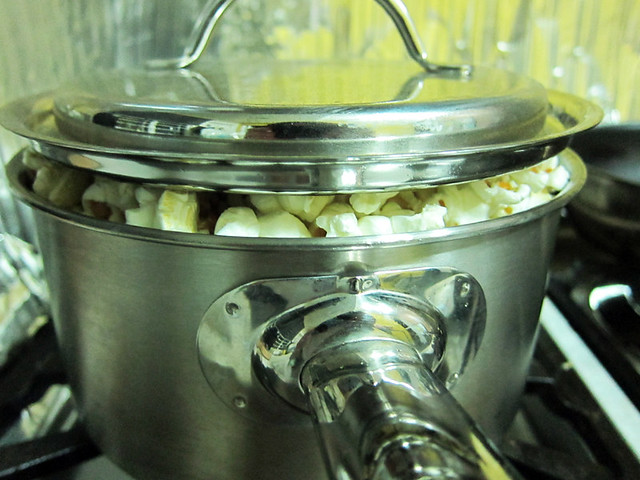
# – First, pour oil into a medium sized saucepan and heat it until it’s very hot. To test if the oil is hot enough, throw in one corn kernel and when it pops, the oil is ready.
# – When the oil is ready, pour in all the dry corn kernels and immediate close with a lid.
# – Hold the lid down. Soon you will hear a lot of popping sounds. Truly SATISFYING music! With your fingers firmly over the lid, hold the saucepan handle with your other hand and shake the pot gently but away from the flame (imagine you’re holding the reins while riding a horse). You do not want to burn the popcorn as the smell is absolutely rancid!
# – When the popping sounds have stopped, that means the popcorn are now done! Like magic!
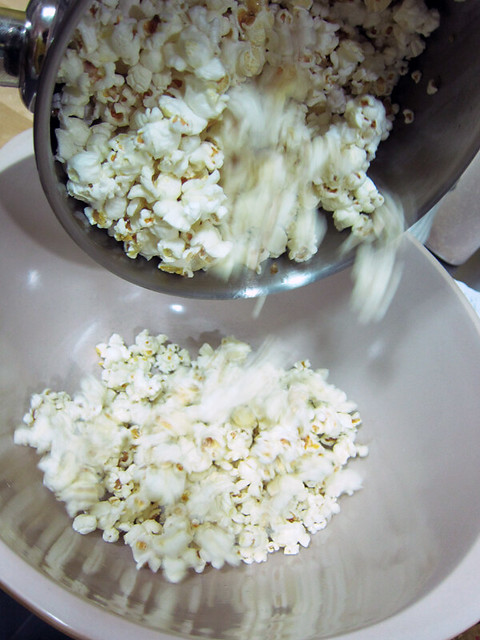
# – Now, pour the plain popcorn into a large mixing bowl and allow to cool down.
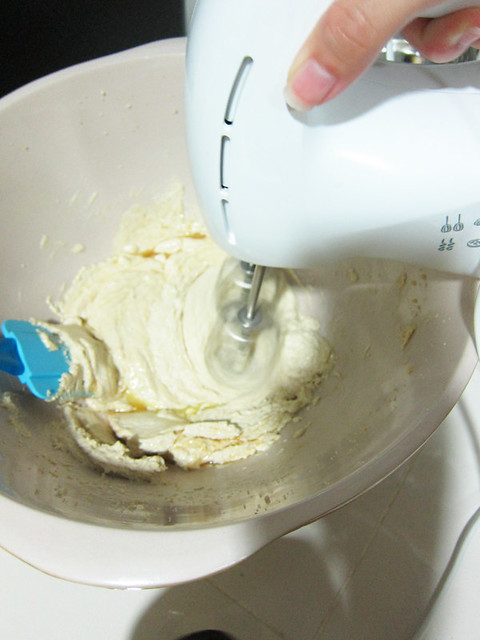
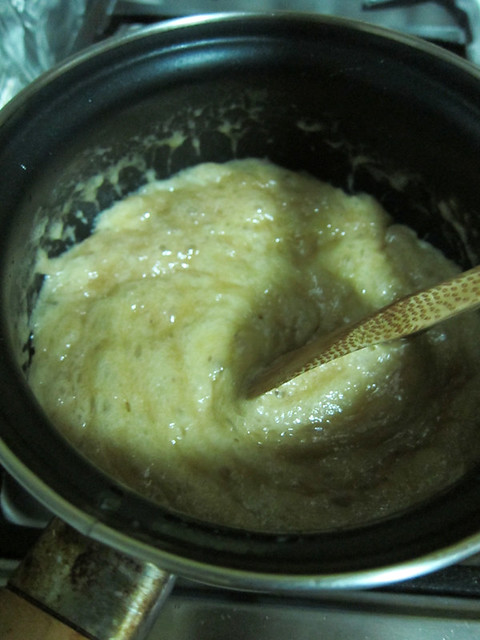
# – In the meantime, throw in all the ingredients for the caramel into a saucepan and heat them up on medium heat. I flavoured my caramel with paprika, pepper and chilli powder to give it a bit of kick amidst the sweetness. Be creative and experiment with your favourite spices!
# – Constantly stir the mixture.
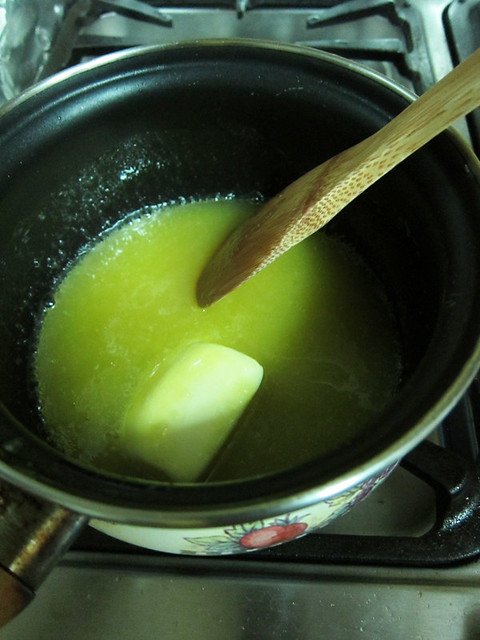
# – Stir until the mixture has completely melted, turned a darker shade of brown and quite bubbly (about 10 minutes). Some people like to push their caramel to the darkest end (for a richer, slightly bitter taste) but it’s quite easy to burn them (nasty bitter taste) so becareful!
# – Immediately pour the caramel into the popcorn and mix them up with 2 large metal spoons until popcorn are evenly coated. You’re handling extremely hot mixture here so be careful! Constantly stir them to loosen the popcorn so they won’t stick together until the caramel has cooled down & hardened.
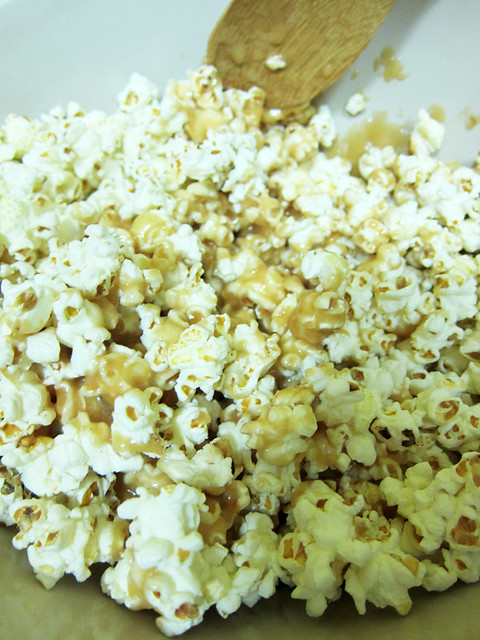
# – If you find the popcorn abit greasy, just pour them onto a kitchen towel to absorb the oil a bit.

# – Homemade caramel popcorn, DONE!
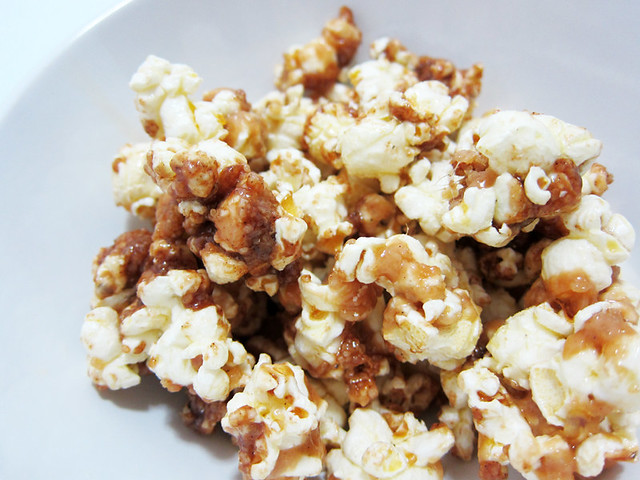
It’s crazy easy, crazy cheap, crazy delicious, crazy crunchy and best of all, it’s homemade.
You can flavour the caramel however you want, you can even experiment with savoury flavours. This is not really conducive to my slow carb diet but sometimes a girl gotta have her popcorn!
++ Advertorial Break ++
Hey, XPAX, U.O.X. or S.O.X. users, you can now talk your way to RM5000 of shopping vouchers at stores such as Parkson, Giant, Cold Storage,Guardian, Mercato, Econsave, IKEA, Celcom Blue Cube, i-Study (Klang Valley only), Forever 21 (Penang & Klang Valley only) and Topshop with Celcom’s TALK-A-THON!!
To participate…just do the following:

Unleash the talker!!