How to make surprise marbled Easter eggs.

Okay, I’ve got a confession to make. I don’t really celebrate Easter. I don’t really know why it’s celebrated either but please feel free to educate me in the comments below.

What I know is that it’s associated with rabbits, chocolates and eggs. I like rabbits, chocolates and eggs so I guess that makes me like Easter too!

In conjunction with Easter Friday, I’ve decided to pimp up my eggs. Dyeing eggs is actually a very familiar activity for the chinese community as it’s common to dye eggs in red for someone’s birthday. It is believed to be auspicious for someone celebrating birthday to consume red eggs as it symbolises good luck, fertility and longevity.

# – Easter eggs, chinese style :D

What you need are:

  • Eggs, decide your own amount
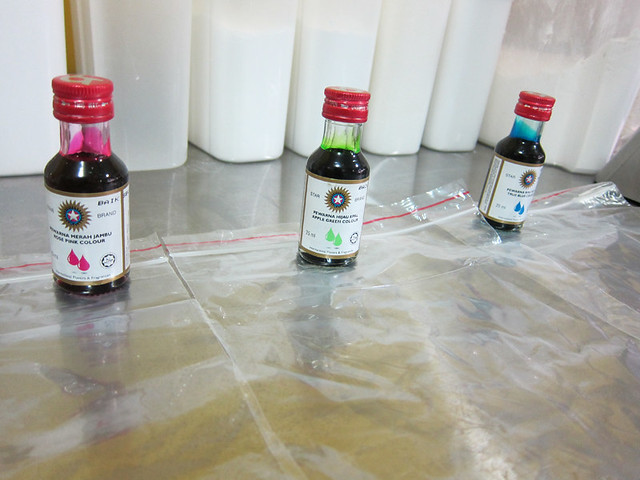
  • Liquid food colourings
  • Enough water to boil the eggs
  • White vinegar
  • Sandwich bags or freezer bags, one for each colour

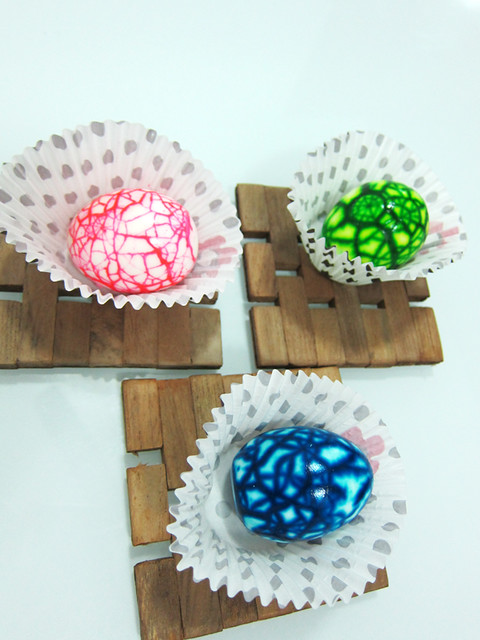
Instead of using the colour red though, I’ve chosen fuchsia pink, blue and green for this edible project ;)

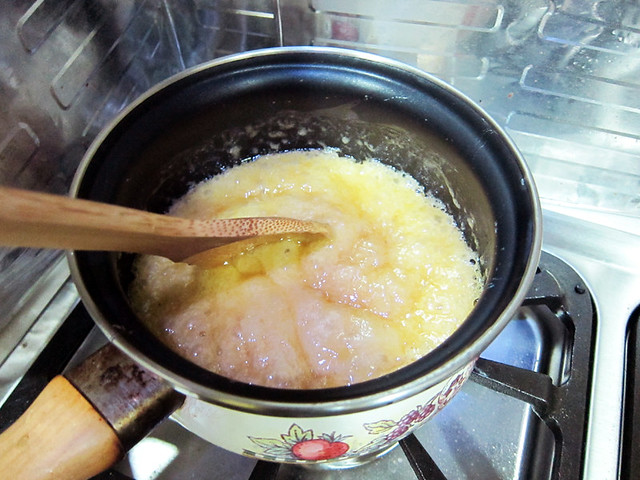
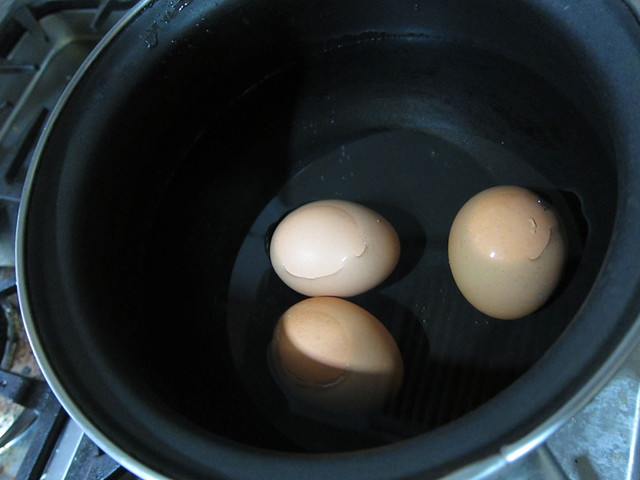
# – First, put the eggs in a pot of water.

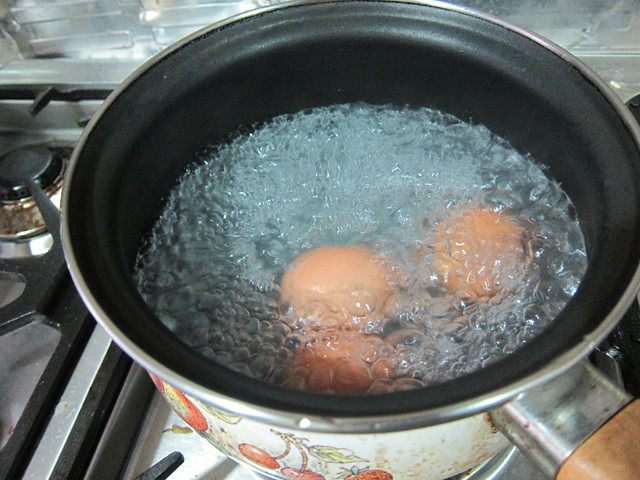
# – Bring to boil for 7 minutes. Then turn off heat and leave the eggs to cool in the water for 5 minutes. You can then remove the eggs from water and let them cool for a further 1/2 hour.

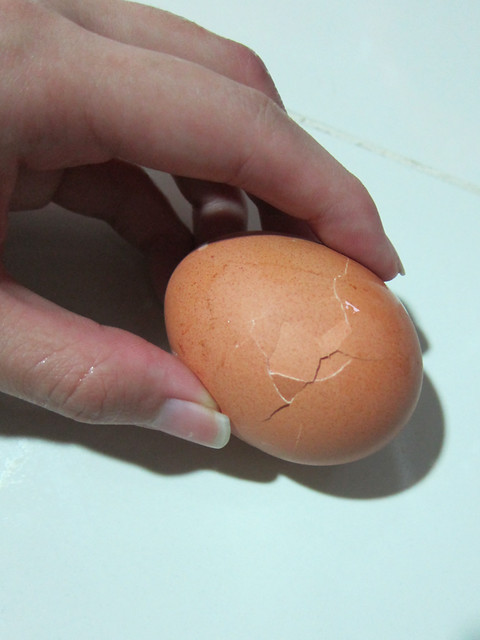
# – After eggs have cooled down, lightly tap them against a hard surface till cracks appear all over. Be gentle as you want the shells cracked but still intact.
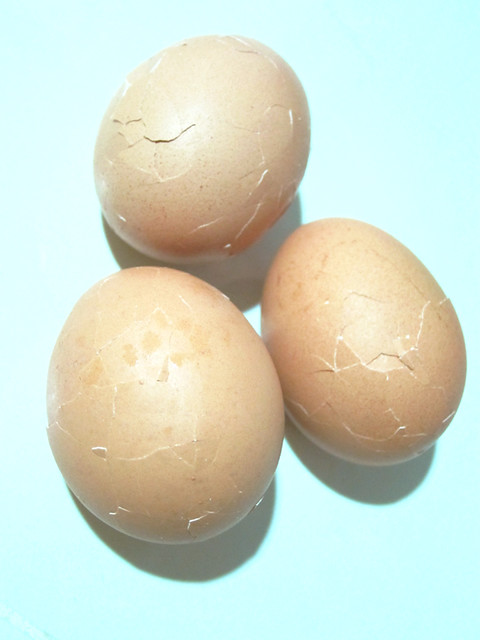


# – Cracked eggs.

# – Now prepare a freezer bag or sandwich bag for each colour you’re using.

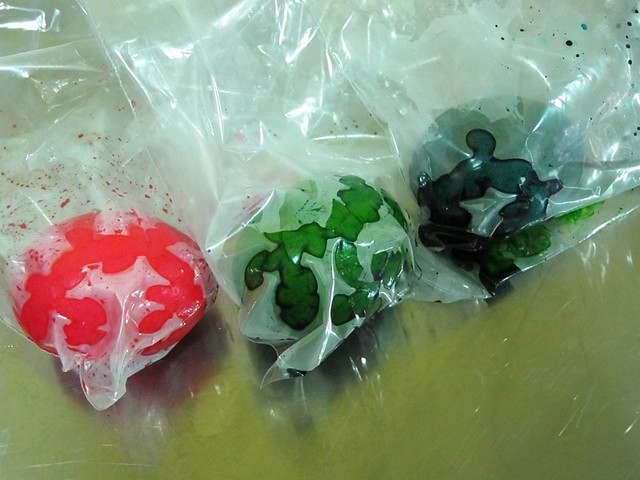
# – Now stick your eggs into each bag and start dyeing. As I used liquid food colouring, all I did was pour in a tablespoon of dye into the bag.

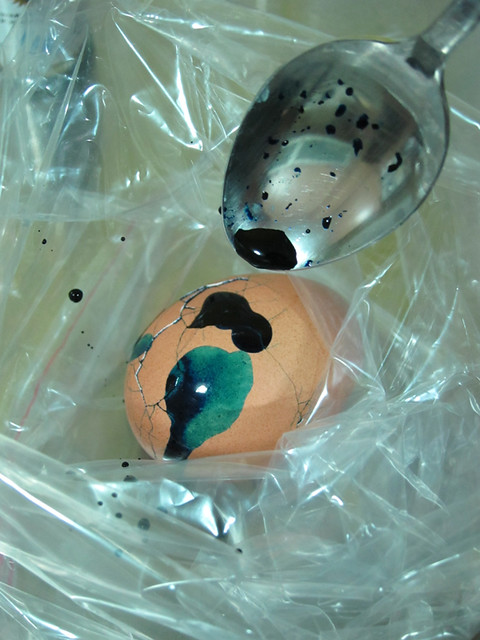
# – Roll the eggs around in the bag to make sure the shells are properly coated with dye. Leave for 30 minutes to allow colours to absorb.

# – After 30 minutes, rinse the eggs under water to remove excess colour in the sink. Then splash the eggs with some white vinegar to set the colour.

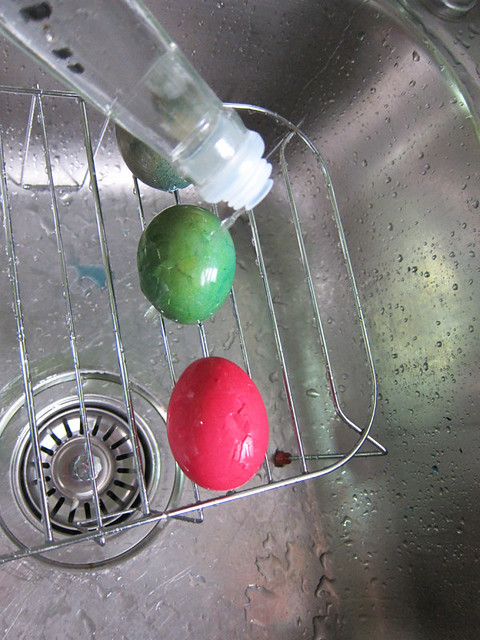
# – Use a paper towel to dry the eggs up. They are now ready for showing off!

But there are more surprises….

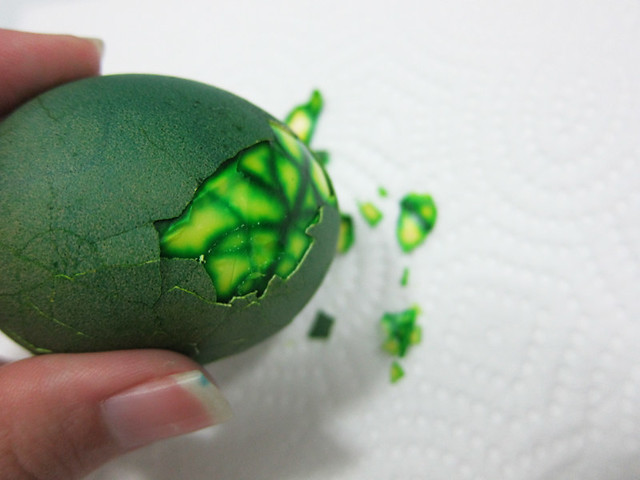
# – When you feel like eating an egg with a sprinkling of salt, grab an egg and peel off the shell…

# – Tadaa! Surprise marbled easter eggs, DONE!

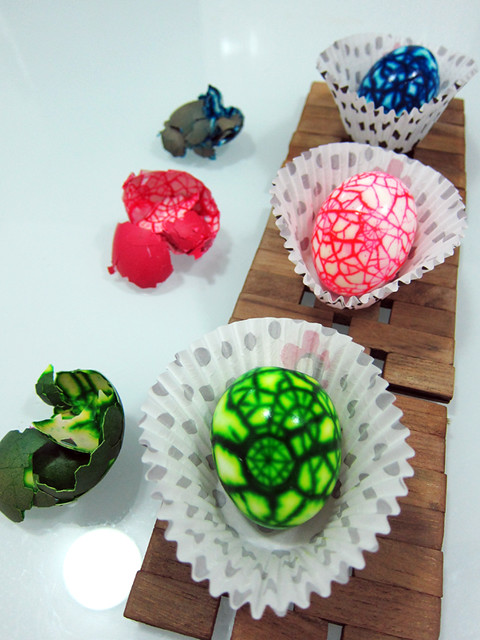
Love, love, love how the marbling effect has turned out!!!!!!!!!!!

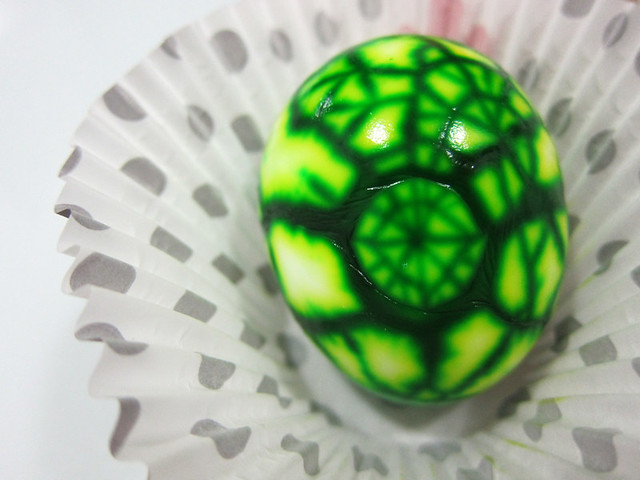
# – The green marbled egg.

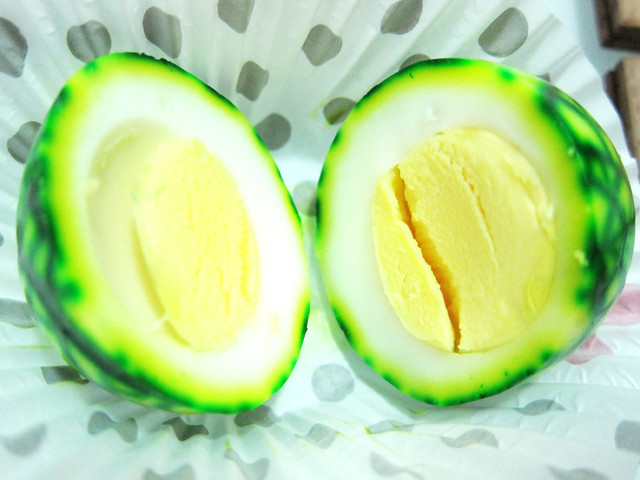
# – Cross section of green marbled egg.

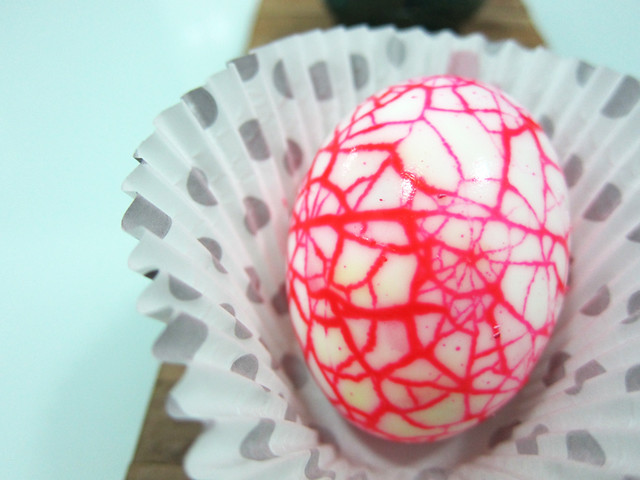
# – The fuchsia pink marbled egg.

# – Cross section of fuchsia pink marbled egg

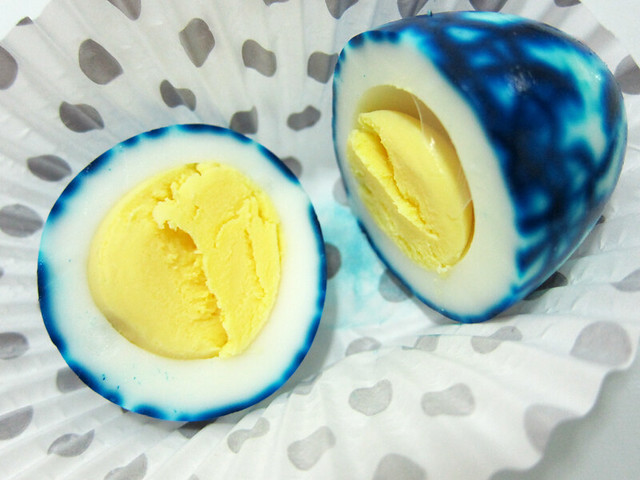
# – The blue marbled egg.

# – And lastly, the cross section of blue marble egg.

Think of all the possibilities you could do with these colourful marbled eggs? Add colours to a bland salad? Perk up a plate of “nasi lemak”? Convince a picky child to finally eat some hard boiled eggs?

For me though it was just a really fun way to acknowledge Easter. My favourite part was definitely peeling the shells off for the unveiling!

# – Have a great Easter Weekend!

Making Syrup Bites – you will love it like I do.

When the BF’s mom came to visit a couple of months ago, she brought along an old recipe book that belonged to the BF. It was given to him by his aunt when he moved away to Liverpool for university, in hopes that he would not need to survive on just instant noodles and 1 quid beers.

Thanks to Aunt Jean and that precious recipe book, my BF learned valuable cooking skills which proved very handy whenever I messed up his dinners.

# – The Dairy Book of Home Cookery.

The Dairy Book of Home Cookery now belongs to me. It mostly consists of basic recipes for almost any food you can imagine. One recipe that caught my eye was “Syrup Bites”. Personally, I have never heard of it and even googling did not yield any result. What does it look like? How does it taste like?

# – Syrup Bites?

And because I had all the ingredients in hand, I decided to make 24 pieces of “Syrup Bites”. I’m so glad I did, because they are absolutely DELICIOUS!

Ingredients A

  • 100 grams of self raising flour
  • 75 grams of rolled oats
  • 25 grams of dessicated coconut

Ingredients B

  • 1 teaspoon of bicarbonate of soda
  • 1 tablespoon of milk

Ingredients C

  • 100 grams of caster sugar (I reduced it from the original 125 grams)
  • 100 grams of butter
  • 2 tablespoons of golden syrup (you can also use honey or treacle)

# – First of all, mix Ingredients A (oat, self raising flour and dessicated coconut) together in a bowl and set aside.

# – Then, mix Ingredients B (milk and bicarbonate of soda) together in a small bowl and stir until bicarbonate of soda dissolves. Set aside.

# – Next, heat up a pot and put all of Ingredients C (butter, sugar and golden syrup) into it. Keep stirring till everything’s melted.

# – Pour ingredients B into the sugary, buttery mixture. Keep stirring.

# – The mixture will expand quite a bit, don’t panic and just keep on stirring. Remove from heat.

# – Now pour the concoction into Ingredients A.

# – Keep stirring until everything is mixed up like this. Leave to cool for 30 minutes or until quite firm.

# – Roll into 24 round pieces. To be honest, it was actually quite difficult to roll, you’d likely find yourself compressing it within your palm till it forms a ball.

# – Lay them out on a greased baking tray with parchment paper. Leave some space between each ball for expansion.

# – Stick it in a preheated oven at 180 degrees celcius for 15minutes.

# – 15 minutes later, golden brown, oat-ey goodness!

# – They will feel rather soft right out of the oven, but leave them on a wire rack to cool completely and they shall firm up entirely.

# – Perfect with creamy cold milk.

# – So this is how “Syrup Bites” look like.

After some research, I realised that Syrup Bites is actually very similar to ANZAC biscuits, which were created during World War 1 for soldiers’ rations. As it doesn’t have eggs, they keep really long as long as there’s no moisture.

On it’s own, it’s very crunchy without being dry and the buttery coconut-ty sweet golden syrup taste is simply to die for! When dipped in cold milk however, it softens up slightly and become a whole new level of delicious.

And because it’s got so much oats, I’d like to think that it’s healthy, almost ;)

Awesomesauce Golden Treasure Puff.

I’m sorry but I have an incurable habit of giving my recipes tacky names. It rained really heavily in the afternoon today so instead of going out for lunch I decided to cook.

As I don’t have many stuff in the pantry, I don’t even have eggs or onions for goodness’ sake, I decided to check those websites that supposedly give you recipes that match the combination of ingredients you have. As it turned out, those websites are pretty useless. Yes, they’ll give you recipes which incorporate the ingredients you have but they also include stuff that you don’t have. Pointless -_-

Anyway, I gave up searching for recipes online and decided to just make something deep-fried. I’ve read an article about a chef before who said that you can eat anything deep-fried, even socks. In all honesty, I’d rather bake than fry but since I don’t have an oven, I had to do what I had to do. I wonder if one can eat baked socks.

Here are the ingredients for making Awesomesauce Golden Treasure Puff:

# – Bread. I used 4 slices because my brains are always hungrier than my stomach.

# – Frankfurters. Half a frank to one slice of bread, so I used only 2.

# – Cheese. I love cheese slices cause they’re so cheap and taste great after being treated with some heat. Like the franks, half a slice to one piece of bread.

# – Butter. You can omit this really since it’s a deep-fried dish but my life wouldn’t be the same without butter.

# – Half a cup of mixed vegetables. Season with black pepper for more bite.

# – Mustard. I’d prefer English mustard for a stronger kick, but beggar can’t be chooser. This will do for now.

# – Cornflour. This is not that important, I’m just using it for the sealant mixture later. You can replace with flour or even egg white.

Now on how to cook this baby…

# – First of all, cut off all the bread crusts. This is important because it’s very hard to seal the puff with the crusts on.

# – Then, flatten the bread slices as much as possible with a rolling pin. As we don’t have a rolling pin in this god-forsaken kitchen, I used a metal ladle to press the bread down.

# – Now butter the flattened bread. Like I said, you can omit this step….but WHY????

# – Next, lay the cheeses on the buttered bread slices.

# – And now, the defining moment of the dish, the mustard. Squeeze a line a mustard on each of the cheese slices.

# – Time to slap some meat on. Place the franks on the cheese slices.

# – Throw in some mixed vegetables for fibre count ;) By the way, becareful not to overstuff, it won’t be a pretty sight when your puff decides to explode in a pot of boiling oil.

# – Right about now, you can make the cornflour sealant. Basically it’s a water and cornflour mixture, just get the consistency gooey enough and you’re good to go.

Ok, now lightly dab the sealant mixture on the edges of the bread and then fold the bread in half and press the edges together. You may use a fork to press down the edges for security but I just use what my Mom gave me.

Wish I had photos to illustrate this step but it’s impossible to seal puffs and maneuver the camera at the same time. Use your imagination and most importantly, common sense, ok?

# – Awesomesauce Treasure Puff. At this point they are not golden yet.

# – By now you should have heated oil in your pot, throw in the Awesomesauce Treasure Puffs and fry till golden brown.

# – Voila! Awesomesauce Golden Treasure Puffs. Those itsy-bitsy stuff clinging onto the puffs are leaked cheese, not very pretty but oh so delicious! You may notice from the uneven colours of the puffs that I have yet to master the deep-frying skills. I intend to improve for future assignments :P

# – It’s so delicious that if I had a male organ, I would be jizzing in my pants. Just imagine: deep fried bread enveloping beef frank and sweet mixed vegetables drowning in melted cheese laced with mustard. I feel like I deserve an award or something.

# – Now, that is a look of pure happiness.

Remember, don’t forget the mustard!