One of my favourite British snacks, besides pork scratchings, is jaffa cake. The half biscuit half cake chocolatey orangey combo is addictive, perfect with a milky mug of hot tea. If you’re the sort of person that likes chocolate and orange together, you’d LOVE jaffa cakes.
# – Jaffa cakes!

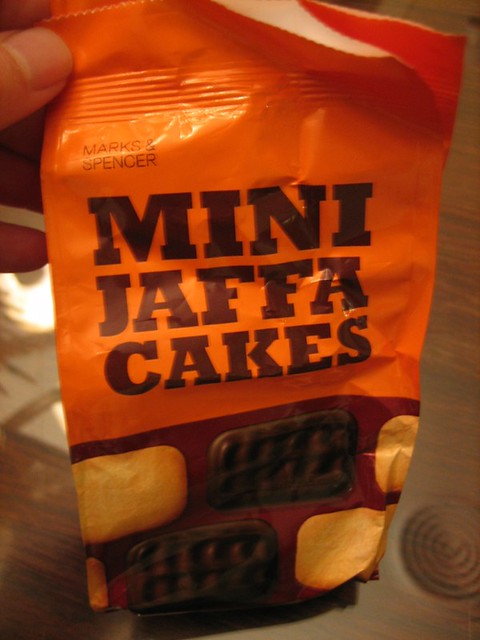
Here, I get my jaffa cakes fix from Marks & Spencer but they are just mini jaffa cakes so they finish really quickly :(
# – Mini jaffa cakes from M&S. Picture from pievcake.wordpress.com.
They’ve recently started selling regular sized jaffa cakes but the price is a bit hard to justify so I decided to make my own jaffa cakes!
For the cakes:
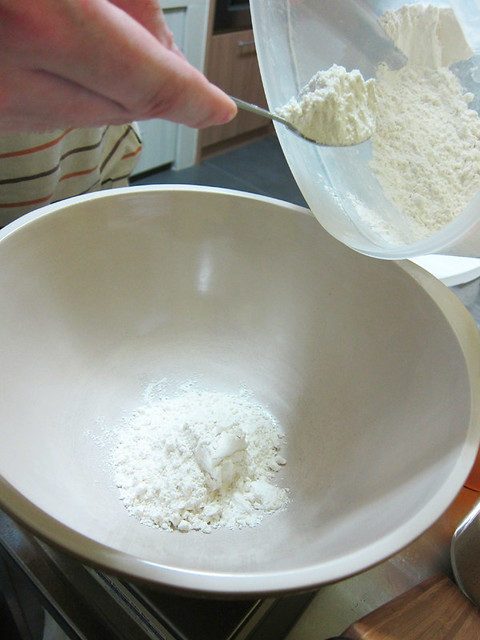
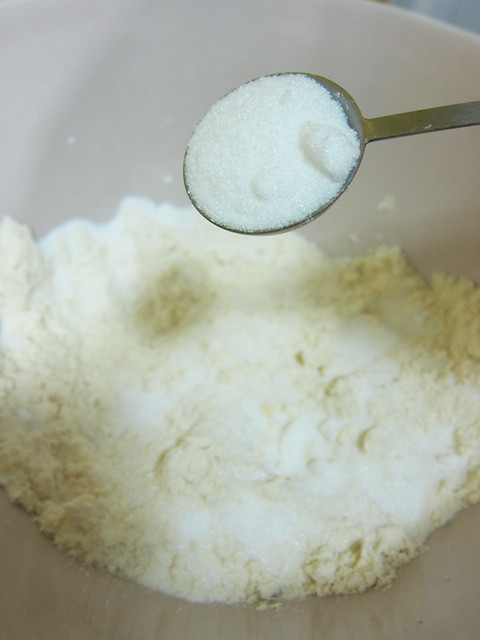
2 eggs 50g of caster sugar 50g of plain flour, sieved
For the filling:1 packet of good quality orange jelly powder 1 tablespoon of orange marmalade 125ml of boiling water 200g of good quality dark chocolate, minimum 70 per cent cocoa solids, broken into pieces
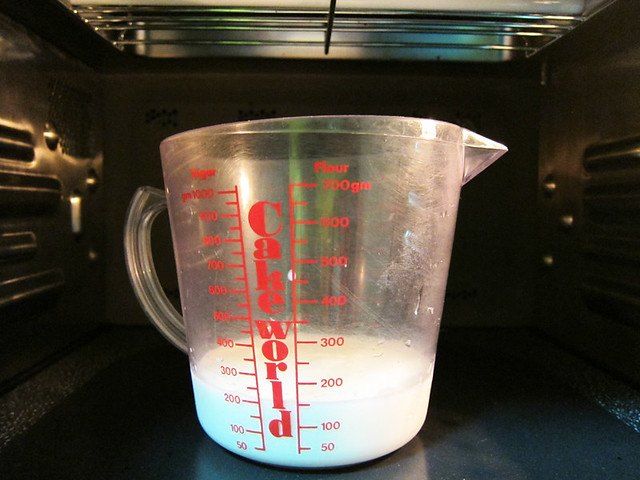
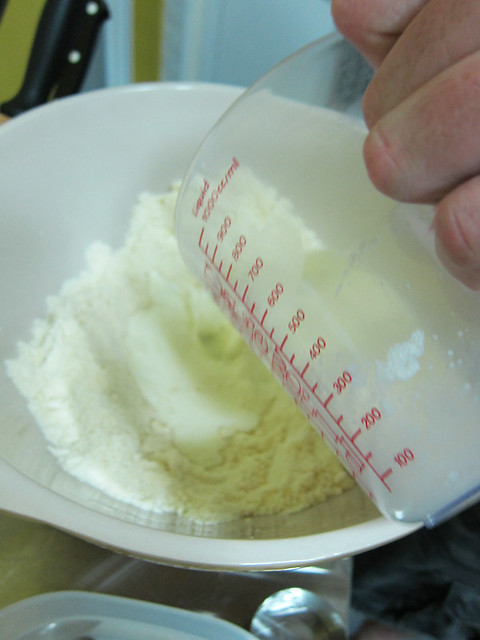
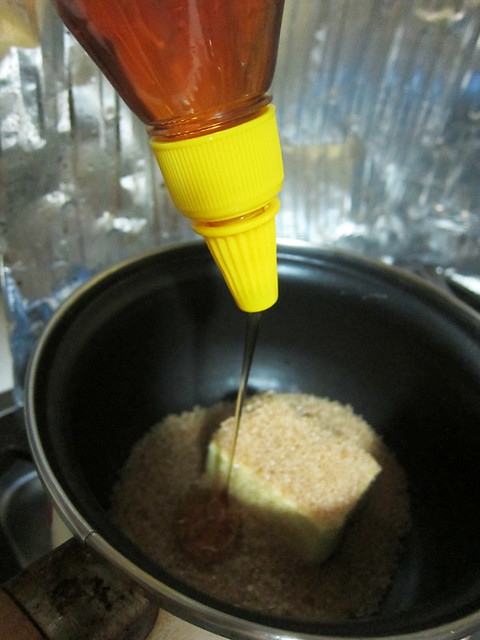
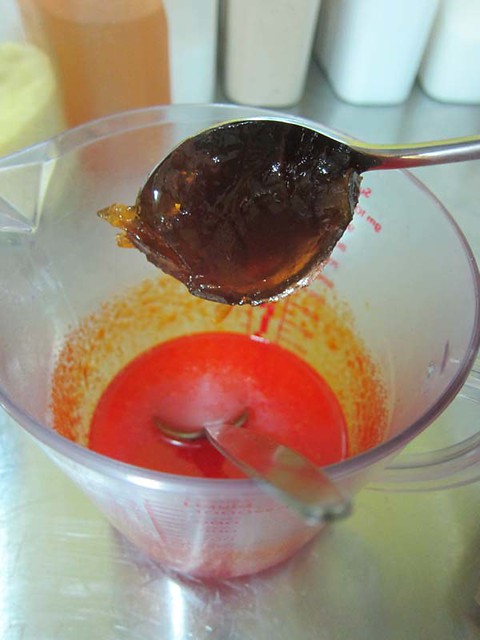
# – First pour the orang jelly powder mixture into a measuring jug.
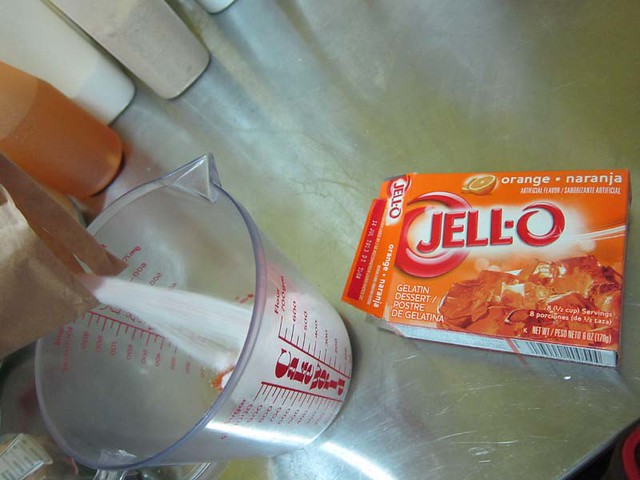
# – Pour the boiling water into it. Stir till powder is all dissolve. Mixture will be very thick, it is normal.

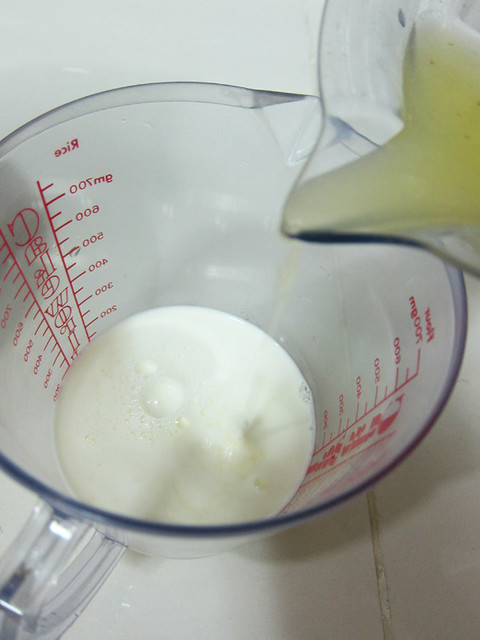
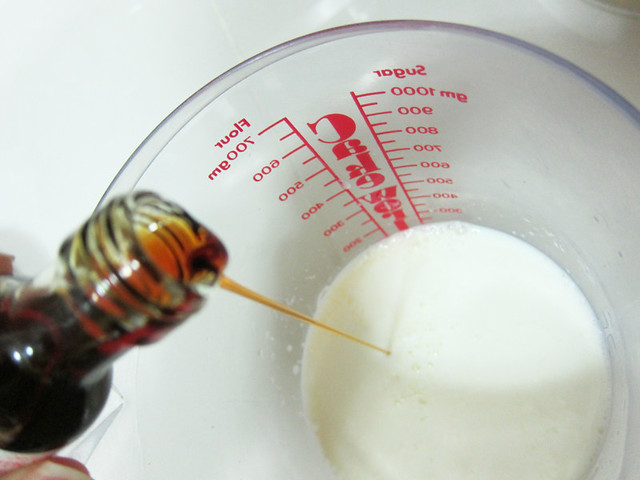
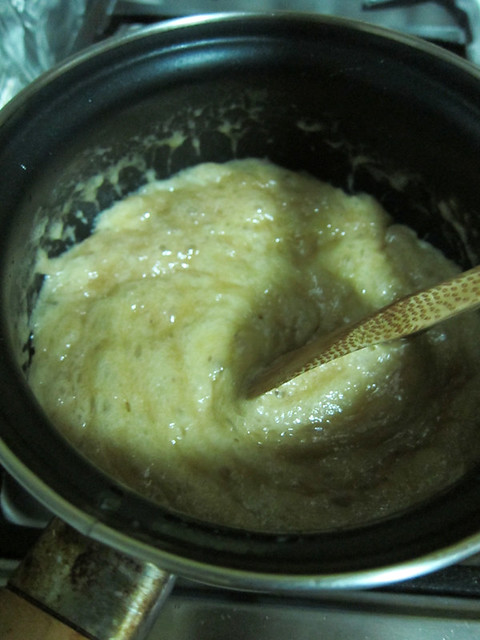
# – Add the orange marmalade and stir again till combined.
# – Pour the jelly mixture into a tray.

# – Chill it in the fridge for a minimum of 4 hours.

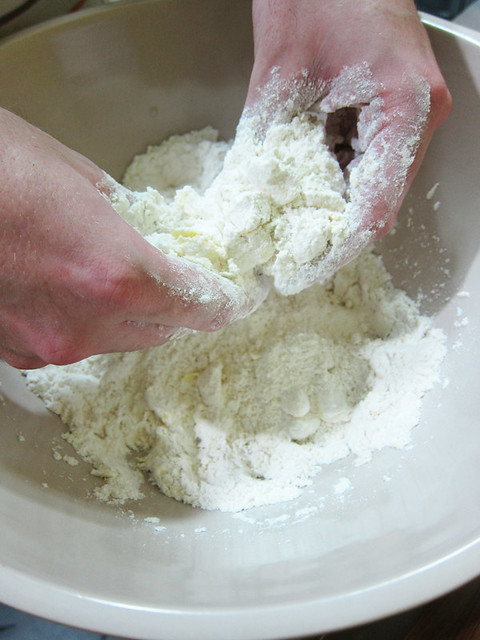
# – In the meantime, simmer some water in a pot and put a heat proof bowl over it, making sure the water doesn’t touch base of bowl. Beat the sugar and eggs in the bowl until pale and fluffy. It will take about 4-5 minutes.

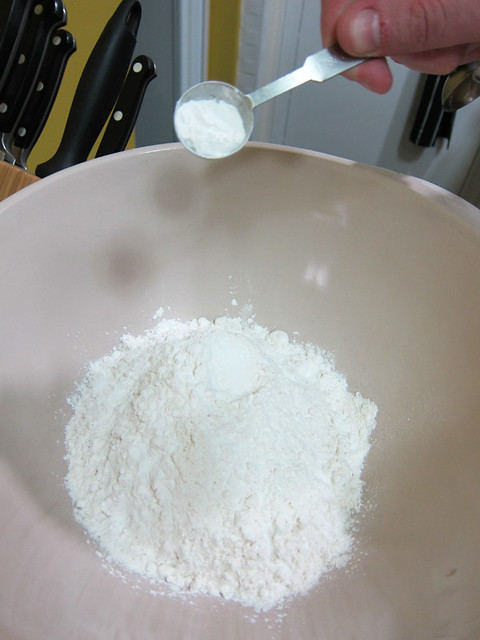
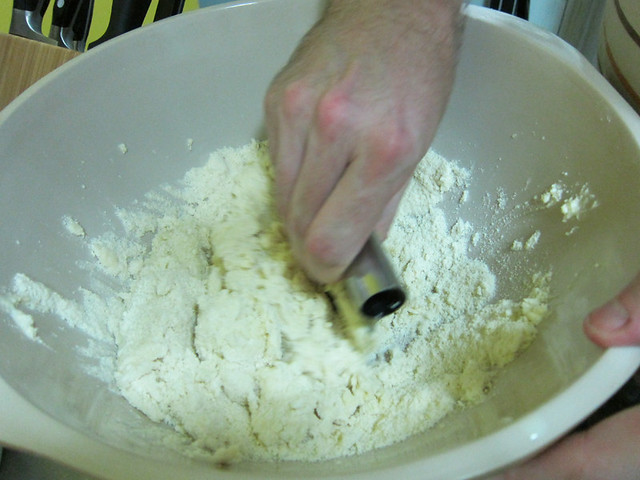
# – Then, gradually add the sifted flour while still beating the mixture.

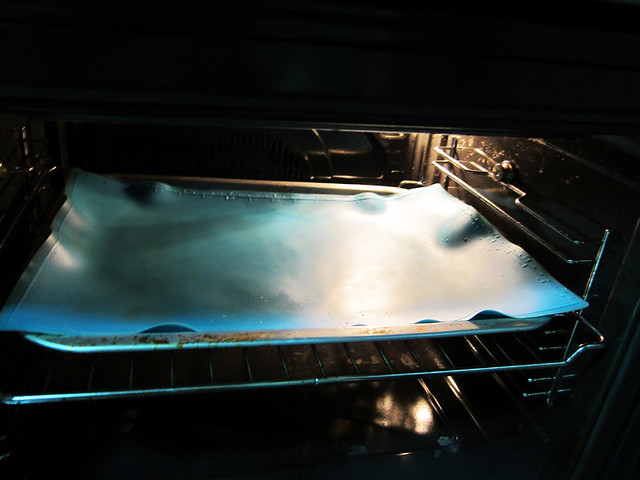
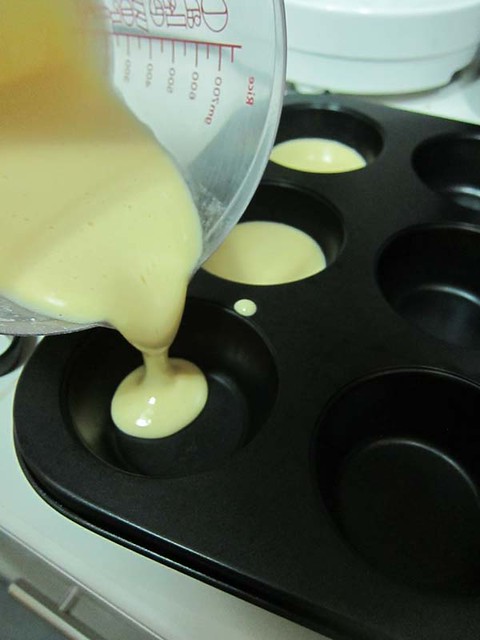
# – Pour the batter into a non-stick 12 hole muffin tin, each to about 0.5cm thick. If you don’t have non-stick, make sure the tin’s properly greased and coated with a light dusting of flour.
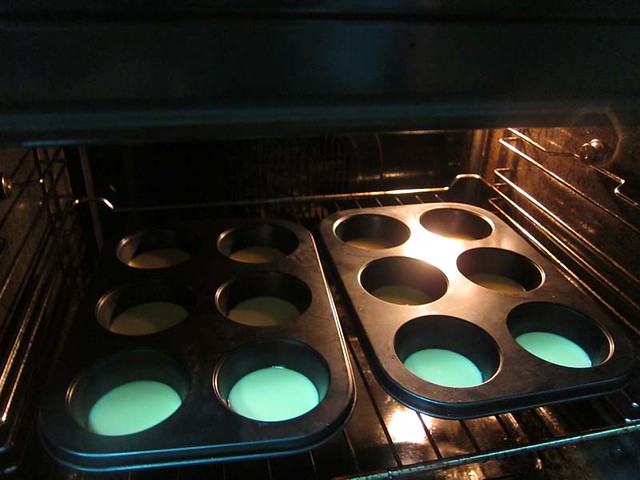
# – Bake at a preheated temperature of 180 degrees celcius for 8-10 minutes.
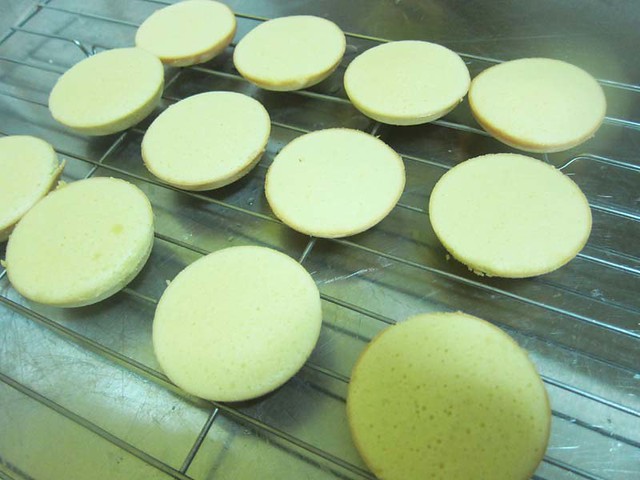
# – After baking, allow to cool slightly and remove the cakes with a rubber spatula.
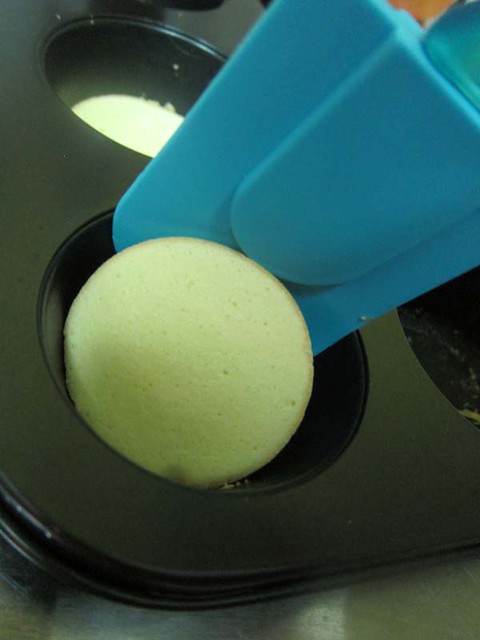
# – Leave them on a rack to cool down completely.
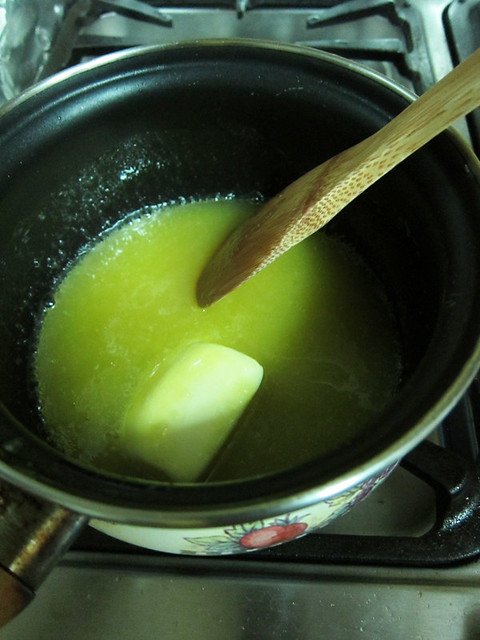
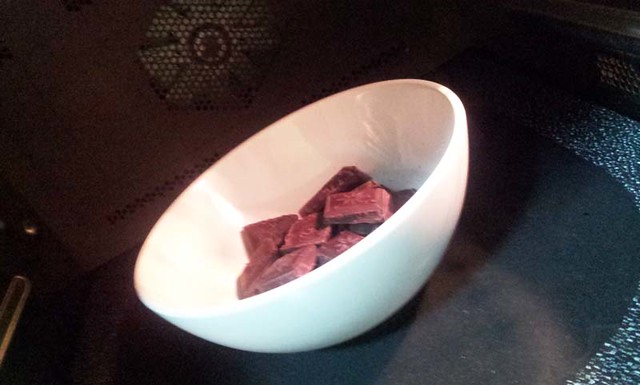
# – When ready to assemble the jaffa cakes, melt the chocolate in a microwave at medium heat for 30 seconds. The chocolate will still look quite solid after you take them out of the microwave but as soon as you stir it, it will become gooey & glossy :)
# – Scoop up some jelly that you’ve made earlier and spread it onto the cakes.
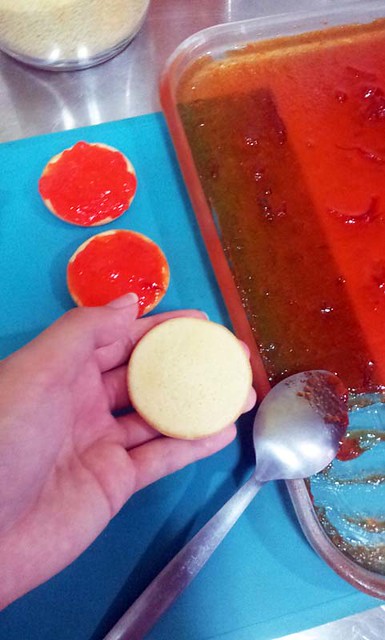
# – Like this.

# – Then, pour the melted chocolate all over the cakes. Chill in the fridge till the chocolate set, about 1/2 hour will do.
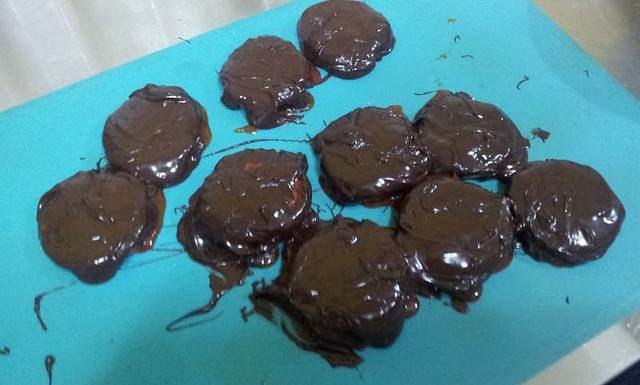
# – Eat the jaffa cake.

Obviously, these taste much better than the store-bought stuff. At first I thought 12 were too little, but they lasted between two of us for about a week. You can just eat one and be very satisfied :) Otherwise, multiply the recipe to your liking…hehe.