Mom’s All in One Pot Asian Ginger Chicken Rice Recipe.

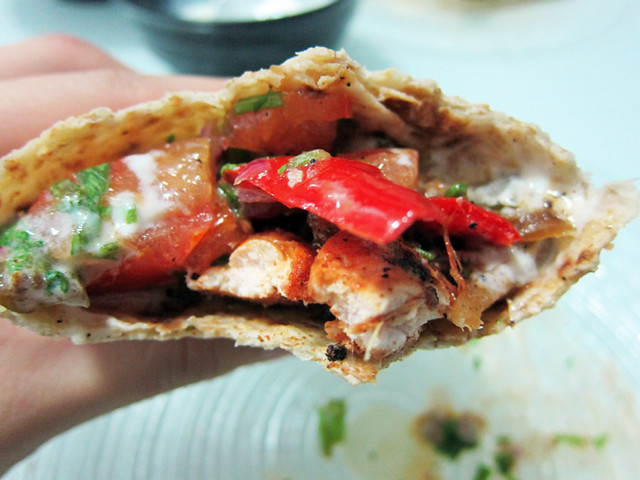
Hello again, this is another recipe from my childhood….my mom’s signature ginger chicken rice. It’s so shockingly easy to make, you wouldn’t believe how delicious and satisfying this dish is.

It’s best to use chicken meat with the bones still attached, parts like drumsticks and chicken thighs are the best. Also, go easy on the fat trimming as you do need a bit of chicken fat to make this dish a true winner :)

You need a rice cooker for this recipe, otherwise it wouldn’t be as convenient or easy a recipe as it should be…

For the chicken marinade:

  • 3 chicken thighs, with excess fat trimmed off
  • A piece of ginger the size of your thumb
  • 2 tablespoons of oyster sauce
  • A dash of pepper
  • 1 tablespoon of chinese rice wine
  • 1 tablespoon of sesame oil

For the rice:

  • 1 1/4 cup of rice (Kim from 2022: by cup I had meant the vessel you use to scoop your rice grains not the actual 250ml measuring cup)
  • A piece of ginger the size of your thumb, sliced
  • 3 tablespoons of oyster sauce
  • A dash of pepper
  • 5 cloves of garlic, whole
  • A dash of salt

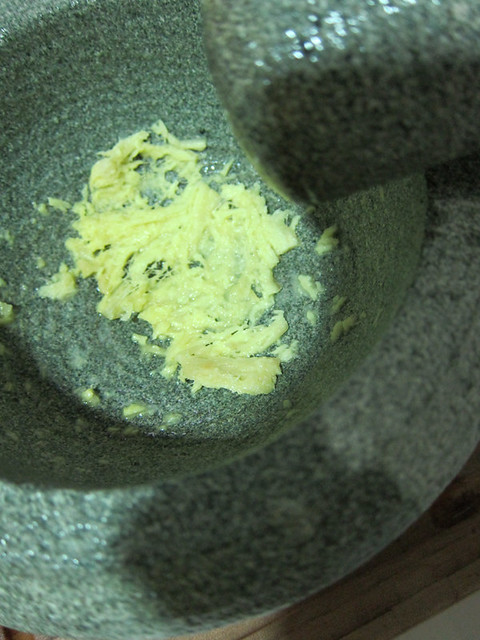
# – To make the chicken marinade, first of all, pound the ginger into a pulp to render out the juice.

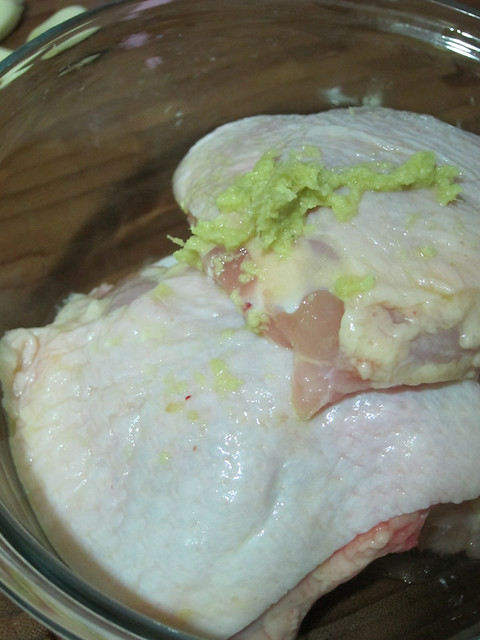
# – Then, throw the ginger pulp and juice onto the chicken thighs.

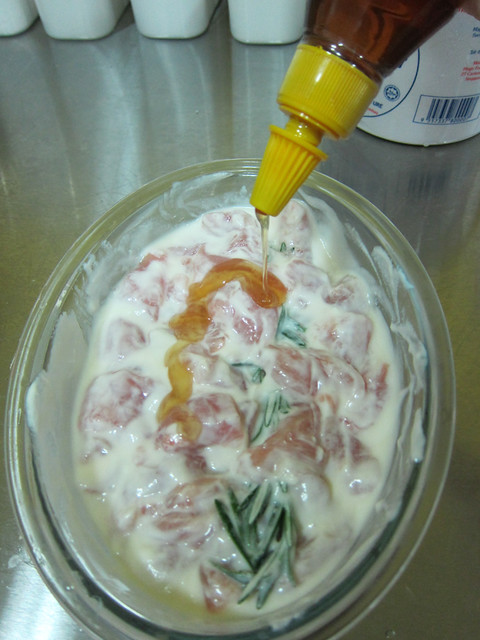
# – Followed by 2 tablespoons of oyster sauce…

# – And a few dashes of pepper…

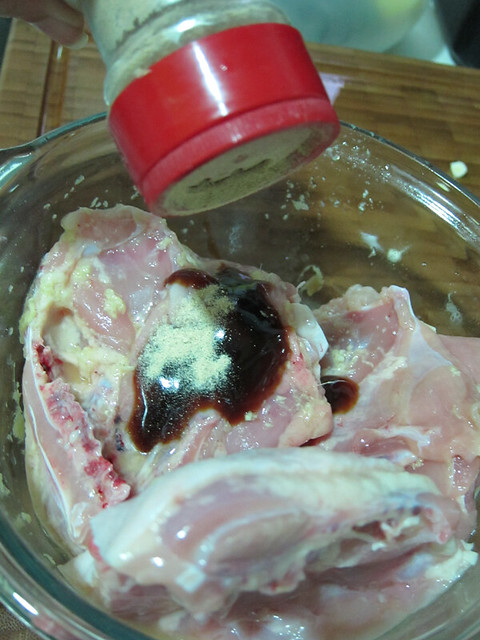
# – Don’t forget the sesame oil

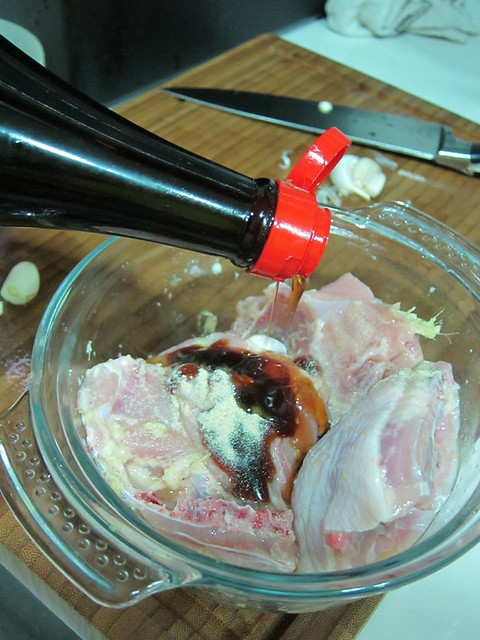
# – As well as the chinese rice wine.

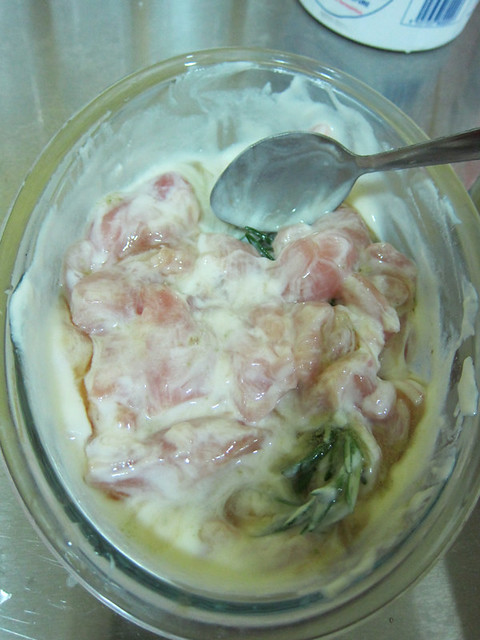
# – Mix together and set aside in the fridge for minimum of 2 hours.

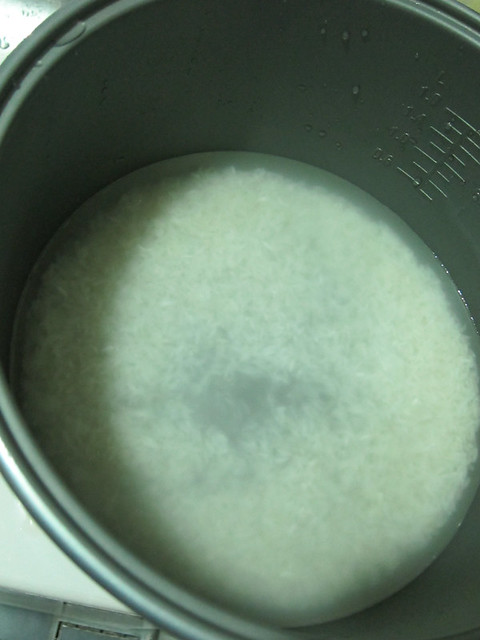
# – Next, prepare the rice as you normally would with plain rice in the rice cooker. Basically, the amount of water needed to cook rice is the same as the amount of rice PLUS one more cup. Hence, for 1 1/4 cup of rice, you need to cook them with 2 1/4 cup of water. (Kim from year 2022 here: Sorry for the unclear instructions about water amount, now reading it a decade later I have no idea what I was even on haha. So, please don’t be bothered by the water amount – just use the same amount of water you normally do when you cook plain rice. Chicken also releases fluid as they cook so you don’t have to compensate with more water;  however don’t over pile bone-in-chicken as this may lead to uncooked meat.)

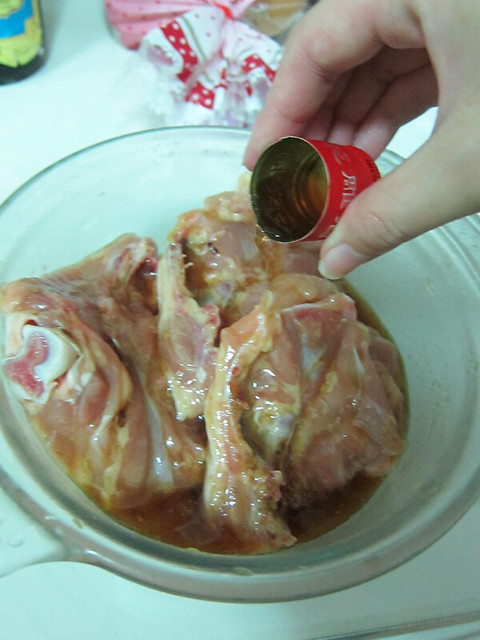
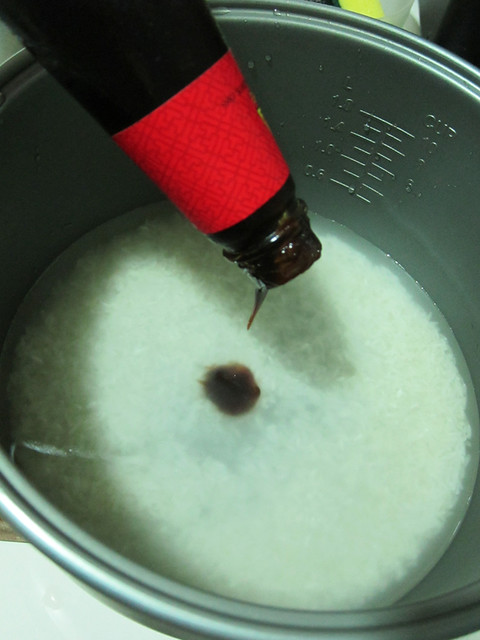
# – Add 3 tablespoons of oyster sauce, and a dash of salt (I forgot to take the picture).

# – Throw in a few dashes of white pepper..

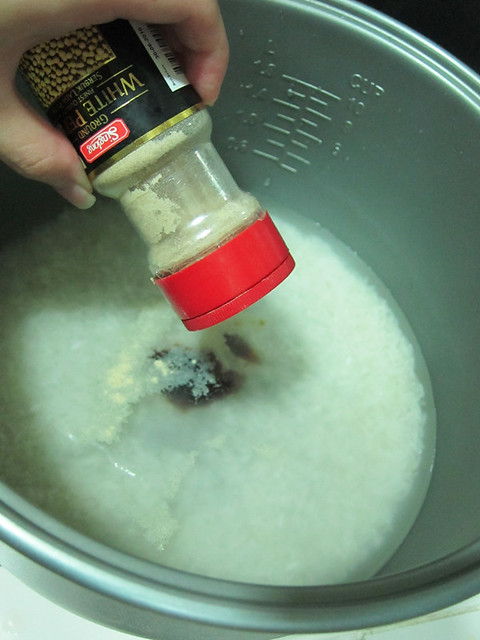
# – Mix it up till everything’s combined.

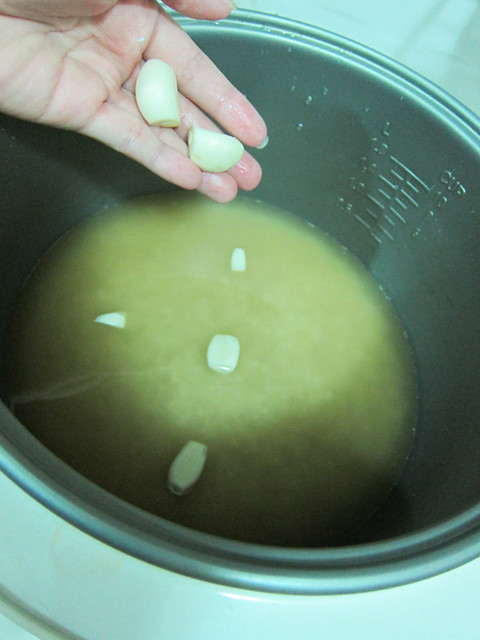
# – Next, lay the garlic cloves all over the surface of the rice.

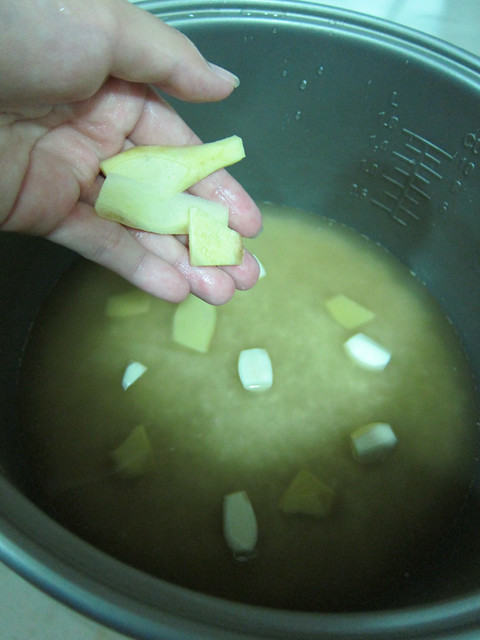
# – Followed by the ginger slices.

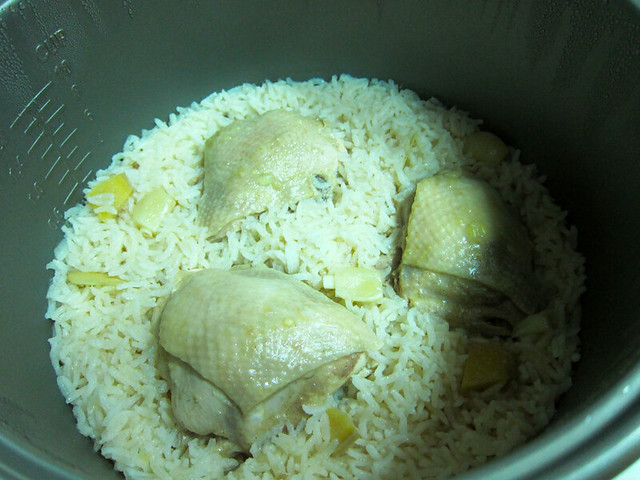
# – Lastly, take out the chicken thighs and lay them over the rice, skin facing upwards.

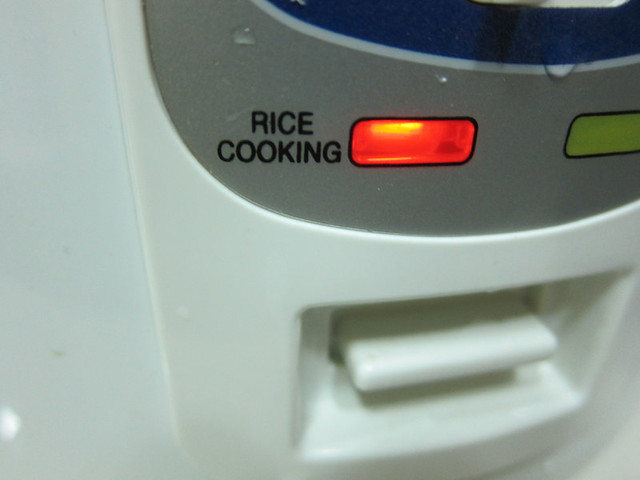
# – Cook for 25-30 minutes (as how you would normally cook rice).

# – Mom’s all in one pot ginger chicken rice recipe, DONE!

# – Garnish with some chopped spring onions before serving.

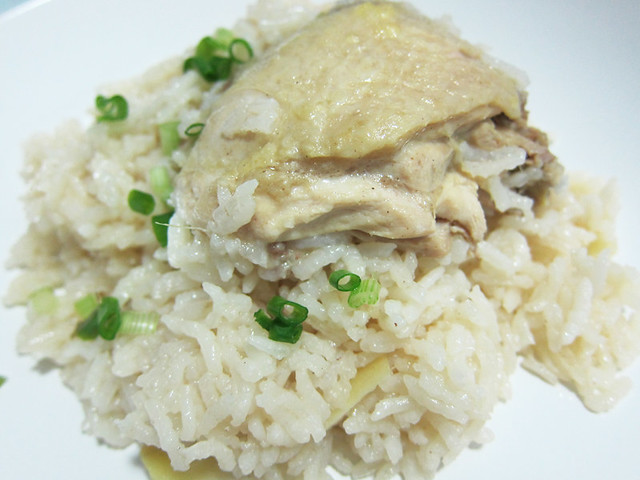
# – The chicken is tender and delicious.

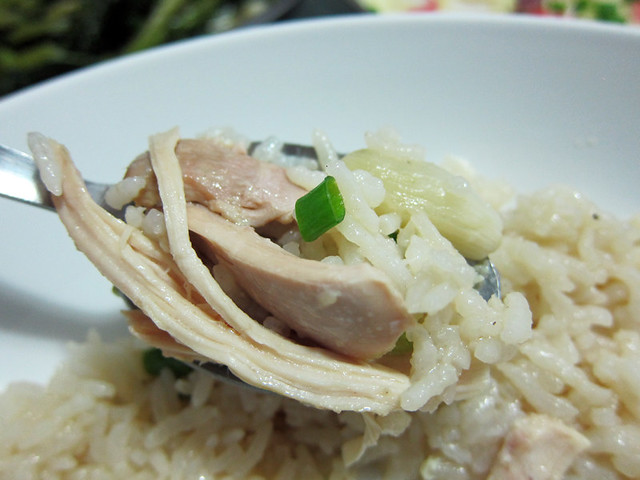
This is truly an easy way to cook Asian chicken rice. The chicken meat is tender and silky while the rice is fluffy and full of flavours.

I must say this is perfect for busy folks who have not much time as you can marinade the chicken the night before and then just throw them into the rice cooker the following day. As for me, I just whip it up on a lazy day ;)

Skewered yogurt honey chicken

This is a delicious and fresh tasting dish. Naturally tenderised by yogurt, the cubed chicken fillets were juicy and flavourful. The honey gives off a subtle sweetness which counterbalances the tart yogurt…this is perfect with fluffy white rice.

# – Today’s dinner!

For the yogurt honey chicken

  • 250 grams of chicken fillet, cubed
  • 3 tablespoons of plain yogurt
  • 2 tablespoon of pure honey
  • Salt for seasoning
  • A stalk of rosemary or you can use rosemary powder


For the honey yogurt dill sauce

  • 10 tablespoons of plain yogurt
  • 1 tablespoon of pure honey
  • A handful of chopped dill
  • Salt for seasoning

# – First season the cubed chicken fillets with salt.

# – Add 3 tablespoons of yogurt.

# – Followed by a stalk of rosemary. You may pluck the leaves and discard the stalk too (I did this later on as I think the leaves impart flavour better off the stalk).

# – Drizzle two tablespoons of honey.

# – Stir till combined.

# – Now pierce all the chicken fillets together with skewers. Set aside in the fridge to marinate for at least 2 hours.

# – In the meantime, pour about 10 tablespoons of plain yogurt into a bowl.

# – Add 1 tablespoon of honey into the yogurt.

# – Dump in the finely chopped dill.

# – Don’t forget the salt!

# – Stir till completely combined and keep chilled in the fridge till ready to be served.

# – When you’re ready to cook, heat up a properly greased griddle. Make sure it’s quite hot but not burning.

# – Place all the skewered chicken onto griddle for about 3 minutes on one side. The smaller your chicken cubes are the faster they cook.

# – Flip them over to cook the other side.

# – Serve them with rice and the yogurt honey dill sauce made earlier.

# – Skewered yogurt honey chicken, DONE!

If you’re not into rice, you could also serve it with boiled potatoes and a nice green salad. Also, if you find the yogurt honey dill sauce a little on the sweet side, you could add a tablespoon of lemon or lime juice to balance up the taste more.

I love it when reasonably healthy dishes turn out exceptionally tasty. Give it a go!

Incredibly tasty but simple spicy chicken fajitas.

The last time we ate fajitas at home was almost 5 years ago. It came out of box. They were basically 10 rather small tortillas, some mushy salsa and fajita seasoning mix. We had to buy our own chicken, capsicums,onion and now that I think about it…..I might as well buy my own spices to make the seasoning and vegetables for the salsa!

It took me 5 years to finally see the point but it’s okay, better late than never. I’ve finally made the fresh salsa from scratch, which was unbelievably easy and now, I’m going to blog about making the chicken using home-mixed seasonings….no preservatives, no chemicals, no colourings!

    For the marinade:

  • 300 grams of chicken fillet, cut into strips
  • 1 tablespoon of chilli powder
  • 1 tablespoon of paprika powder
  • 2 tablespoon of oil
  • 1 teaspoon of sugar
  • zest and juice of 1 lemon
    For the vegetables:

  • 1 large onion, chopped
  • 1 red or green capsicum, julienned (I actually used 4 large chillies cut into large strips because I didn’t have capsicums, they worked brilliantly!!)
  • 4 stalks of celeries, chopped

Here we go!

# – First, mix the chilli powder, paprika powder, sugar & oil together, then top off with the juice & zest of 1 lemon. Mix thoroughly.

# – Then, put the chicken fillet strips into the mixture. Make sure all the strips are well coated. Leave in the fridge for 1-2 hours.

# – After 1-2 hours, heat up a well-greased griddle. Grill the chicken strips for 2-3 minutes on 1 side depending on thickness. Remember to keep the marinade!

# – Flip the strips to cook the other sides.

# – After they’re cooked, set aside.

# – On the same griddle, throw in the onions and capsicums (I used large chillies). Then mix the leftover marinade with about 10 tablespoons of water and pour it over. Also, throw in a pinch of salt. Mix thoroughly.

# – Next, add the celeries. Mix thoroughly.

# – Let them cook for about 5 minutes. Actually, just use your gut feelings, you will know when it’s cooked! :D

# – Lay the vegetables over the chicken strips cooked earlier. The fajitas are DONE!

# – Serve with warmed tortillas, plain yogurt and home-made salsa.

# – Pile them all up on a tortilla….

# – Roll it up…

# – Eat!!! The chicken is tender on the inside and the outside crispy and flavourful. The salsa, onions, celeries and chillies all contributed great flavours and a nice crunch! You can put some grated cheese too and use sour cream instead of yogurt, but we were feeling healthy :D

And there……a healthy, tasty, home-made chicken fajitas meal with no preservatives or overpriced “seasoning”. The only thing store bought were the tortillas and plain yogurt. Pretty sure this will be a big hit at parties too!