Sweet & sour chicken recipe.

I very rarely deep fry my food. Not because we don’t like fried food but cause I hate dealing with the leftover surplus of oil. I guess I could pour the surplus into an oil pot but you know what, I haven’t gotten around to buy one that looks nice and fits into the interior of the kitchen. Yes, this is one of my shortcomings as a human being.

We’re definitely going to get a electronic deep fryer but before that, we’d need to get a washing/dryer machine, a stand mixer, a new 4-6 slice toaster, a new kettle, a new rice cooker that’s not white in colour…all in that order :P

# – Sweet & sour chicken recipe.

Anyway, I made an exception for this sweet & sour chicken because (1) it’s time to redeem myself for sweet & sour chicken disaster circa 2006 and (2) it’s DELICIOUS!

For the marinade:

  • 2 pieces of chicken breasts, cut into desirable bite size
  • 1 tablespoon of bicarbonate soda
  • 4 tablespoons of corn flour
  • 1 tablespoon of oyster sauce
  • 2 tablespoon of chinese rice wine (optional)
  • A pinch of salt and pepper

For the sweet & sour sauce:

  • 300 ml of water
  • 2 tablespoons of tamarind paste
  • 3 tablespoons of tomato puree or tomato ketchup
  • 1 tablespoon of sugar
  • A pinch of salt

For the mix of vegetables:

  • 2 medium onions, quartered
  • 150 grams of pineapple, cut into cubes
  • 1 large cucumber, peeled, seeded and cut into cubes
  • 1 large red chilli, seeded and cut into large rectangles (you can use capsicum)
  • A sliver of ginger

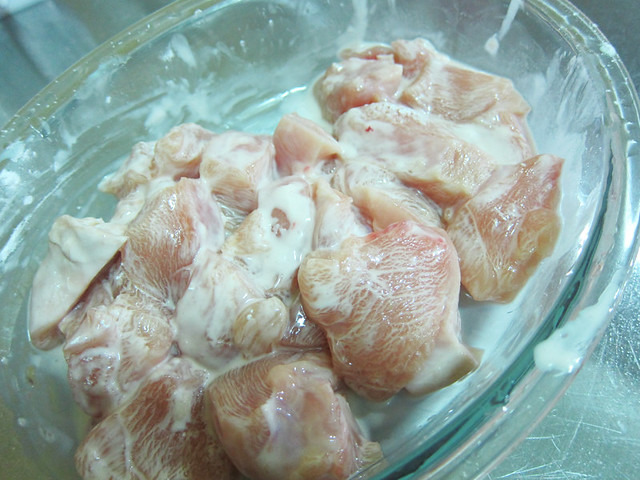
# – First, marinate the chicken in the marinade ingredients for about 30 minutes.

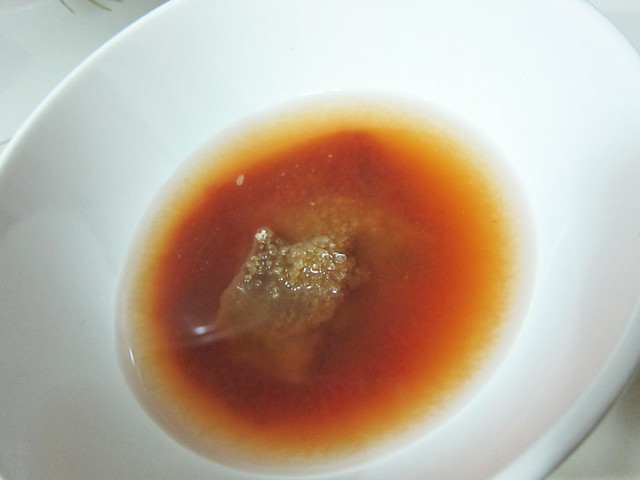
# – Then, prepare the sweet & sour sauce by stirring the sauce ingredients together till combined. Set aside.

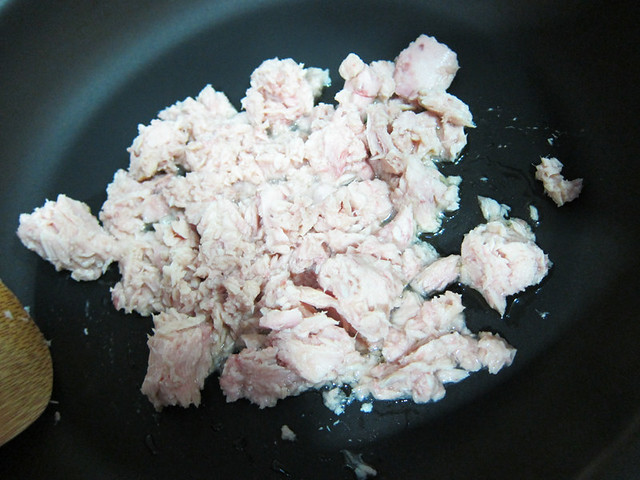
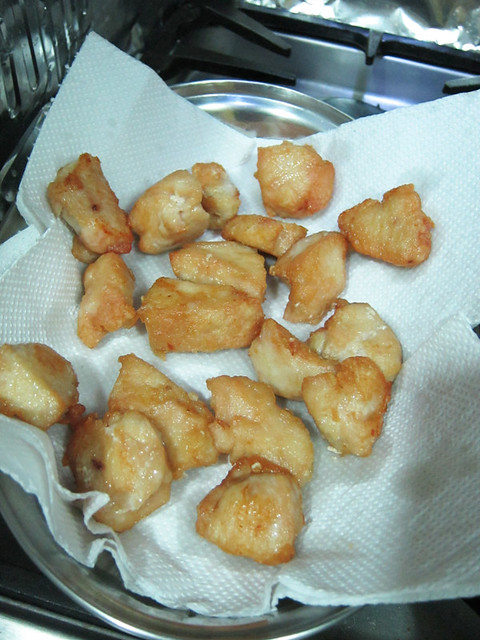
# – Heat up enough oil to cover the chickens in a wok and throw the chicken in one by one. Don’t crowd the wok and work in batches.

# – Remove when golden brown and place on a paper towel to drain.

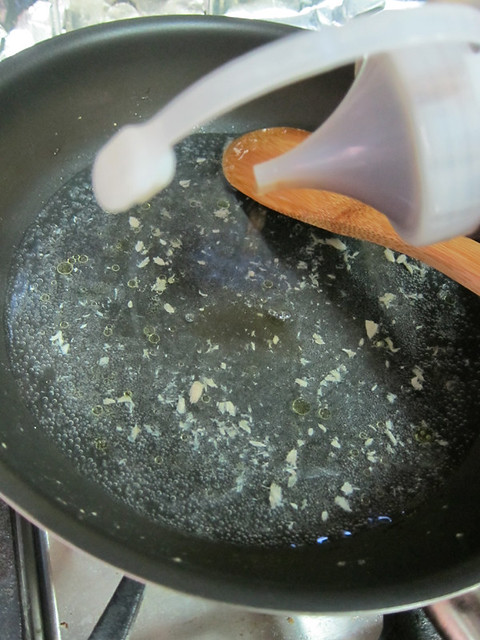
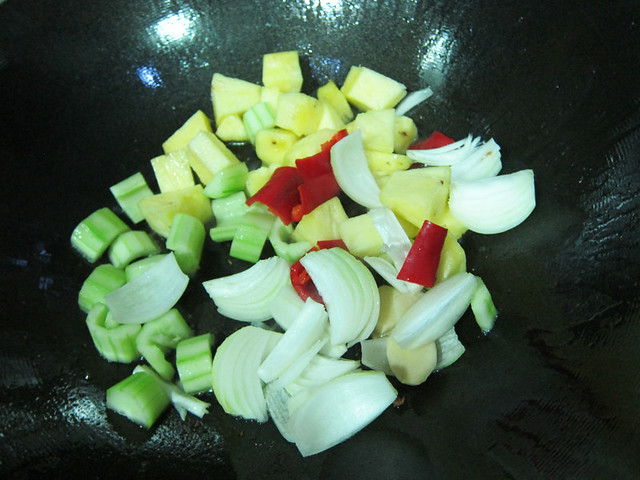
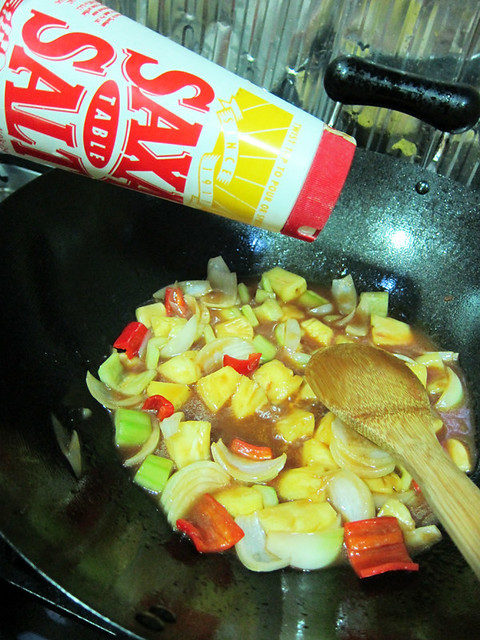
# – After all the frying, pour away the oil to leave just about 2 tablespoons in the wok. Throw in the mix of vegetables.

# – Followed by the sweet & sour sauce prepared earlier. Allow it to simmer gently.

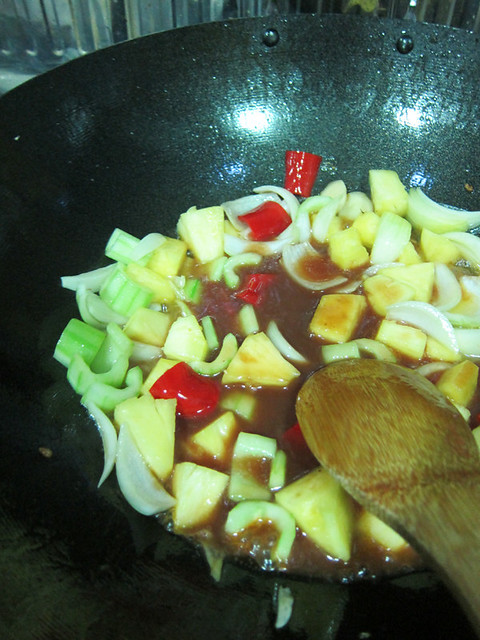
# – Taste and season with salt if needed.

# – When sauce has achieved the desired consistency, throw in the deep fried chicken nuggets. Stir to coat chicken with the sauce. Remove from heat to serve.

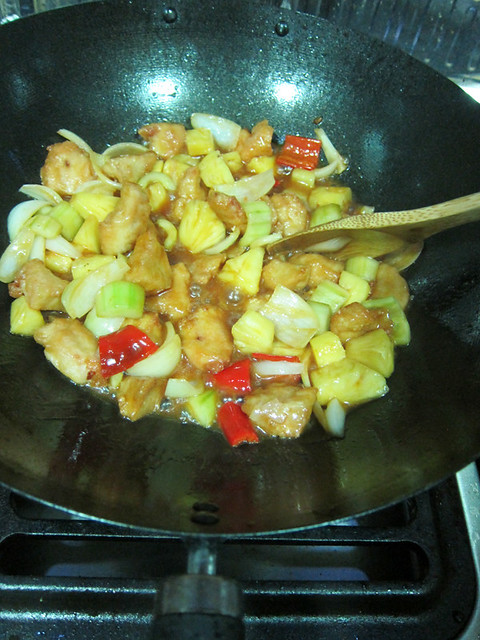
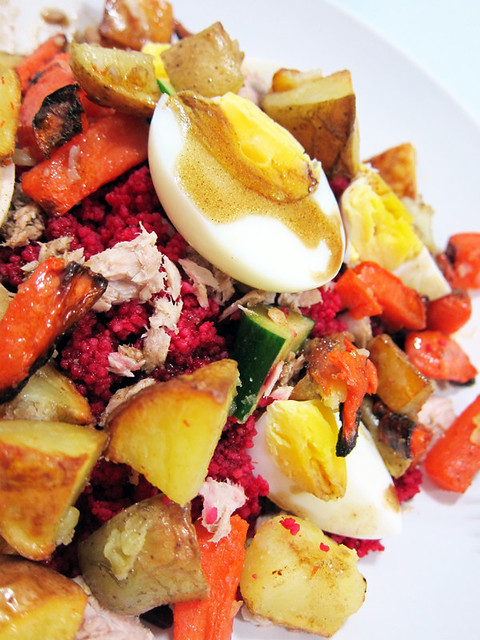
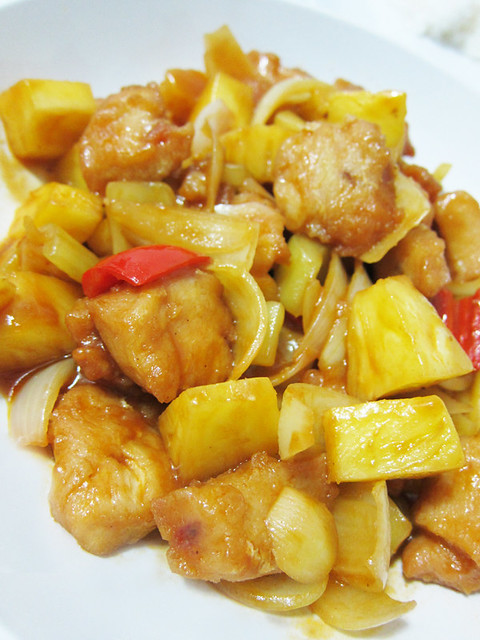
# – Sweet & sour chicken, DONE!

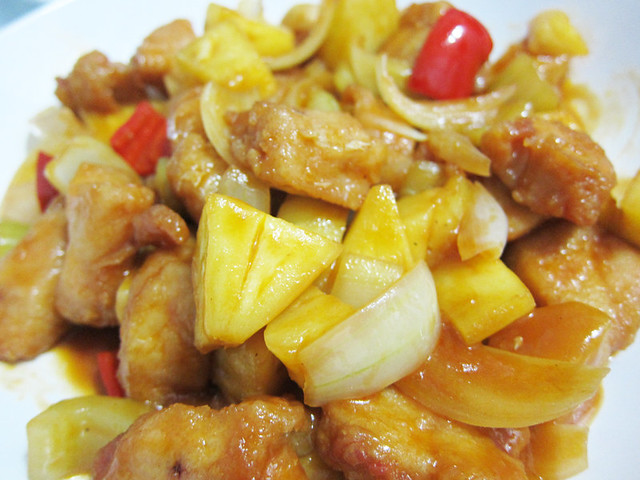
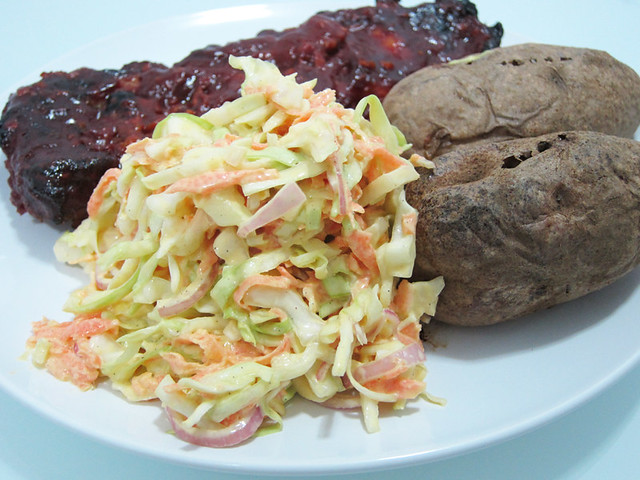
# – Serve with piping hot rice. Yums :)

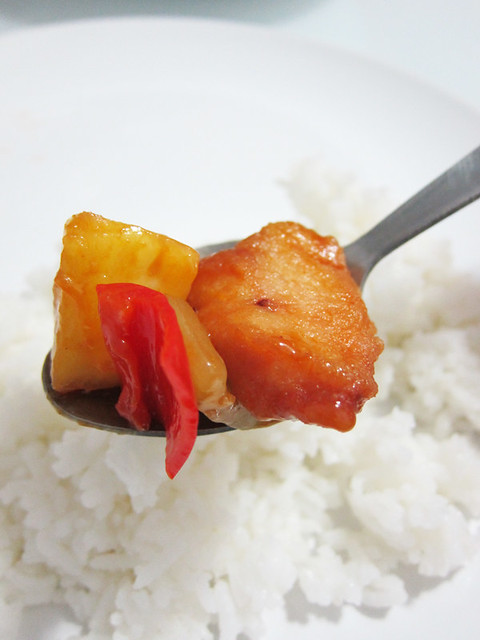
The chicken was tender on the inside and crispy on the outside. The sauce had just the right balance of flavours while the vegetables were nice & crunchy. Absolutely divine with rice.

I believe you can substitute chicken with other meats like pork or fish as well. Have fun cooking!

Warm & cool beetroot, tuna with couscous salad meal recipe.

Yeap, another recipe for salad. Can’t you tell that we’re desperately trying to eat more healthily? All those late night suppers and crisps and salted chunky chocolate chip cookies have truly shown on our mid sections -_-

Just last night at 3am, I cracked 6 eggs, grated half a block of mature cheddar to make the most decadent cheesy scrambled eggs on marmite toasts.

Yeap. Trust me, we need these damn salads.

# – Beetroot, tuna & couscous salad meal.

The redeeming point is that this salad taste pretty damn good. And, quite gorgeous to look at I must say :D

For the salad:

  • 1 can of solid tuna in brine, drained
  • 1 beetroot, sliced
  • 3 tablespoons of malt vinegar
  • 60 grams of couscous
  • 2 potatoes, cut into cubes
  • 2 carrots, cut into thick strips
  • 2 cucumbers, cut into cubes
  • 3 eggs, hard boiled
  • Water
  • 3 tablespoons of Extra virgin olive oil
  • A dash of salt

For the dressing:

  • 100 ml of extra virgin olive oil
  • 50 ml of balsamic vinegar
  • A dash of salt and pepper

# – First of all, hard boil the eggs. What I normally do is submerge the eggs in water, then bring to a boil for 4 minutes. Turn off flame and allow to rest while I do other tasks.

# – While the eggs are cooling down, pan fry the tuna till crisp on the edges with just a touch of oil. Set aside.

# – In the same pan, pour enough water to cover the amount of beetroot slices, then add the 3 tablespoons of malt vinegar. Give it a dash of salt too.

# – Throw in the beetroots, cover and let them simmer for about 20-30 minutes. Cook longer if you want the beetroots to be softer.

# – Take the beetroot slices out and you’re now left with a deep purplish red liquid. Pour it away if there’s too much, leaving an amount enough to cook the couscous in. Cook the couscous in the liquid. This is my favourite part of the dish, making these deep purple red caviars :)

# – Now, it’s time to assemble the chilled part of the salad. Throw in the couscous, tuna, cucumbers, beetroots and eggs into 2 plates and stick in the fridge for at least an hour. Since we’re eating the salad as our main meal, the portion is quite large. However, if you’re making it as an appetiser to accompany other dishes, I reckon this recipe could be divided into at least 6 decent portions.

# – In the meantime, chuck the carrots and potatoes into a roasting tin. Drizzle with olive oil and a dash of salt. Shake the tin to coat the vegetables well. You can totally throw in some peeled whole garlic cloves too (yummy!).

# – Stick the tin of vegetables into a preheated oven of 190 degrees celcius for 45 minutes – 1 hour.

# – Make the dressing but whisking the olive oil, balsamic vinegar, salt and pepper together.

# – After the vegetables have done roasting, take the now chilled salads and throw in the beautifully roasted carrots and potatoes.

# – Drizzle the balsamic vinaigrette dressing all over the salad. Serve immediately.

# – Warm & cool beetroot, tuna with couscous salad meal, DONE!

I’ve actually made this a couple of times. This is surprisingly delicious for a salad (I am a carnivour), with a variety of textures in every bite.

The sweetness of the roasted carrots & potatoes went really well with the slightly tart beetroots and the purple couscous. The eggs and tuna provided the essential delicious proteins while the fresh cucumbers kept it all crisp and refreshing.

We’re toying with the idea of eating salad meals like this for a lengthy period of time and to be honest, I really wouldn’t mind as long as they taste like this every time.

All that’s left to do now is to conjure up more salad recipes that could replicate the fun & exciting eating experience of this salad!

Quick basic coleslaw recipe.

This is a recipe for a basic coleslaw. I whipped this up as an accompaniment to the baby back ribs I made a while ago. It’s so easy to make….delicious, refreshing and crunchy.

# – Quick basic coleslaw.

This is way healthier than eating coleslaw outside too. I find it comforting to know exactly where each ingredient came from and what went into flavouring it.

The ingredients:

  • 1/2 a cabbage, sliced
  • 2 carrots, grated
  • 1 small onion, sliced
  • 6 tablespoons of mayonnaise
  • 3 tablespoons of red wine vinegar
  • A pinch of black pepper
  • A pinch of nutmeg
  • A pinch of celery salt or ordinary salt

# – First, slice the cabbage.

# – Then, grate the carrots and slice the onion. Dump into a mixing bowl.

# – Dump in the cabbage as well, followed by 6 tablespoons of mayonnaise (I like my coleslaw creamy, feel free to reduce amount of mayo if you want).

# – Give it a splash of red wine vinegar.

# – Season with some celery salt or ordinary salt.

# – A pinch of nutmeg for a wonderful aroma.

# – Lastly, a dash of black pepper for a bit of a kick. Stir well, cover and stick in the fridge to chill for at least one hour for the flavours to settle in. However, you can eat it straightaway if you like :D

# – Quick basic coleslaw, DONE!

I love it when I can get my vegetable intake with no cooking involved. Heheheh /lazy