My cheese baked rice that was not :(

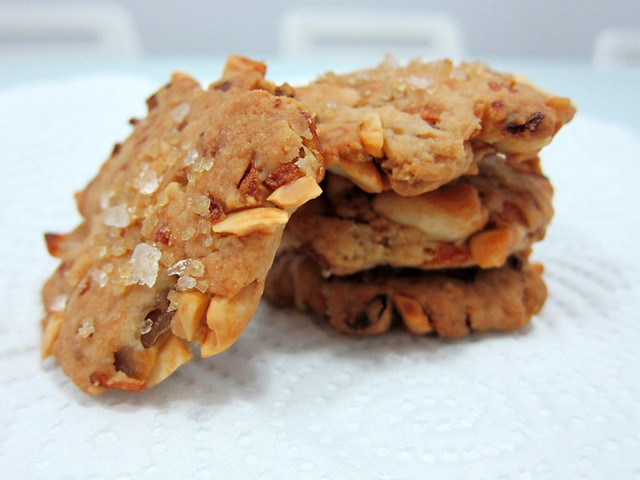
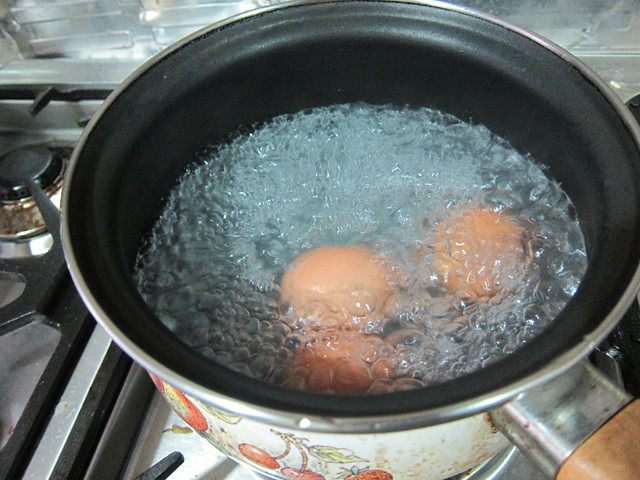
I was really excited about making this dish. My boyfriend absolutely loves it. Whenever we visit one of those Hong Kong themed restaurants, he never fails to order this. One layer of cooked rice, followed by a layer of meat sauce then topped off with cheese and baked till top is bubbly. Easy right?

So easy I didn’t even bother to look at a recipe. That was how cocky I was. Well, as it panned out, my version of cheese baked rice turned out quite bad :(

It was edible…okay let me rephrase, the crust was edible and now and then some bits of rice. The rest? Atrocious.

How could something that looked so good out of the oven and smelled so heavenly turned out to be a complete disappointment?

# – Perfectly good cheesy crust…what could go wrong? Right?

And every cooking failure is a lesson I have to learn from. From my disastrous cheese baked rice, I’ve learnt:

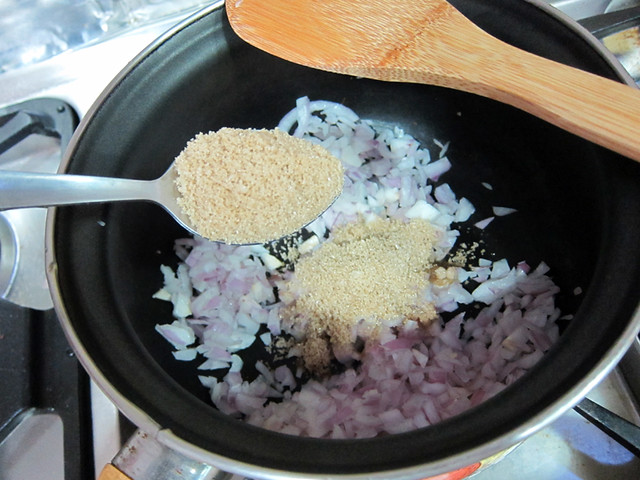
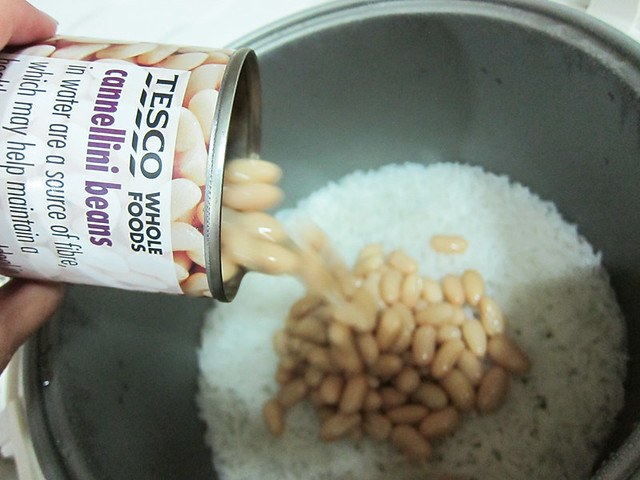
  1. Not to add beans I’ve never cooked before into perfectly fluffy rice just because I need to use some of them up.
  2. Never to buy too many cans of beans I’ve never cooked before because they were discounted. Refer to point above.
  3. Not to leave too much liquid in the meat sauce. Okay, to be more specific….drain the damn tuna. It won’t take too long.
  4. Not to cook too much of something you’ve never made before.
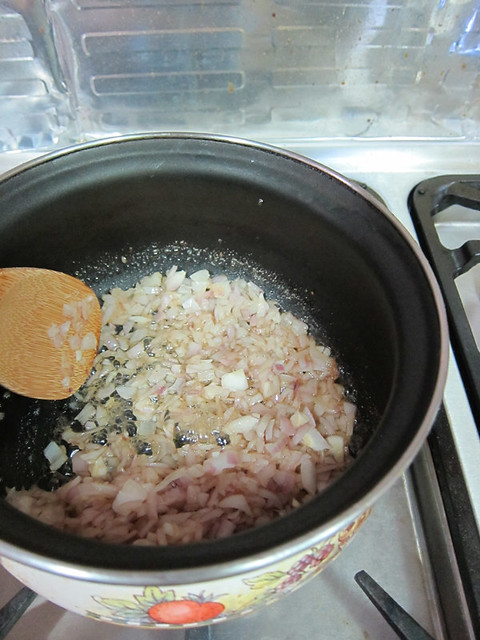
  5. Stick to the cheaper cheeses for first time dishes!!!!!
  6. Don’t EVER, EVER, forget the salt

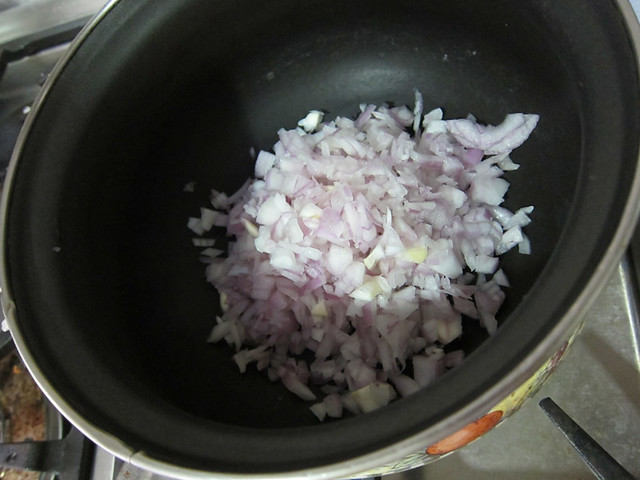
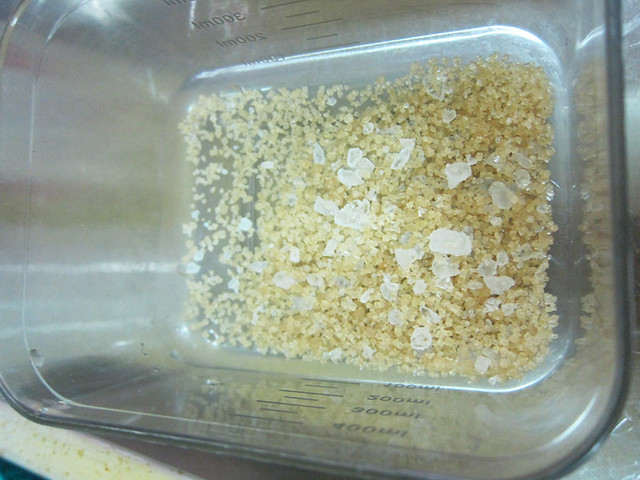
# – Cannellini beans….not such a smart idea now is it?

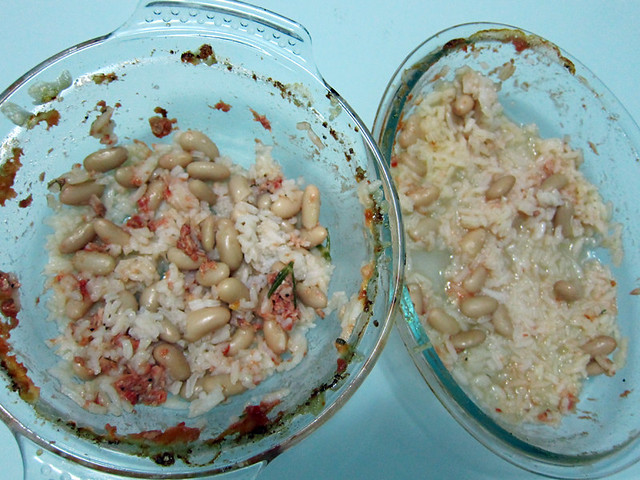
I suppose that’s the nature of cooking, you can have some good days but you will bound to experience some bad days too.

If you’re attempting some form of cheese baked rice, and for some unknown odd reason you feel like dumping a can of cannellini beans into your rice, please, I implore you, DON’T!

# – This is an illustration of “BAD MOVE”.

So I screwed dinner up. It’s not too bad, all I had to do was take over the dishes duty and the BF’s successfully pacified. So there, if you’ve encountered any cooking disaster, don’t be discouraged and keep on cooking folks!

Savoury salted roasted peanuts and onion cookies, a successful experimental recipe.

I was craving for something savoury but all I’ve got in the pantry were sweet, chocolatey stuff. Don’t get me wrong, I love my sweet, chocolatey snacks but today in particular I wanted to nibble on something crunchy, fragrant and a little salty.

So I threw together some ingredients and made…salted roasted peanuts & onion cookies. Okay, I seriously have to work on naming my recipes better….can’t get more literal than that :P

# – Salted roasted peanuts and onion cookies.

Anyway, these cookies are so delicious! I can’t believe I managed to pull it off! With a gorgeous fragrance from the onions and sesame oil, they are crunchy and addictive!

Without further ado, lets check out how these simple but delicious cookies are made.

For the cookies:

  • 2 red onions, finely chopped
  • 2 tablespoons of brown sugar
  • 160 grams of flour, sifted
  • 2 teaspoon of bicarbonate of soda, sifted
  • 100 grams of butter, roughly chopped
  • 60 grams of salted roasted peanuts
  • 3 tablespoon of sesame oil


For garnish:

  • 1 tablespoon of coarse sugar
  • 1 tablespoon of coarse salt or sea salt

# – First of all, dump all the finely chopped onion in a pan on medium heat. No need to grease the pan.

# – Then, throw in 2 tablespoons of brown sugar and stir.

# – On medium heat, cook till the onions are caramelised and wilted. Set aside to cool.

# – Now pound the salted roasted peanuts till they’ve broken into tinier pieces. I would have used a food processor if I’ve got one ;)

# – Kind of like this. Set aside.

# – Now, sift the flour and bicarbonate of soda into a mixing bowl and throw in the butter.

# – Rub the flour and butter together till resemble bread crumbs.

# – Dump the peanuts into the flour & butter mixture.

# – Followed by the caramelised onions prepared earlier.

# – Pour 3 tablespoons of sesame oil into the mixture.

# – With your hands, just mix and knead everything together till combined into a dough, like this.

# – Form 24 flattened balls and place them on a greased baking tray. I used a silicon mat so it’s much more convenient ;)

# – Now this is optional, but it would definitely give your cookies a kick of flavours. Just mix a tablespoon of coarse sugar and coarse salt together.

# – Then sprinkle the salt and sugar mixture over the top of the cookies.

# – Bake in a pre-heated oven at 180 degrees celcius for 18 minutes.

# – Salted roasted peanuts and onion cookies, DONE!

# – I think they would be great with a bowl of piping hot creamy soup too but they are pretty perfect eaten on its own ;)

As I’m blogging this, 6 of the cookies have already vanished. Hopefully the BF will arrive home from work before they dissappear completely!

How to make surprise marbled Easter eggs.

Okay, I’ve got a confession to make. I don’t really celebrate Easter. I don’t really know why it’s celebrated either but please feel free to educate me in the comments below.

What I know is that it’s associated with rabbits, chocolates and eggs. I like rabbits, chocolates and eggs so I guess that makes me like Easter too!

In conjunction with Easter Friday, I’ve decided to pimp up my eggs. Dyeing eggs is actually a very familiar activity for the chinese community as it’s common to dye eggs in red for someone’s birthday. It is believed to be auspicious for someone celebrating birthday to consume red eggs as it symbolises good luck, fertility and longevity.

# – Easter eggs, chinese style :D

What you need are:

  • Eggs, decide your own amount
  • Liquid food colourings
  • Enough water to boil the eggs
  • White vinegar
  • Sandwich bags or freezer bags, one for each colour

Instead of using the colour red though, I’ve chosen fuchsia pink, blue and green for this edible project ;)

# – First, put the eggs in a pot of water.

# – Bring to boil for 7 minutes. Then turn off heat and leave the eggs to cool in the water for 5 minutes. You can then remove the eggs from water and let them cool for a further 1/2 hour.

# – After eggs have cooled down, lightly tap them against a hard surface till cracks appear all over. Be gentle as you want the shells cracked but still intact.


# – Cracked eggs.

# – Now prepare a freezer bag or sandwich bag for each colour you’re using.

# – Now stick your eggs into each bag and start dyeing. As I used liquid food colouring, all I did was pour in a tablespoon of dye into the bag.

# – Roll the eggs around in the bag to make sure the shells are properly coated with dye. Leave for 30 minutes to allow colours to absorb.

# – After 30 minutes, rinse the eggs under water to remove excess colour in the sink. Then splash the eggs with some white vinegar to set the colour.

# – Use a paper towel to dry the eggs up. They are now ready for showing off!

But there are more surprises….

# – When you feel like eating an egg with a sprinkling of salt, grab an egg and peel off the shell…

# – Tadaa! Surprise marbled easter eggs, DONE!

Love, love, love how the marbling effect has turned out!!!!!!!!!!!

# – The green marbled egg.

# – Cross section of green marbled egg.

# – The fuchsia pink marbled egg.

# – Cross section of fuchsia pink marbled egg

# – The blue marbled egg.

# – And lastly, the cross section of blue marble egg.

Think of all the possibilities you could do with these colourful marbled eggs? Add colours to a bland salad? Perk up a plate of “nasi lemak”? Convince a picky child to finally eat some hard boiled eggs?

For me though it was just a really fun way to acknowledge Easter. My favourite part was definitely peeling the shells off for the unveiling!

# – Have a great Easter Weekend!