Economy of scale.

For the longest time, my kitchen scale was this cute but tiny plastic thing bought from Daiso. It was cheap (RM5!!!) and I held no aspirations for it. My only hope was that it could at least give me a close enough measurement.

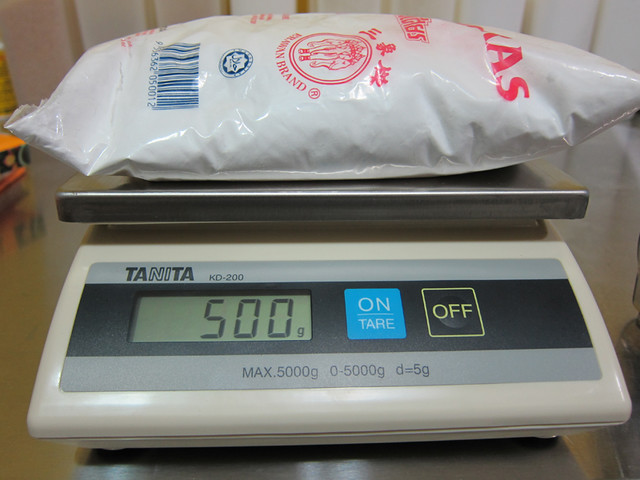
# – This packet is 520 grams, right?

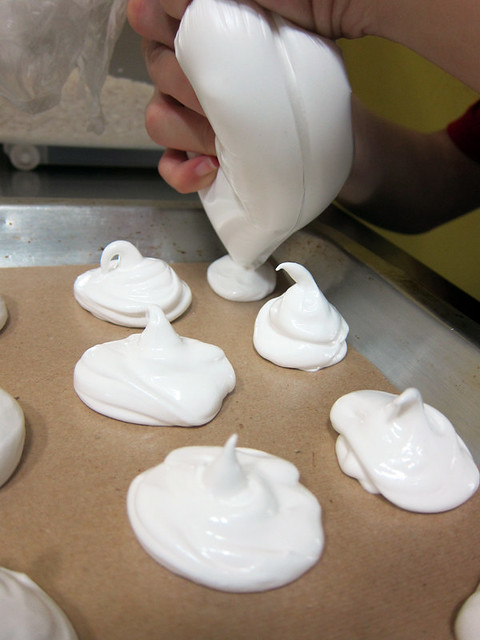
Then I made profiteroles for the first time, and failed. I made it for the second time, and failed too. My biscuits were always a little too hard. My cakes could be a little less dense. I finally realised that maybe, “close enough” was simply not good enough.

Lets not even talk about how many times I made a mess while weighing ingredients like flour and sugar because the plastic container simply bounced off the scale when during pouring of the ingredients, they hit the bottom of the container a little too hard.

Anyway, those days are behind me now. Perhaps sick of being forced to eat rock hard biscuits or possibly tired of me whining constantly about my “stupid cheapass plastic scale”, but even more possibly out of sheer love for his girlfriend, the dear boyfriend has bought me the creme de la creme of weighing scales, a Tanita.

Today, after work, he brought it home and handed it to me with a big grin on his face. I’m glad I didn’t screw up his dinner.

# – Nope, it’s exactly 500 grams as printed on the packet!

My Tanita, it is a thing of beauty…

Of course, I had to weigh my head because it is the sort of thing you do when there’s a precision weighing scale in your possession, no?

# – 3.835 kg.

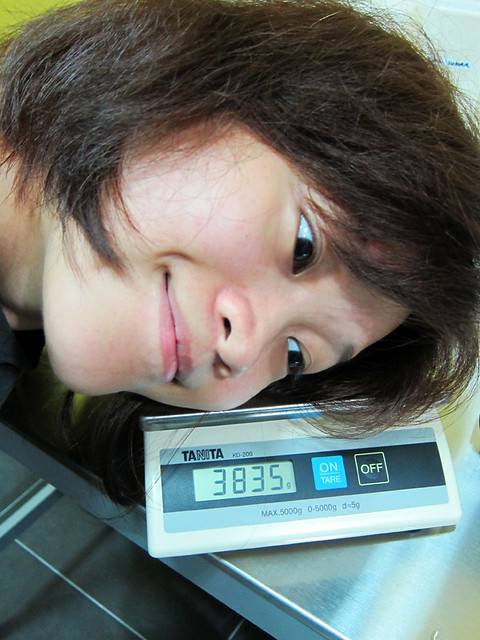
I’m a little worried now because the average head is supposed to weigh between 4.5 and 5 kg, and that is without hair.

Baking meringues is easy!

I believe a lot of people think that baking meringues is quite a daunting task. I was one of those people. After 2 unsuccessful attempts, I’ve finally figured out the way to get perfect meringues, every single time and there are just two things:


1. Vinegar
2. Patience

Why vinegar? Use it to rinse your mixing bowl & beaters to get rid of traces of grease. This is important as apparently grease prevents the egg whites from fluffing up or something. No need to soak them in vinegar, just a couple of dashes into the bowl and onto the beaters, rub them around, rinse off and wash again with ordinary dish washing liquid. Then, dry them with kitchen towels.

As for patience…as long as you can keep your mind pre-occupied with something else for 2.5 hours other than “eat meringues now”, you’re just a step away from baking perfect meringues as far as I’m concerned, hehe.

So have you established whether you’ve got the 2 items that would ensure your meringue baking success? If you do, great! Now lets move on to the actual ingredients for meringues. Coincidentally, there are only two as well…….

  • 3 egg whites
  • 300 grams of sugar

# – Firstly, separate the egg yolks from egg whites. Don’t throw away the yolks, you can use them for other cookings.

# – Be patient with your camwhoring boyfriend who’s supposed to be taking pictures of you only. By the way, that’s how I look while separating eggs…INTENSE!

# – Beat the egg whites until they’re shiny & fluffy.

# – Kind of like this….

# – Now, gradually add the sugar while still beating the eggs. You will notice the fluff starts to get glossier and thicker.

# – You can stop beating when the mixture is glossy and stiff. Stick your index finger in and rub it against your thumb, if there’re still grainy bits of sugar, continue beating until sugar has completely dissolved. I’m not the extreme type though, I don’t mind slightly grainy meringues ;)

# – Time for piping. Next, spoon the mixture into a freezer bag. Or, if you’ve got one, use a proper piping bag.

# – Nip off one corner of the bag.

# – Pipe the mixture onto a slightly greased baking tray. You can use ordinary cooking oil which is generally tasteless.

# – This is the time to be creative.

# – Obviously, we had a bit of fun with the makeshift piping bag.

If you’re making pavlova, you can also put a large dollop onto the baking tray and then spread it with a spatula for a nice meringue nest.

# – Now stick it in your pre-heated oven at 110 degrees celcius for 2.5 hours.

Watch a movie, play with your dog, take a bath. Do something. Just don’t open your oven and probe the meringues.

# – 2.5 hours later. Slight cracks on the meringues are normal.

# – Bite into one. Firm, and powdery sweet :D

# – Meringues!!! DONE!

Our favourite way to eat meringues is with chopped sweet mangoes and a dollop a cream, which is basically mango version of Eton Mess. Put them in your ice cream for a nice, sweet crunch or even, eat them on its own. Why not? :D

Remember, vinegar and patience.

5 learning points when making Banana and Burnt Butter Pudding.

We’ve got a bunch of bananas that were ripening fast so my boyfriend came up with the grand idea of making a banana pudding. I was very encouraging but of course, made sure he understood very clearly that the kitchen must be spotless after he’s done and that he could only use a maximum of 5 utensils.

# – BF hard at work under the watchful eyes of Charlie.

The one my BF made, looked like this….

# – Banana and Burnt Butter Pudding – my BF’s version. Not bad, right?

————————————–

Well, here are 5 things you got to remember when you’re making Banana and Burnt Butter Pudding.

1. Don’t leave it in the steamer to “warm” because your dog needs a walk and you’d like to come back from the walk with a nice steaming hot pudding at your disposal.

# – Hrmmm, where is the temperature control when you need it?

Because instead of just “warming”, it’s just going to continue steaming the heck out of it.

2. When recipe states that it’s a recipe for 6 ramekins, don’t divide batter into two rather large bowls because there were just two people eating.

# – More for one person. Yay! Not really….

Because you would end up with too much vaguely banana tasting cake/dough thing for one person.

3. When in doubt, add more fruits.

# – The bowl is too large…

Because of reason number 2 above, the banana:cake ratio would be grossly unbalanced.


4. Don’t follow random comments to adjust recipes until you’ve tried the original one first.

# – There goes a whole block of butter.

Because you would end up melting too much premium butter that would end up in a bin.

5. Follow the damn recipe to a T.Because it probably has a higher chance of working. Seriously.

————————————–

Anyway, if you’re wondering what a Banana & Burnt Butter Pudding looks like, here’s a picture courtesy of BBC.

# – Banana and Burnt Butter Pudding – the accurate representation.

Yeap, ladies and gentlemen, you’ve guessed it right. We’re filing this under “Cooking Failures” :(

# – This is my boyfriend’s Too Little Banana & Too Much Burnt Butter Overcooked Pudding. To his credit, the crust was extremely delicious!

It’s okay baby, I still love you! It’s a constant learning process and we are on this cooking journey together :D

p/s: thanks for the blog material though, hehehe.