Kinda Quick Pasta Salad

This salad is really easy and kinda quick to make. I say it’s “kinda” quick because you should only eat it after it’s been chilled for about 2 hours or more.

I wanted to make something healthier to eat, what with all the pork and lard and heaven knows what I’ve been putting in my mouth. After thinking for a while, I had a light bulb moment.

Here are the ingredients that you need:


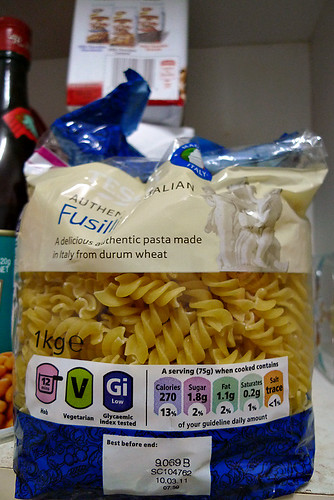
#1 – Any kind of short pasta. For this recipe, I use Fusilli. I love all kinds of spiral or helix shaped pastas cause they trap sauces so well!


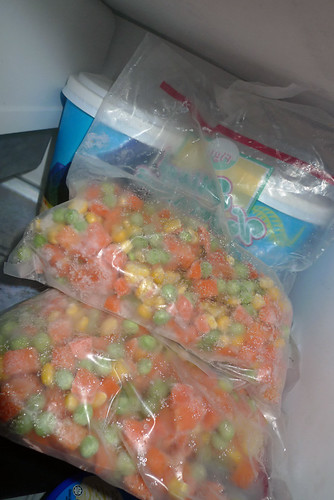
#2 – Mixed vegetables. Easy, fast way to getting your fibres and vitamins.


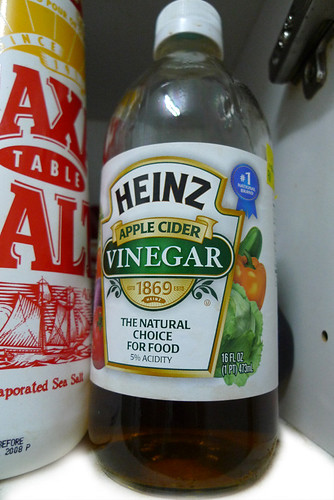
#3 – Apple cider vinegar. You can also use balsamic vinegar or malt vinegar or even chinese white vinegar. You can substitute with lemon/lime juice too if it’s available. As long as it’s tart, I’m not too fussy and you shouldn’t too.


#4 – Any kind of salt for taste. I’m using Himalayan Rock Salt because I’m a natrium snob.


#5 – Dried Italian herbs. Or any type you like as long as they’re not the sweet-ish kind like star anise, cinnamon etc.
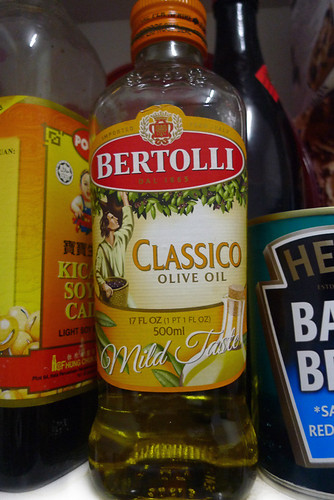

#6 – Olive oil.

Now lets start!

It’s important to make the dressing first because you need to infuse the oil with the flavours of the ingredients.


#7 – Pour olive oil into a bowl. Add vinegar, salt and Italian herbs.


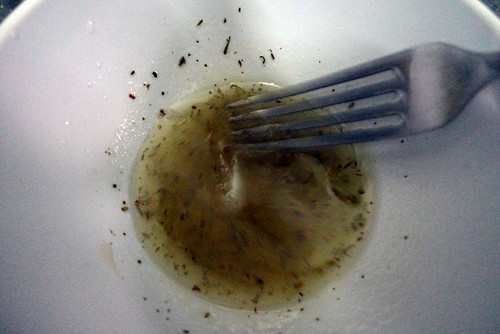
#8 – Whisk or beat till properly mixed. Do taste as you go because you wouldn’t know whether you need more salt, vinegar or herbs. If you’re too heavy handed, you can always add olive oil to dilute the taste. Leave the dressing to stand.


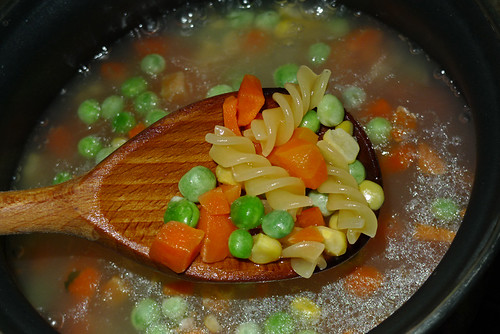
#9 – Now boil the mixed vegetables and pasta. Yes, you can certainly separately cook the pasta and mixed vegetable (because they both have different cooking time). Take the trouble to even steam the vegetables if you want. But I generally don’t care. I cook with as few cookware as I possibly can BECAUSE I HATE WASHING DISHES.


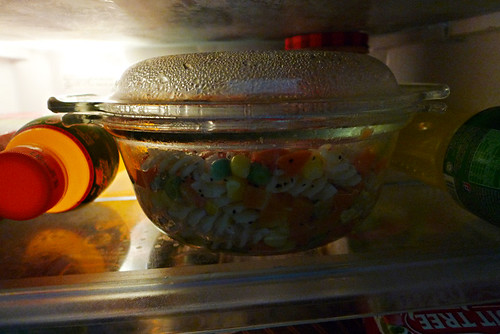
#10 – When the vegetable and pasta are cooked, drain the water. Give the dressing another whisk and pour it all over the pasta/vegetables. Leave it to cool for a while before you stick it in the fridge. Why? Because you don’t want your fridge to work harder to cool down hot food, that’s why.


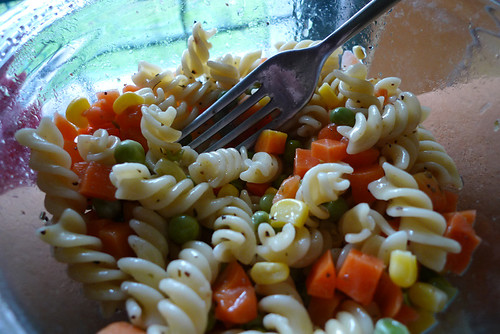
#11 – After 2 hours, you can have chilled, tart, absolutely divine pasta salad. Yum yum.

Of course, if it’s too troublesome, just buy a bottle of french dressing :P

Simple Girlish Nail Art

The secrets to professionally manicured looking nails are the shape of the nails, cuticle management and the condition of the polish.

Square shape nails are the best. It looks timeless, easy to maintain and easy to cut – just cut across! You can also prevent in-grown nails with square shaped nails. I do like stubby schoolboy nails too, it’s very trendy and it’s so practical.

I naturally don’t have much cuticle to shout about so I don’t deal with them at home. Unless you’re completely sure on how to cut your cuticles, please leave it to the professionals to do it. If you must do it at home, make sure your tools are always sterilised (boil it, bbq it whatever). And don’t be obsessed with cutting! You never know when you’d cross into the infection & puss territory.

My favourite polish are OPI but they cost a bomb -_- I use some Elianto and Face Shop too and are only attracted to their selection of colours. I find Stage Cosmetics’ polish too runny and tend to create bubbles so I avoid them. Had a couple of Lancome and Dior and they ARE AWESOME but I really can’t justify spending money on them. I wish someone would bring in U.G.N.Y because the quality of the polish is really good for the price – even coating and hardly any bubble. I got my U.G.N.Ys from Singapore. I recently discovered a brand called DHC at a little standalone stall at The Curve. I’ve never heard of it but it’s apparently made in Japan and cost me only RM7.90 per bottle. I bought a couple of colours on a whim, didn’t expect much but was I surprised.

You should always make sure you’ve got a base coat and top coat. Base coat is to prevent discoloration to your nails and top coat is to preserve your polish. Strong coloured polish still eats into transparent base coat pretty effectively. To counter that, I use a trick I’d learned from an ex-colleague – use a beige or skin colour polish as your base coat because it lessens the discoloration. Okay, technically the rate of discolouration is still the same, but it’d be discoloured with a colour that matches your natural nails hence less obvious ;)

Also, always have cotton buds in hand because you can use them to clean up all the messy bits. One of the biggest giveaways to an amateur DIY is polish overflowing onto the flesh. Be meticulous and clean. Sometimes, I just wait for it to dry up and then sort of lift up the stray colours from my flesh with a tweezer.

Here’s a tutorial’s on simple girlish nail design:

Simple Girlish Nail Art
#1 – A base/top coat & 2 colours – one for base and one for tip. Here I use DHC’s No. 86 (a 3D-ish pastel purple) & No.115 (silver glitter).

DHC is by far the best glitter polish I’ve ever tried. The previous brands I bought were terrible, you could never get the glitter on or they just clump together stubbornly. DHC’s glitter coverage is even.


#2 – End result. Taken with flash.


#3 – Closeup with no flash.

It’s very easy, after the base coat, just paint your nails as per normal with the base colour. Wait for it to dry a bit and continue with the tip colour. Swipe left to right across the tip of the nail – easy peasy. As it’s glitter, it’s much more forgiving than say a solid white colour so even a n00b with shaky hands can do this.

Since I have so much time now I’d probably do more tutorials on simple, practical nail arts. Ah, the life of a housewife :)

How to get fat and farty.

Can’t pick yourself up after a bad day? Eat this. Feeling fat and farty already? Even more reason to eat this. I call this dish “Fatty & Gassy TM”.

I got this recipe from John and while I think I’ve deviated a bit from his original idea, I think the dish turned up pretty good.

First up, you need the following ingredients to whip up this dish:


#1 – Rice enough for two people.


#2 – Baked beans. We prefer Heinz.


#3 – And the star of the dish – SPAM! Once this goes into your inbox, cannot delete one. Sorry, lame.


#4 – Olive oil because it’s healthier although there’s really no point for this dish.

Cook the rice however you like as long as the end result is white, fluffy rice. While the rice is cooking, start on the other ingredients.


#5 – Pop out the Spam.


#6 – Cut it into cubes and separate into two portions.


#7 – Now pop the beans into a pot. On medium heat till it kinda simmers, you definitely do not want to burn it.


#8 – Pop one portion of Spam into the baked beans and mix it up.


#9 – You’ll get this disgusting baked beans and Spam concoction which smells kinda heavenly if you’re into that sort of thing.

Time to deal with the other portion of Spam. Now, pick one cube up and pop it into your mouth. Chew. Swallow. Repeat.

Just kidding!


#10 – Heat up some olive oil in a pan.


#11 – Dump the remaining Spam into the oil. Brown the Spam cubes on all sides.


#12 – Till they become like this. Like croutons, only instead of bread they’re made up of lard and pork meat.


#13 – Remove Spam cubes from pan and drain oil.

And you’re almost done!

Scoop a bowl of rice, dump it onto the plate. Then pour baked beans + Spam mixture over the rice. Lastly, sprinkle Spam croutons all over. Just like this:


#14 – Tadaa!


#15 – A closeup of Fatty & Gassy TM. YUMMY!

Till later, poot poot.