Delicious no-cook chinese marinated cucumbers.

I decided to make this after paying about RM5 for a puny plate of chopped 1/2 a cucumber at a chinese restaurant. Well, with RM5 I could get about 10 quality Japanese cucumbers (kyuri).

I can’t believe people (myself included) are actually paying RM5 for something that doesn’t even need cooking. I’m starting to sound like a major tight fisted housewife….but that’s exactly who I am!

This recipe is entirely my own conception, based on how I like to eat it. The marinade is savoury with just a tad of tartness from the Worcestershire sauce and kick from the chillies. I guess you can use ordinary cucumbers (with the seeds removed) but for best results, do use the Japanese sort as they’re more crunchy.

    Ingredients:

  • 2 tablespoon of sesame oil
  • 1 tablespoon of light soya sauce
  • 1/2 tablespoon of Chinese rice wine
  • 1 teaspoon of Worcestershire sauce
  • 1 red chilli, seeded and finely chopped
  • 1 – 2 Japanese cucumbers, chopped

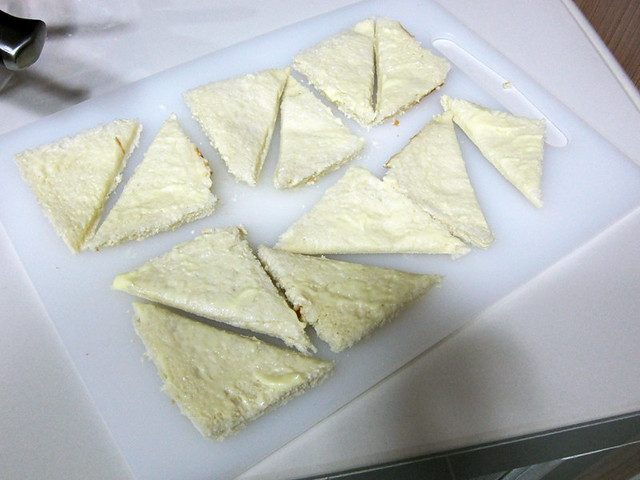
# – First of all, cut the cucumbers into the shapes you want. By the way, you know how sometimes cucumbers can taste really bitter? There’s this trick that a senior in high school taught me….cut off the end of a cucumber and then rub the surface with it till tiny bubbles form around it, like this….

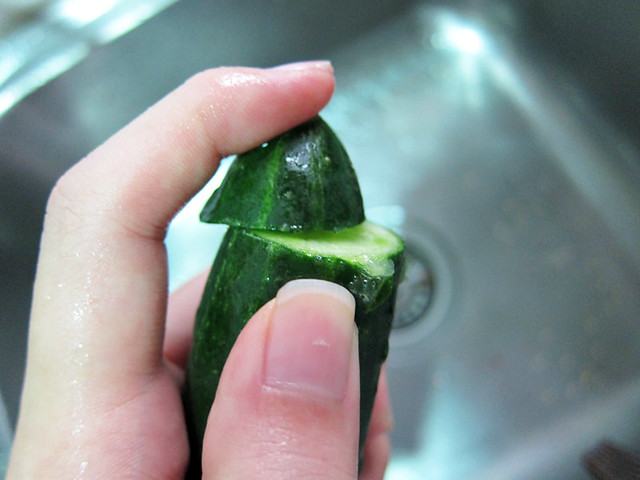
And you won’t have bitter cucumbers anymore. Honestly, I have no scientific or logical explanation for it, but it works!

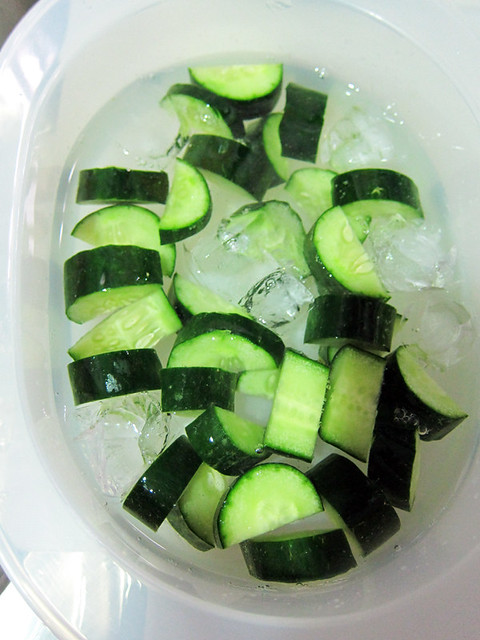
# – I soaked the cucumbers in iced water for 10 minutes to crispen them up. Set aside. Honestly I don’t know if this works but psychologically I feel that it does :D So feel free to omit this step.

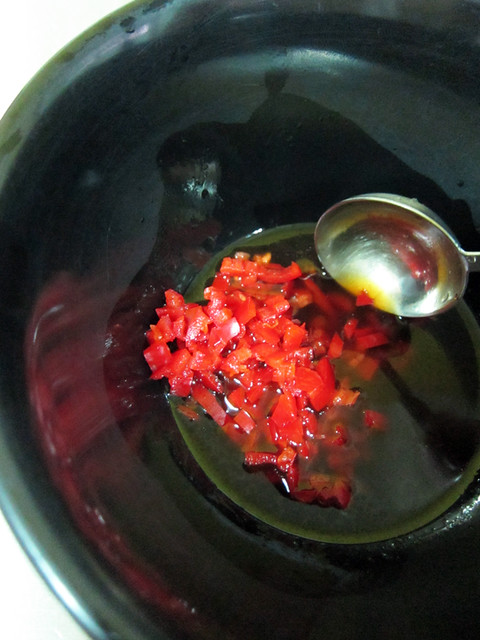
# – In a bowl, mix the sesame oil, light soya sauce, Chinese rice wine, Worcestershire sauce and chillies.

# – Throw the drained cucumbers into the mixture. Mix. Cover with cling wrap and stick it in the fridge to chill for a minimum of 2 hours. Don’t put in the fridge uncovered as this will dry out the cucumbers.

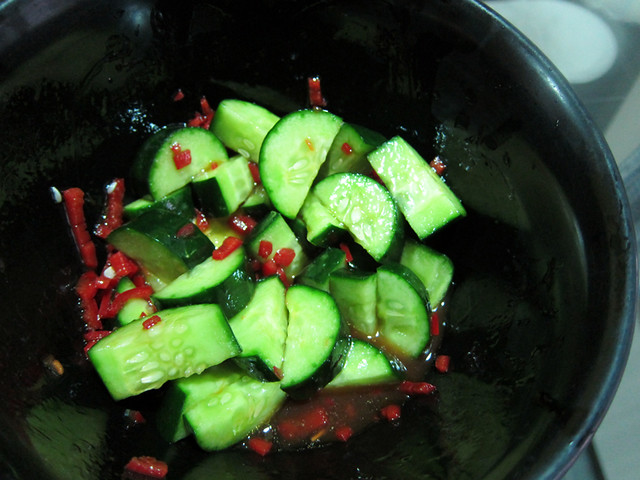
You could even marinade them in a freezer bag so that all the cucumbers could absorb the marinade more evenly and thoroughly.

# – Serve as an appetiser or even as a vegetable dish of its own to go with rice.

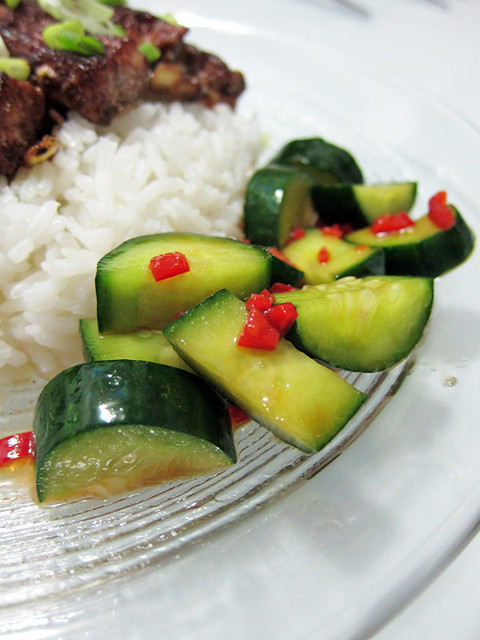
Very tasty, very refreshing and best of all….very accommodating to my purse ;)

Fresh and crunchy salsa anytime, anyday.

This salsa recipe is so simple and delicious that I could just eat it on its own, like a salad :D It’s very good with fajitas or eaten as bruschettas. There’s no fancing cooking technique involved, not even cooking itself. All you need is a reliable knife to chop up all the vegetables!

    The ingredients:

  • 5 medium sized tomatoes, seeded and chopped
  • 80-100 grams of coriander, roughly chopped
  • 2 medium sized red onions, finely chopped
  • juice of 1 lemon
  • 3/4 tablespoon of coarse salt

# – The fresh ingredients.

# – Throw the roughly chopped coriander into a mixing bowl.

# – Then throw in the tomatoes.

# – Next in, the finely chopped red onions.

# – Sprinkle the coarse salt all over. Don’t be too heavy handed with salt, do taste as you go :)

# – And top it all off with the juice of 1 lemon.

# – Lastly, mix it all up!! Gorgeous, gorgeous colours!

# – Put in on a fajita….

# – Or even eat it as a salad on the side.

Now, this is a truly healthy salad and that’s why, I’m filing it under “Vegetarian” ;) It’s a surprise how something so simple and healthy can taste so gorgeous!

From old bread to sumptuous pudding.

It’s extremely hard for 2 people to finish a loaf of bread before its expiration date. So we freeze bread to keep them longer and heat it up the in the toaster whenever a hankering for bread emerges.

That means I’d be eating toasts up until we get fresh bread. A great idea for my BF who LOVES toasts but I’d much prefer soft, pillowy, sinful white bread any day. And hence, I decided to make bread & butter pudding using bread that we couldn’t finish in time.

This recipe is adapted from BBC Food. Very easy and straightforward, just the kind of recipes that I love to keep.

    For the pudding:

  • Enough butter for spreading 6-8 slices of bread as well as greasing bowl
  • 6 – 8 slices of white bread
  • 50g sultanas
  • Cinnamon powder
  • Nutmeg powder (or freshly grated ones if you’ve got it)
    For the custard:

  • 250ml of milk
  • 150ml of whipping cream
  • 2 eggs
  • 25gm of granulated sugar

# – First, butter 6 slices of white bread and cut each into half, forming triangles.

# – Then lay 4 slices at the bottom of a lightly greased heat-proof bowl. Sprinkle some raisins all over.

# – Add a sprinkling of cinnamon powder.

# – Add more layers of bread, raisins and cinnamon powder until you run out of bread.

# – Top off with a sprinkling of nutmeg for that extra oomph. If you’ve got no nutmeg, just cinnamon will do too ;)

Set the bread aside. It’s time to make the delicious custard!

# – Whisk eggs and granulated sugar in a bowl until the colour turns pale.

# – Heat up whipping cream and milk in a pot till scalding but not boiling.

# – Pour egg mixture into the milk mixture and whisk till combines. Remove from heat.

# – Strain the mixture to remove the stringy egg bits. Custard is now done :D

# – Pour the custard into the bread up until just the bottom of top layers are submerged. You will have more custard left so stick it in the fridge for some awesome chilled custard to serve with the pudding!

# – Stick it in a preheated oven at 175 degrees celcius for 30-40 minutes or until top is brown.

# – After 30 minutes, bread and butter pudding, DONE.

# – The beautiful, creamy, delicious bread & butter pudding.

Pour the chilled custard you’ve made earlier over the pudding and you’ve got yourself a delicious, belly-warming and very yummy dessert.

# – YUMMEH!

And yes, I can now have toasts because I want to and not because I have to!