Sparkly nails, cheeky dress and loving my popo’s nagging.

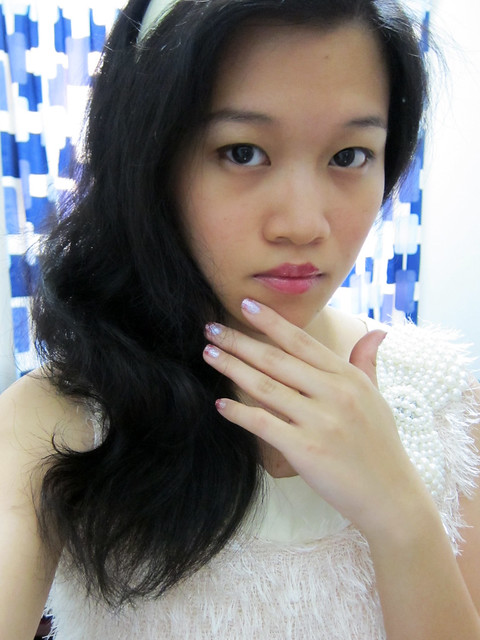
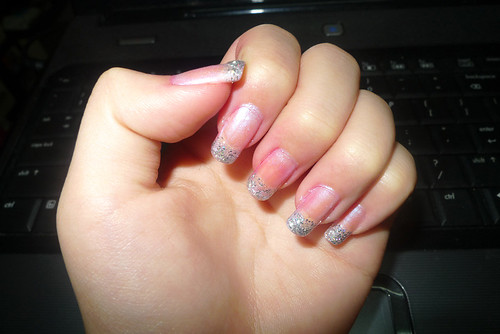
Got my nails done over the weekend. Had to use ordinary polish instead of my usual gel polish because my manicurist said my nails had thinned significantly :(

She advised me to lay off the gel till Chinese New Year. Sounded bad!

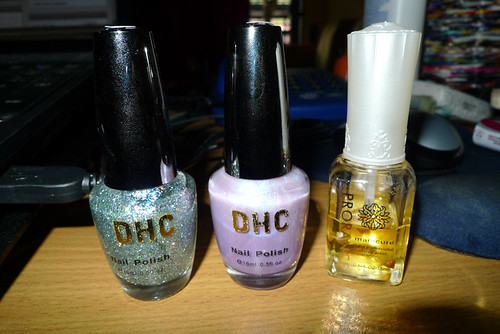
Gel is a kind of fast drying (cured by UV light in seconds instead of air drying) nail lacquer that doesn’t chip, I think it’s the best invention ever for active women but does have its drawbacks – one of it is thinning nails as the polish clings to them really hard.

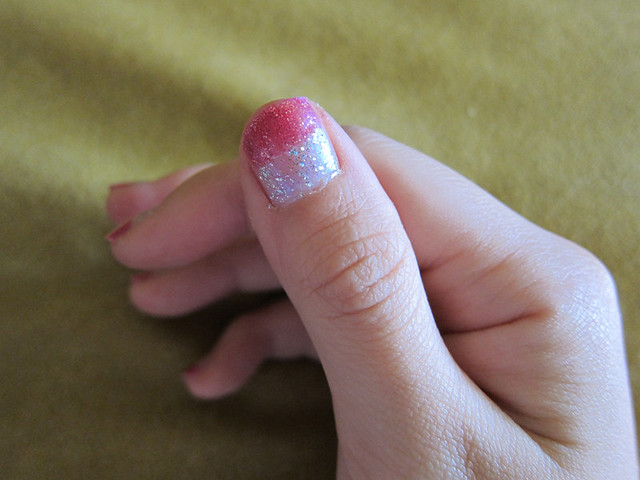
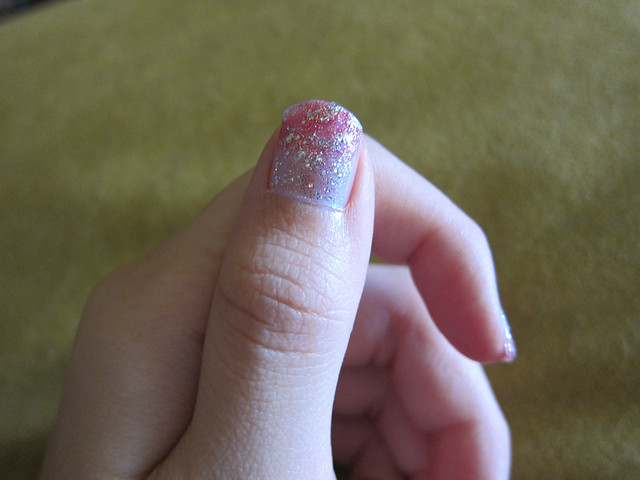
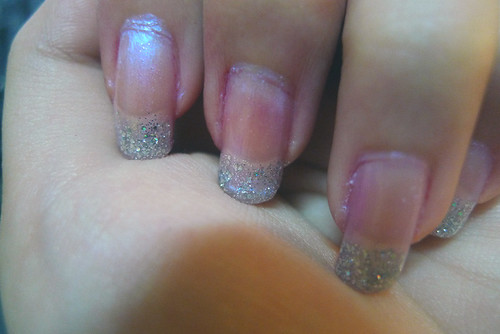
# – This is OPI “All Sparky & Gold” with “Magazine Cover Minnie” to break the monotony.
image

Gareth doesn’t like the red polish, he thinks it looks like they ran out of gold. Men :P

I dressed up over the weekend for a wedding. A dress that’s demure on the front but a little cheeky at the back.

Mom got the dress for herself from Asos but she chickened out of wearing it so she altered it to fit me. I love having introduced Asos to my mom….. hehehehe.

# –  Demure.
image

# –  Peekaboo.
image

Dress from Asos. Stillettos from Bangkok. Clutch bag from Burberry, a birthday gift from hubs.

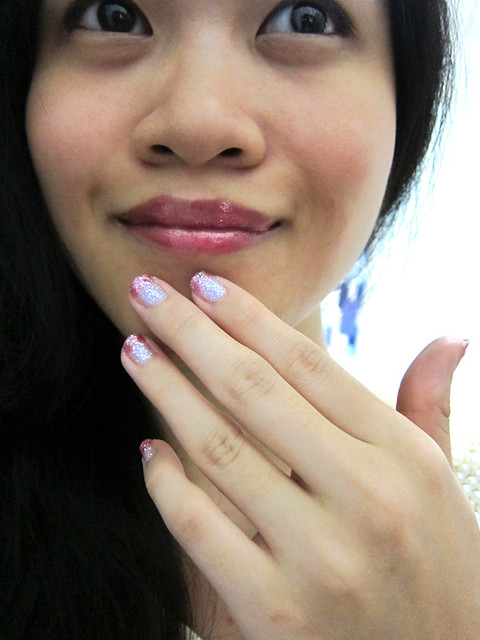
I hardly wear makeup because am too friggin lazy. Here’s one of me with fake lashes and the lot.

# – Birded up.
image

I use Lancome Teint Idole liquid foundation, set with compact from MAC. Blush is Lancome Blush Subtil. Tinted lip balm from IN2IT in orange for the lips. Eyeshadows from Urban Decay Naked 2 with eyeliner from Red Earth and brows with Empro brow pencil. Lashes from aliexpress – got like 100 pairs for less than RM80 lol.

My face shape changes everytime I take a picture since I started wearing braces. Sometimes I love it, sometimes I think it’s awful! And right now, it is in an awful phase.

Went back to Mentakab to celebrate my popo’s birthday in advance. As usual, she nagged me about babies. Something different this time though, after nagging me for like half hour….she suddenly got quiet and then sheepishly told me to just ignore what she said. Told me to let nature takes its course.

My heart was just exploding with love for my granny cause she probably realised she was exerting too much pressure on me so she tried to rein it back.

# – Popo and Martin – my cousin’s kid. Too cute!!!!
image

# – Popo feeding hubs with cake. Love this picture! And that’s my mom, not me.
image

As I get older, I don’t mind being nagged so much by my elderly relatives. I am realising that it comes from a place of love and I consider it a gift to be fussed over :)

DIY Nail Art Tutorial – Lavender Bling.

As some of you may know, I’m living on a budget now thanks to the house renovation. Have cut down on a lot of luxuries, particularly manicures/pedicures. My last one, a spa manicure/pedicure at that, was a free one thanks to a voucher given to me by Kerol. Thanks babe!

Since, my nails have been left unattended for weeks and they’re now stubby and unkempt :(

Today, I couldn’t stand any longer looking at my ugly nails so I decided to do-it-yourself. Felt like back in college, where I used to DIY my own manicures courtesy of student budget. I used to rock cheap, long, plastic nails at school so much so that I was asked (read: forced) to cut them off on the spot for a netball game, FML.

This is how my nails look like now.

# – DIY manicure ftw.

I opt for this design because it’s foolproof, and mistake-friendly. I shall call this the Lavender Bling :P

# – Lavender coloured polish, pink glitter polish and silver glitter polish. I love this DHC brand from a stall at The Curve (near Royal Selangor Pewter and Nokia). They’re very reasonably priced and dry up nicely.

# – After applying base polish, apply the lavender polish. It’s very sheer and just gives off a slightly pastel purplish sheen.

# – Next, apply the silver glitter polish at bottom half of the nails.

# – Then, apply the pink glitter polish at the upper half of your nails. At this point, the colours will look abit flat.

# – Lastly, apply silver glitter polish over the pink glitter polish to create a gradient and more 3D effect.

# – Voila, Lavender Bling!

# – Rocking the Lavender Bling.

# – Am very pleased with the results. Saved at least RM60 for this manicure :D

Happy cause I don’t have to walk around with banshee nails now.

Simple Girlish Nail Art

The secrets to professionally manicured looking nails are the shape of the nails, cuticle management and the condition of the polish.

Square shape nails are the best. It looks timeless, easy to maintain and easy to cut – just cut across! You can also prevent in-grown nails with square shaped nails. I do like stubby schoolboy nails too, it’s very trendy and it’s so practical.

I naturally don’t have much cuticle to shout about so I don’t deal with them at home. Unless you’re completely sure on how to cut your cuticles, please leave it to the professionals to do it. If you must do it at home, make sure your tools are always sterilised (boil it, bbq it whatever). And don’t be obsessed with cutting! You never know when you’d cross into the infection & puss territory.

My favourite polish are OPI but they cost a bomb -_- I use some Elianto and Face Shop too and are only attracted to their selection of colours. I find Stage Cosmetics’ polish too runny and tend to create bubbles so I avoid them. Had a couple of Lancome and Dior and they ARE AWESOME but I really can’t justify spending money on them. I wish someone would bring in U.G.N.Y because the quality of the polish is really good for the price – even coating and hardly any bubble. I got my U.G.N.Ys from Singapore. I recently discovered a brand called DHC at a little standalone stall at The Curve. I’ve never heard of it but it’s apparently made in Japan and cost me only RM7.90 per bottle. I bought a couple of colours on a whim, didn’t expect much but was I surprised.

You should always make sure you’ve got a base coat and top coat. Base coat is to prevent discoloration to your nails and top coat is to preserve your polish. Strong coloured polish still eats into transparent base coat pretty effectively. To counter that, I use a trick I’d learned from an ex-colleague – use a beige or skin colour polish as your base coat because it lessens the discoloration. Okay, technically the rate of discolouration is still the same, but it’d be discoloured with a colour that matches your natural nails hence less obvious ;)

Also, always have cotton buds in hand because you can use them to clean up all the messy bits. One of the biggest giveaways to an amateur DIY is polish overflowing onto the flesh. Be meticulous and clean. Sometimes, I just wait for it to dry up and then sort of lift up the stray colours from my flesh with a tweezer.

Here’s a tutorial’s on simple girlish nail design:

Simple Girlish Nail Art
#1 – A base/top coat & 2 colours – one for base and one for tip. Here I use DHC’s No. 86 (a 3D-ish pastel purple) & No.115 (silver glitter).

DHC is by far the best glitter polish I’ve ever tried. The previous brands I bought were terrible, you could never get the glitter on or they just clump together stubbornly. DHC’s glitter coverage is even.


#2 – End result. Taken with flash.


#3 – Closeup with no flash.

It’s very easy, after the base coat, just paint your nails as per normal with the base colour. Wait for it to dry a bit and continue with the tip colour. Swipe left to right across the tip of the nail – easy peasy. As it’s glitter, it’s much more forgiving than say a solid white colour so even a n00b with shaky hands can do this.

Since I have so much time now I’d probably do more tutorials on simple, practical nail arts. Ah, the life of a housewife :)