Steamed pork and fish meatloaf recipe.

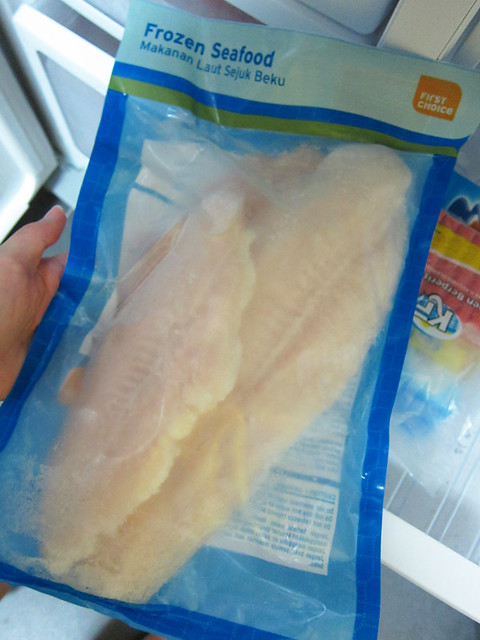
This was supposed to be an authentic Indonesian “otak-otak” (that’s what the recipe book claimed anyway). I was quite excited to make it, since I had one frozen dory left and I was itching to use it.

Alas, luck was not on my side as I realised the dory was too small even for 1 person…

So, without so much of a blink, I decided to incorporate pork into the dish. And hence, the dish had to be renamed to “Steamed pork & fish meatloaf”. I’ll make real otak-otak another time..

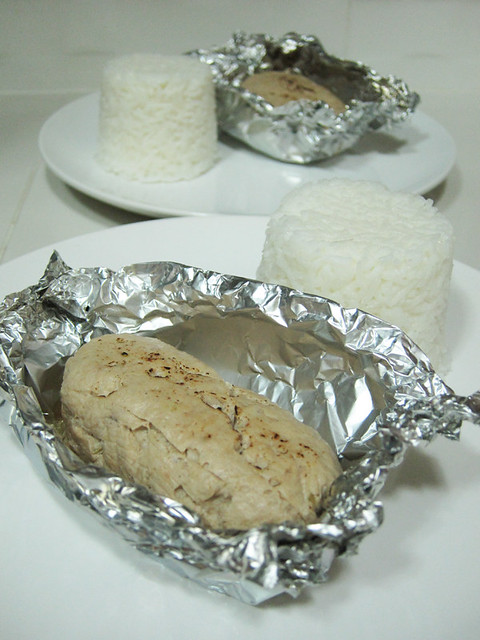
# – Steamed pork & fish meatloaf, served with rice.

Funny thing was, the BF was unable to ascertain that there was pork in there. I guess if you blitzed the mixture fine enough you really can’t tell what it is. He was really surprised to know that there was pork!

The ingredients:

  • 200 grams of pork, cut into cubes
  • 120 grams of boneless white fish fillet (I used dory), cut into cubes
  • 1 onion, chopped
  • 5-7 shallots
  • 3 cloves of garlic
  • 100 ml of coconut milk
  • 1 teaspoon of white pepper
  • 1 tablespoon of lime or lemon juice
  • 1 tablespoon of chilli powder
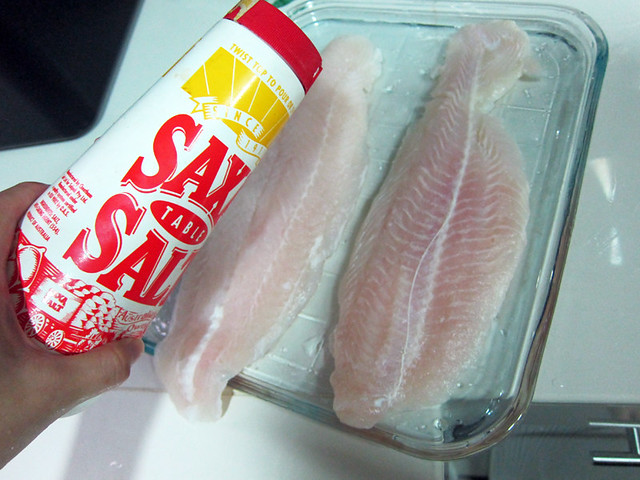
  • 1 teaspoon of salt

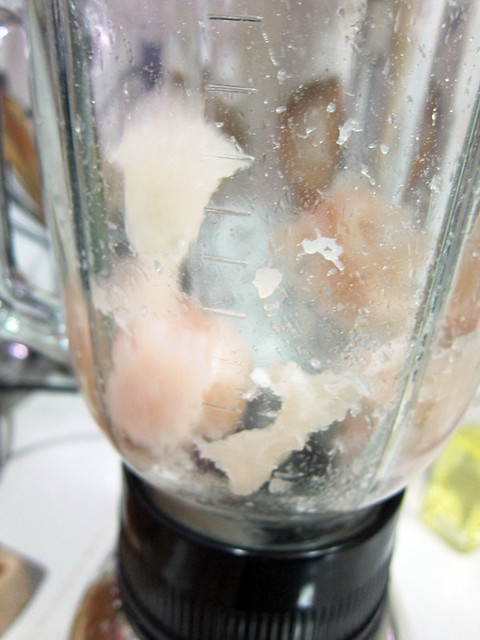
# – First of all, chuck the fish into a blender or food processors. Give it a blitz.

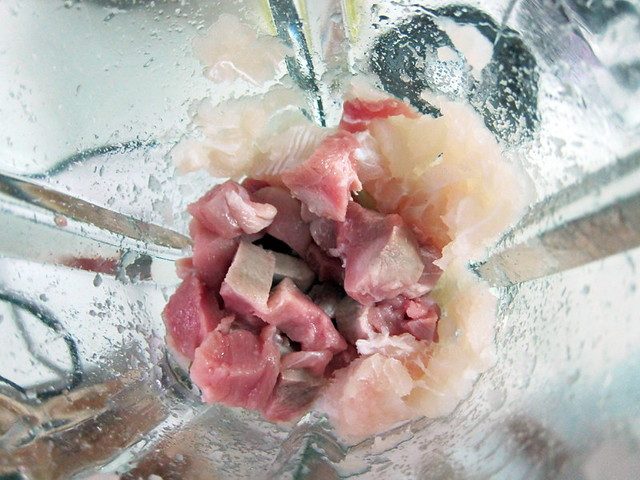
# – Then, add the pork.

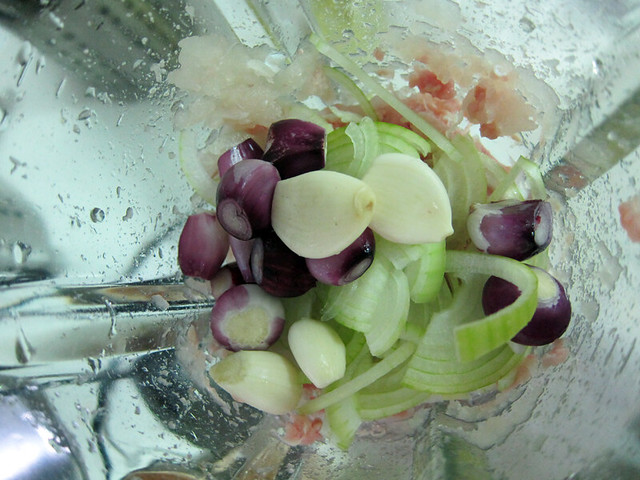
# – Followed by the shallots, garlic cloves & chopped onion.

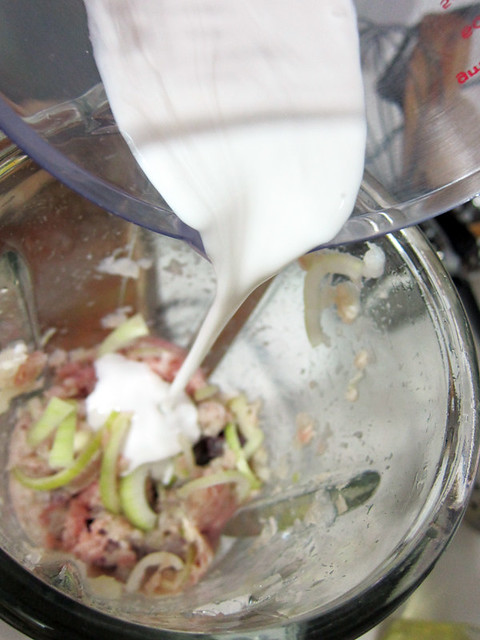
# – Pour in the coconut milk. Blend till combined.

# – Add the salt, lemon/lime juice, white pepper and chilli powder.
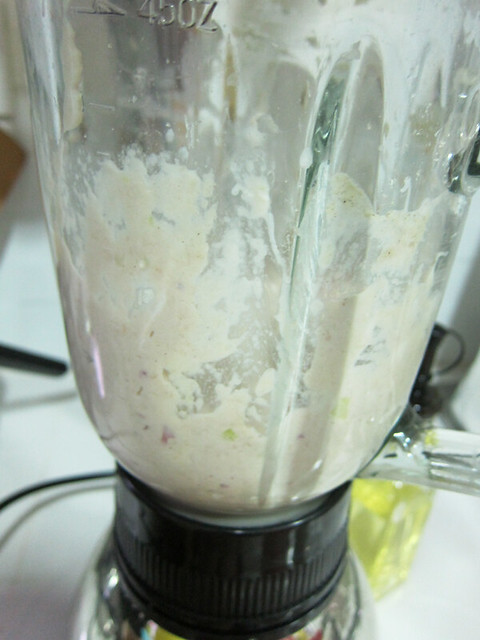
# – Blend till fine.

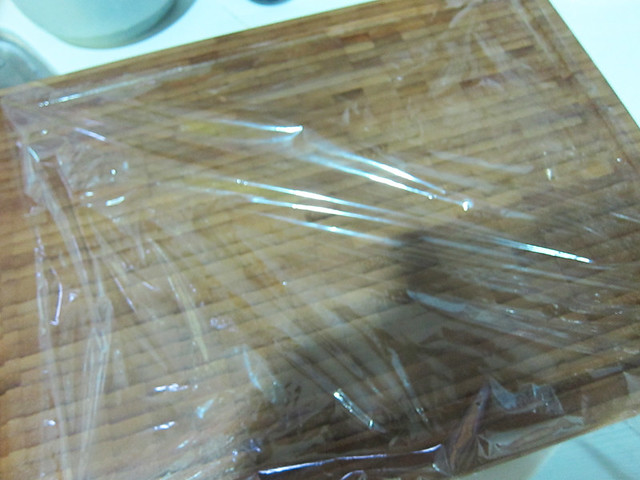
# – Lay a clingwrap film over a chopping board.

# – Scoop half the paste onto the middle of the film.

# – Fold the bottom part of the film over the paste.

# – Then fold the part with the paste inside over the top of the film.

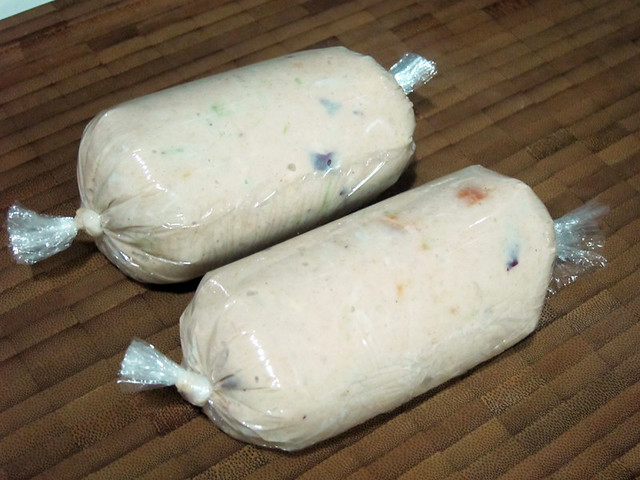
# – Tie a knot on each end to form a sort of Christmas popper shape…like this.

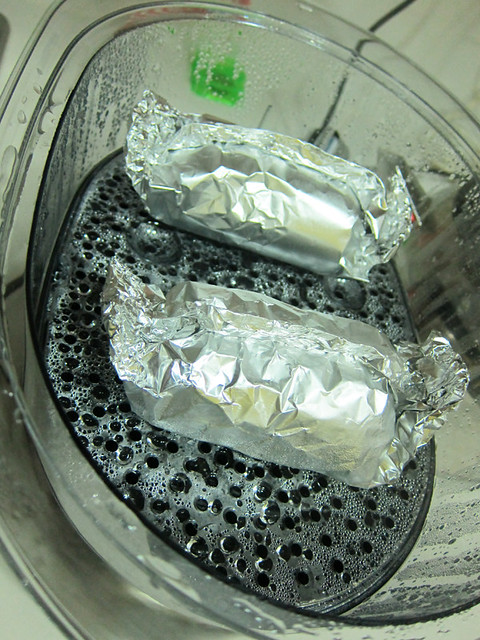
# – Wrap the parcels in aluminium foil.

# – Stick them in the steamer for 20 minutes.

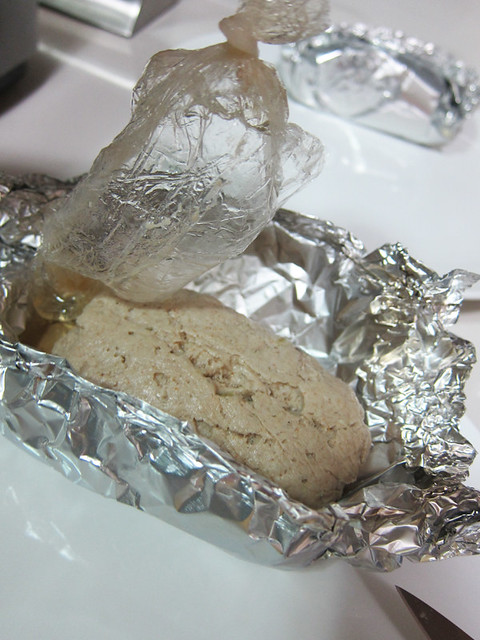
# – When it’s done, cut the clingwrap film and carefully remove it. Let the loaf stays in the foil.

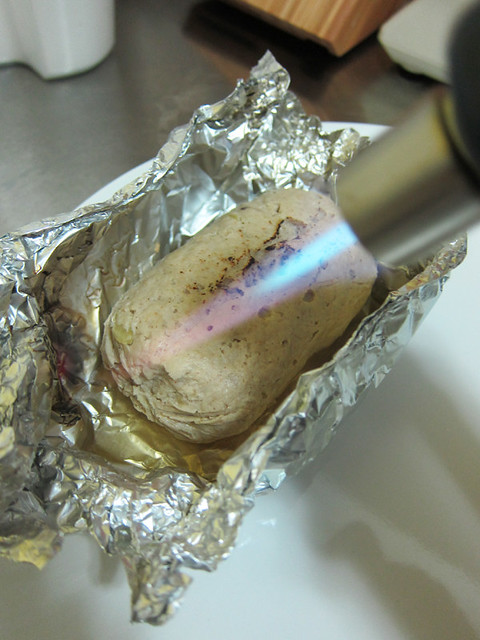
# – This is optional, but you could use a kitchen torch to crispen the top a bit. Otherwise stick in the oven in grill mode for 5 minutes at 210 degrees celcius.

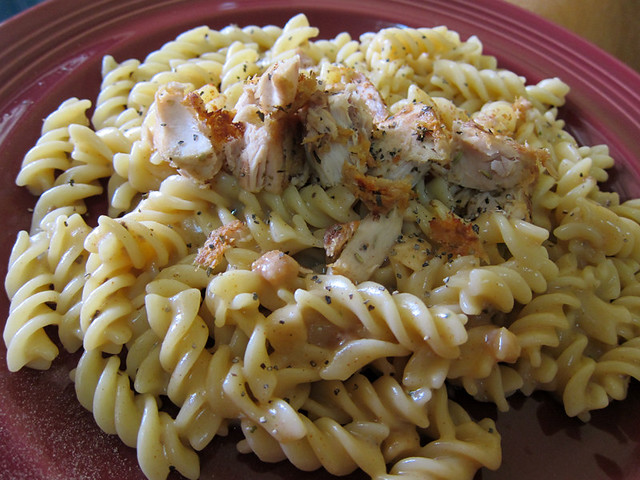
# – Steamed pork and fish meatloaf, DONE! Instead of rice, you can serve it with grated cauliflower for a slow carb option.

The looks were nothing to shout about but it was juicy, tender and very flavoursome. It’s also really healthy because as you probably have noticed, there’s not a drop of oil used in making this dish!

How to cook frozen dory fish fillet properly.

For people like me who don’t go out marketing every morning, frozen dory fillets are heaven sent!

They keep forever (okay, about 3 months) and the best thing is that I don’t have to plan a fish eating schedule as I can literally pop them out whenever I feel like having some seafood.

# – Frozen dory fillets for the win!

Contrary to belief, they also taste really good, as long as you cook them properly. It helps a lot though if you bought high quality frozen dory fillets to begin with.

I tend to buy fillets that are not frozen stuck together. I bought mine from either Tesco, Jaya Grocer or Cold Storage and they usually cost between RM10-RM12 for 3 large pieces in a packet. Each bag is about 700-800 grams frozen.

Of course, I’m going to show you how to cook them properly ;)

Ingredients:

  • Flour
  • Frozen dory fillets, thawed completely
  • Salt & pepper
  • Ground black pepper
  • Lime or lemon juice

# – First, make sure the frozen dory fillets are thawed completely. It’s best to leave it in the fridge overnight if you want to eat it the day before. Or, take it out half an hour before you plan to eat and nuke it in the microwave like I did. They thaw beautifully, don’t you think?

# – Use kitchen towels to dab the fillets till as dry as possible. Don’t be afraid to use some slight pressure to press the moisture out. When only light blotches of water stain the kitchen towels, the fillets are dry enough. Ideally, you can make them bone dry but that won’t be so fun now, would it?

# – Season both sides of each fillet with salt evenly. Don’t be too heavy handed!

# – Followed by a sprinkling of pepper on both sides.

# – Now, throw in a few spoons of flour to coat the fish.

# – Make sure the fillets are properly coated. You can hold them up and lightly tap them to remove excess flour.

# – Give them a sprinkling of ground black pepper. Set aside.

# – Now grease a griddle evenly with oil and heat it up.

# – When the griddle is hot, put the fillets in on one side. Cook for about 3 minutes if the fillets are thick. Lessen time if fillets are thin.

# – Flip them over to cook the other side. Remove from griddle and set them on your plates.

# – With the same griddle on low heat, pour in a bit of oil (alright, you can also use butter which is actually way tastier!). Use a wooden spatula and scrap of the bits and bobs off the griddle.

# – Then pour in lime or lemon juice. About 4 tablespoons for one fillet. Mix it up with the oil and the bits and bobs :D

# – Pour the citrus oil all over the cooked fillet.

# – Serve it with a side of potato salad.

# – Delicious pan fried dory with citrus oil, DONE!

# – As you can see, the fillet is still flaky and moist. It is delicious!!

I use the same method to prepare the fish for chinese stir fries too, except I cut the fillets into cubes prior to flouring. I think the flour keeps the fillets in shape.

I won’t go as far as saying it’s comparable to fresh fish but for a frozen fish, this is as good as it gets!

Delicious fusilli with tuna in mushroom sauce.

Don’t be fooled by the title of this post. It’s so easy to make that a 9 year old would have no problem doing so. But best of all, you’d probably already have all the ingredients in your pantry. Especially if you’re one of those lazy people (ie: me) who shop for convenience (read: frozen food, instant food, canned food, errr ready-diced garlic FML). One thing I’m sure of is that if a nuclear bomb were to go off now, I would probably survive better with all the food stuff that we have, due to the fact that they don’t have expiry dates and therefore do not expire.

That’s my version of immortal food. Okay without wasting anymore text space on my grocery shopping behaviour, lets move on to the ingredients that goes into the making of “Delicious Fusilli with Tuna in Mushroom Sauce”:

# – Italian herbs. Just to pay homage to the fact that it’s sort of an Italian dish.

# – Paprika. Because chopping up fresh chilis is such a bloody chore.

# – Olive oil. You can use whatever oil that rocks your pants but we’re sticking to olive oil because it makes me feel like I’m eating healthily.

# – Butter. You may use any kind of aromatic solid fat really (ie: lard and ghee) but please for heaven’s sake, throw away the margarine! You might as well melt a plastic spoon and eat it. As you can see, ours is blended with vegetable oil – same reason as to why we use olive oil above.

# – Salt for taste.

# – Drumroll!!!! Here comes the mushroom……soup. Didn’t expect that did you? Yeah, the entire mushroom content of the dish belongs to this box of powdered mushroom soup (which by the way is my favourite powdered mushroom soup of them all).

# – Tuna. If you’ve got fresh good cuts of tuna, good on you! But I’m nothing but a mere mortal, so I’m getting my tuna from a can.

# – Last but not least, the fusilli of course. Make sure you get a packet that says ‘Authentic Italian’ because that will inject more culture into your dish.

And now…..the cooking!

# – Boil 3 fistfuls of fusilli in a pot of water seasoned with a dash of salt and olive oil. Salt is supposed to make your pasta less bland and olive oil is supposed to keep them from sticking together in case you got too engrossed with checking your Twitter timeline and overcooked the poor pasta.

# – If you have botched the above up, it’s okay, you can start over but make sure you switch off the computer before you begin. If you didn’t botch it up, congratulations! Now pour off the water but not all of it, make sure to leave some for the pasta sauce. Throw in a dollop or 5 dollops of butter into the pasta. Mix well.

# – Now open a packet of powdered mushroom soup and slowly pour the content into the pasta. Mix as you pour. This is the part of the cooking where your logic needs to kick in. Don’t get too excited and dump the entire packet in because it might end up to be too salty. Taste as you go. Remember, taste as you go.

# – While still stirring the mushroom soup + pasta mixture, put some paprika into it. This serves to give the dish a little kick. If you prefer spicier, you may throw in leftover Domino’s chili flakes in (I save them all the time, don’t you?).

The pasta part is now done, set it aside and keep it warm. Which in my world means, turn off the flame for now and turn it on again later when the tuna’s done :P

# – In a different pot, heat up some olive oil.

# – Get the tuna as dry as possible by draining the brine. You don’t want to have oil popping in your face from cooking tuna, seriously. Then chuck them into the pot. They’re already cooked, but the point of this exercise is to brown them to a crisp, so you’ll have crispy and juicy tuna to chomp on. You may throw in a dash of Italian herbs to flavour the tuna.

# – Lastly, transfer the fusilli onto a plate and lay the tuna carefully on top. Garnish with more Italian herbs, paprika and some black pepper.

# – Ladies & gentlemen, delicious fusilli with tuna in mushroom sauce. Tasty and feels surprisingly healthy. Must be the olive oil ;)