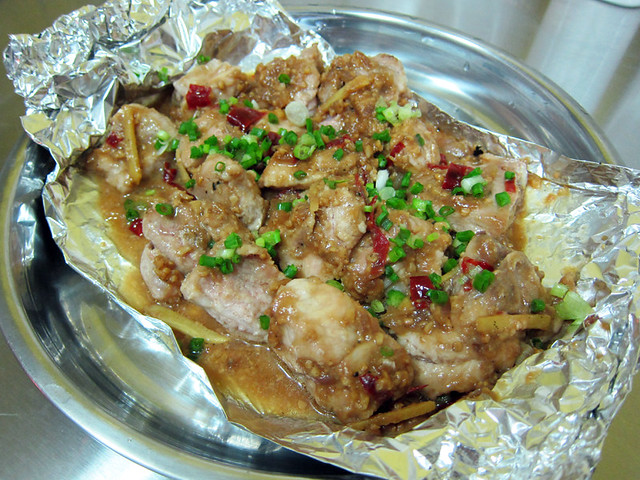
This dish was actually inspired by chinese roast pork belly or “siu yuk”, as locally known. While there’s no crackling or delicious melty lard to boast about, the pork is juicy, peppery and flavourful. Lovely with piping hot rice and some no-cook marinated cucumbers.
I love how stress-free cooking this dish is. Just dump all the spices together and marinate the pork for a couple of hours. Then, lay them on a griddle for a few minutes and voila, 5 spice peppery pork, DONE! To make the pork dish more complete, I served them on a bed of wilted onions, cooked with the same marinade too.
Ingredients
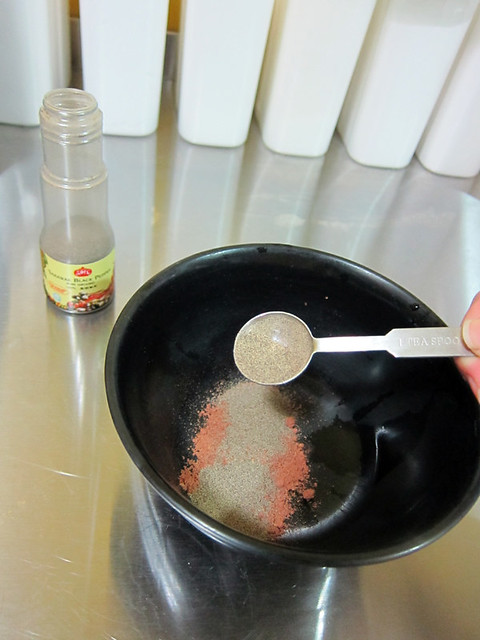
- 1 tablespoon of five spice powder
- 1 teaspoon of finely ground black pepper
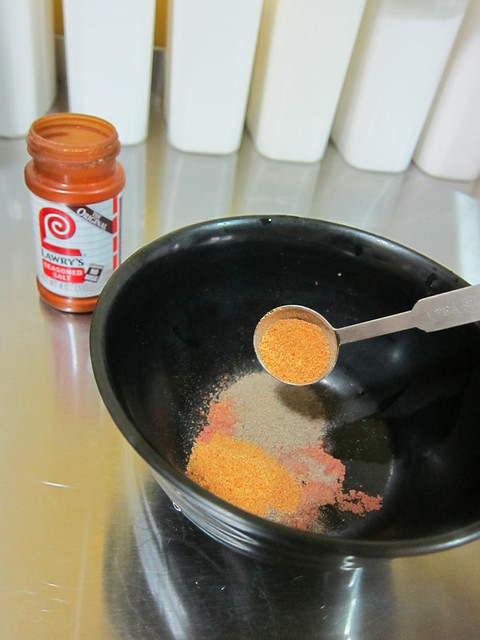
- 1 teaspoon of Lawry’s seasoned salt (you can use ordinary salt too)
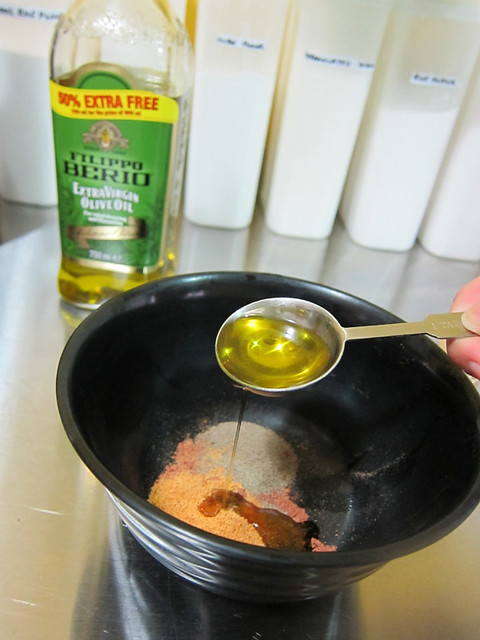
- 2 tablespoon of olive oil
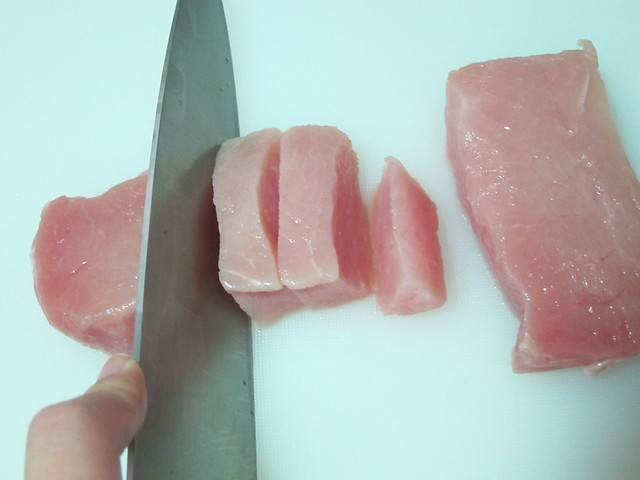
- 200 grams of pork fillet/pork steak
- 1 medium size onion, sliced
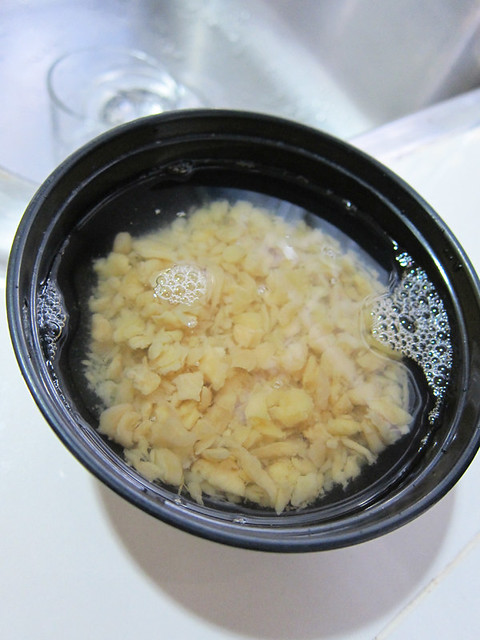
- some corn flour and water
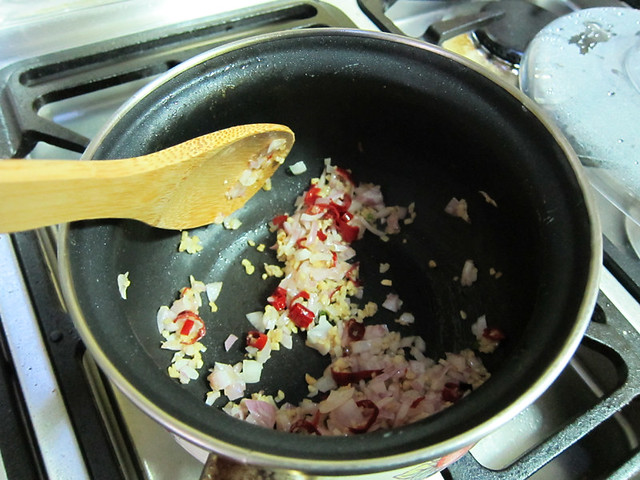
# – First of all, put 1 tablespoon of five spice powder in a bowl.
# – Then, put 1 teaspoon of finely ground black pepper.
# – Followed by a teaspoon of Lawry’s seasoned salt. Of course, you can use ordinary salt too.
# – Lastly, put in a 2 tablespoons of olive oil. You can also use other types of cooking oil. Mix till combined.
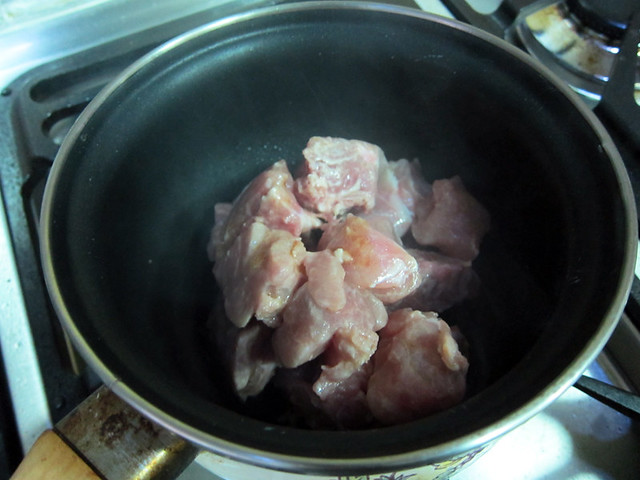
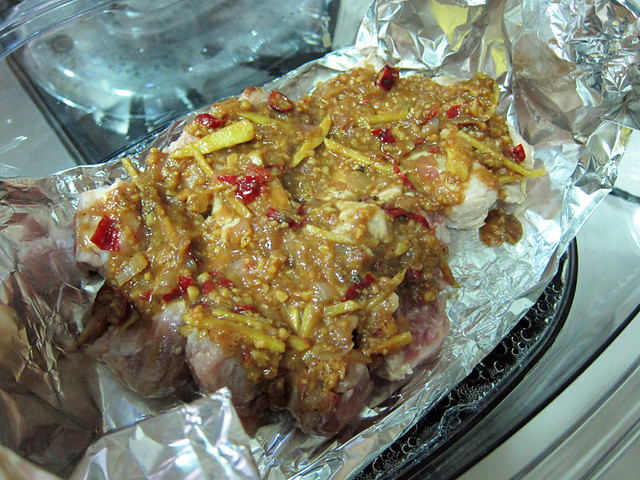
# – Cut the pork fillets or pork steaks into strips as wide as your thumb.
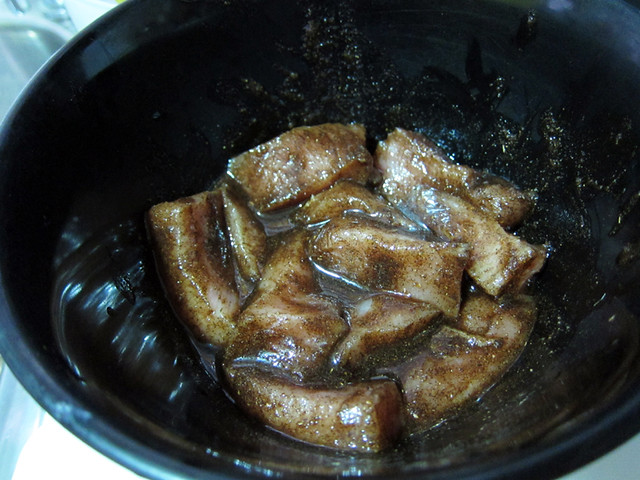
# – Then, dump the pork into the marinade and stick them in the fridge for at least 2 hours.
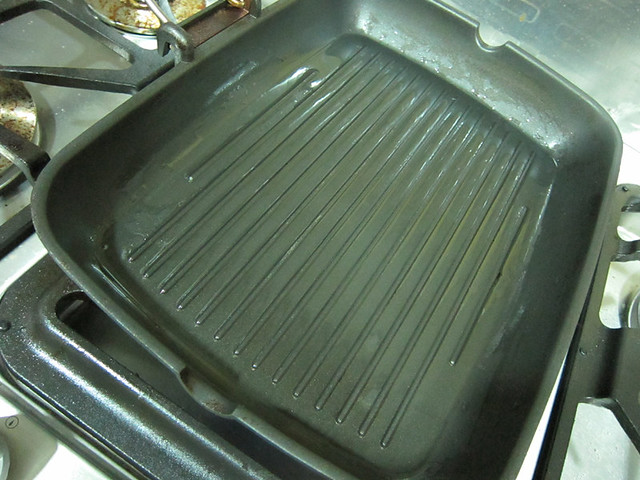
# – When you’re ready to cook the dish, heat up a well greased griddle. I normally use a pastry brush to spread the oil to make sure the griddle is well coated.
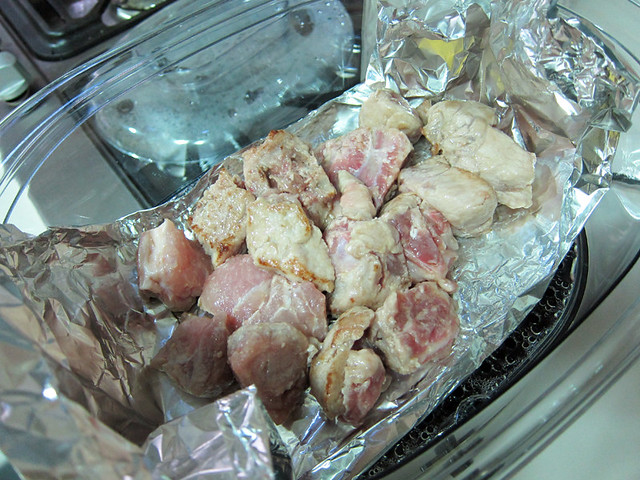
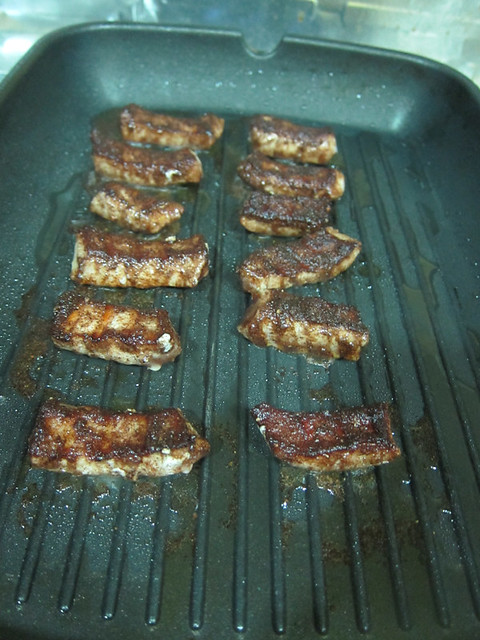
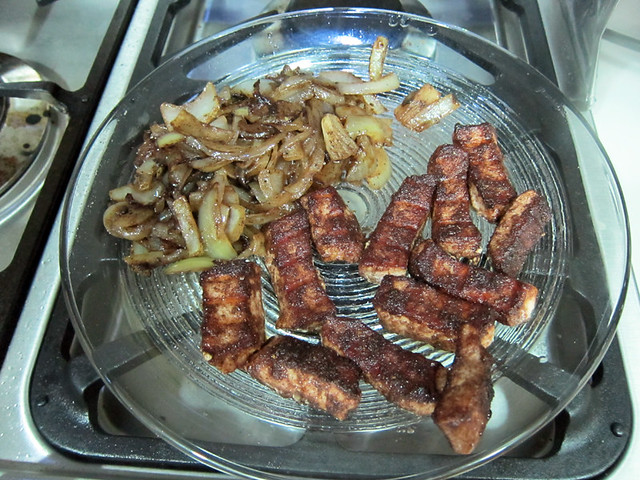
# – Lay the pork strips on the griddle for about 3 minutes, or till you can see that the bottom parts have turned pale from the side.
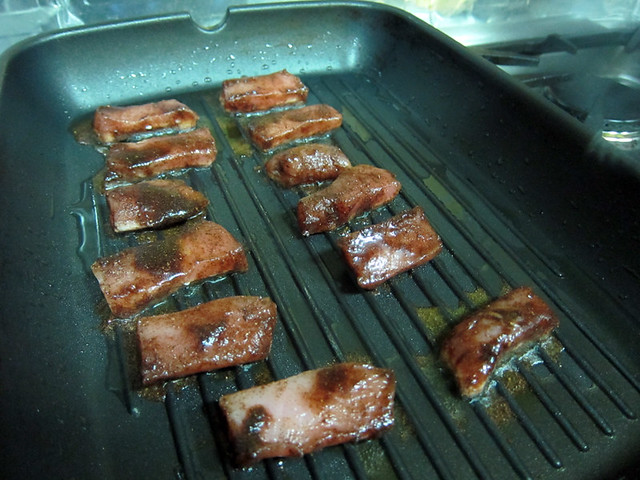
# – Flip to cook the other sides for another 3 minutes or until the entire strip has turned pale. Set aside.
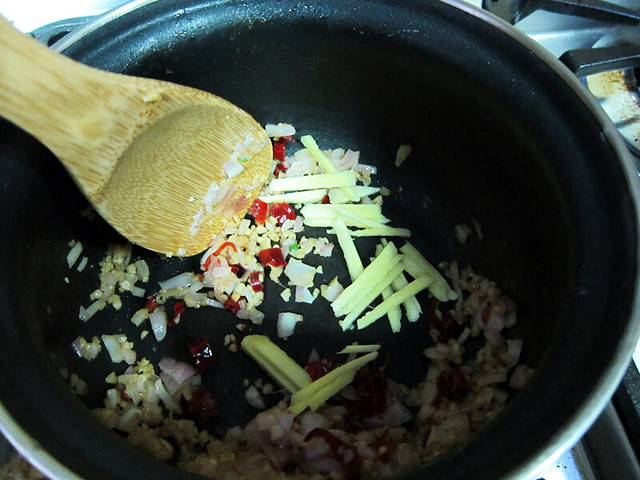
# – Now with the same griddle, chuck the sliced onions.
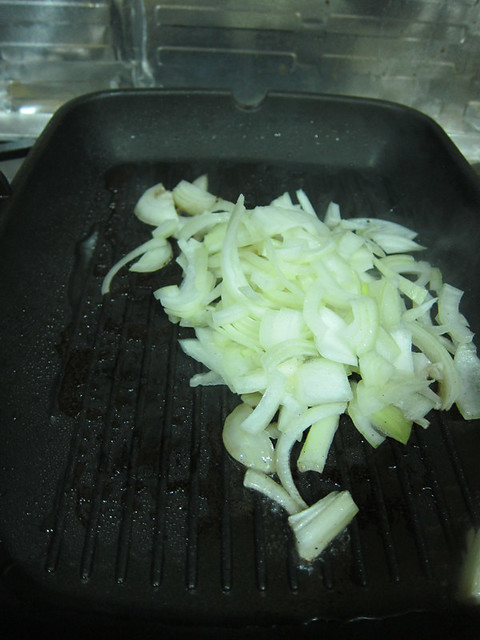
# – Stir around so that it’s coated with all the delicious bits left earlier by the porks.

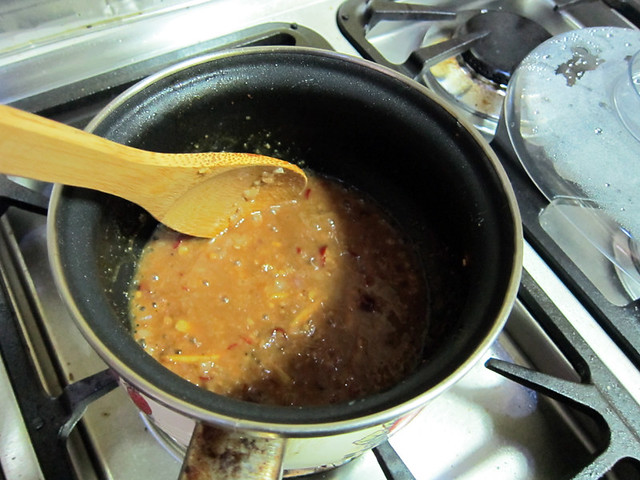
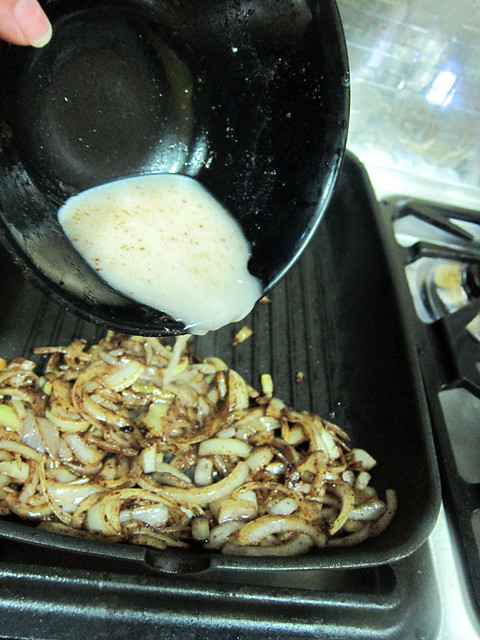
# – Mix the leftover marinade with about 10 tablespoons of water and a tablespoon of corn flour, then pour over the onions. This is to moisten the onions up a bit. Cook for a couple more minutes till the onions have wilted to a consistency that you like.
# – The 5 spice peppery pork and onions are now done.
# – To serve, pile onions over some rice and then place the pork strips on the bed of onions. Garnish with spring onions.
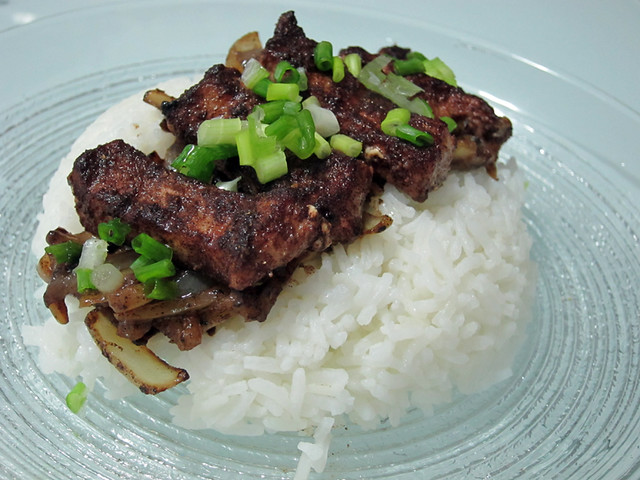
# – Oh so delicious!!

Happy cooking!