How to make your own cheese or paneer.

I’m really excited to share this because it’s so simple! This is actually an Indian recipe for making paneer, an almost tasteless crumbly white cheese, which, excitingly….can be flavoured however you like!

I’ve always fantasised about making my own cheese because cheeses are so expensive here! The only cheap cheeses are cheese slices which probably are not even real cheese and they taste like plastic.

There are only 2 ingredients that you need to make this basic cheese, milk and lemon juice! Excited yet?

Utensils you need:

  • 1 tea towel or muslin cloth
  • 2 pots
  • Something heavy like a chopping board or stone mortar (to weight the cheese down)

The ingredients:

  • 1 litre of fresh milk
  • 100 ml of lemon juice (or acid like white vinegar)

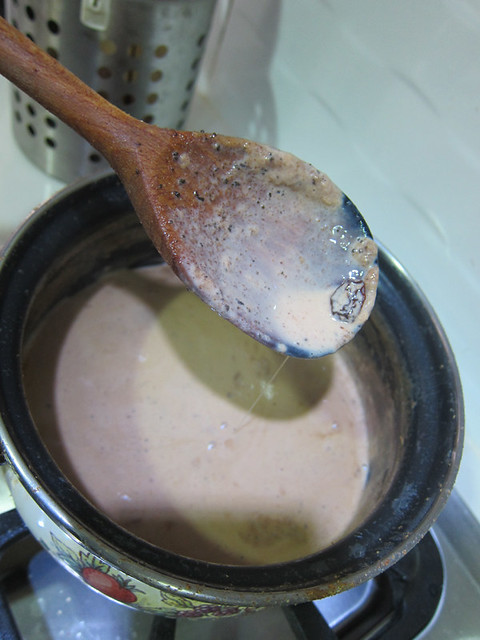
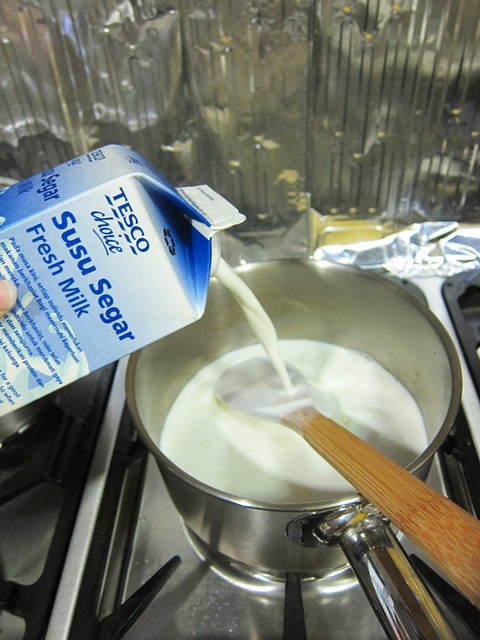
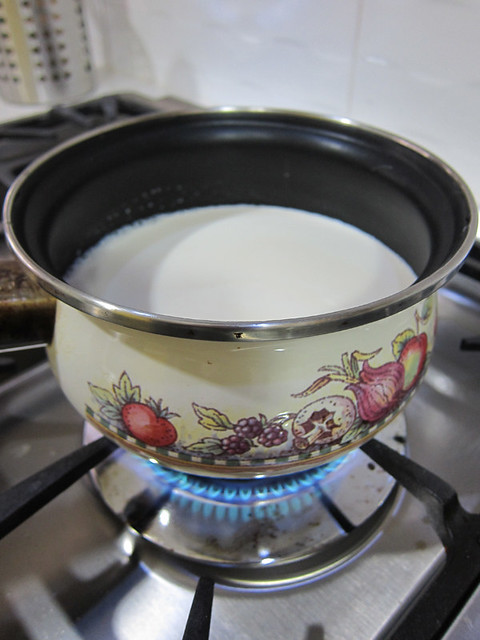
# – First pour the milk into a pot and bring it to boil on medium heat. Stir sometimes.

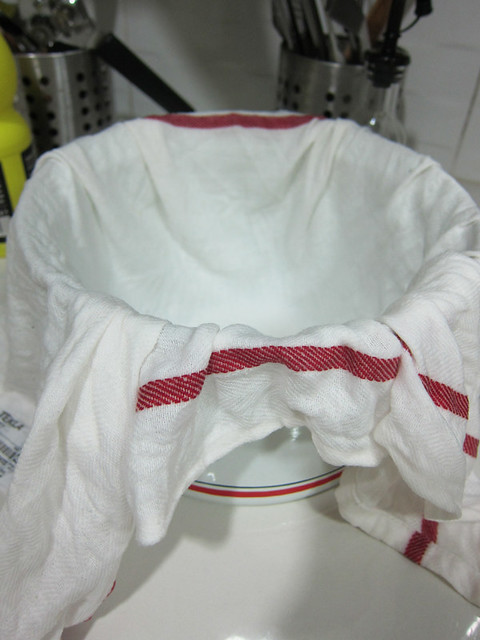
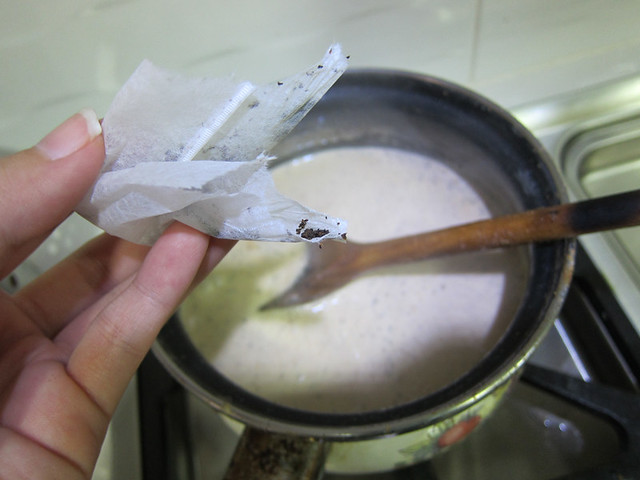
# – While the milk boils, set the teatowel over the other pot, like this…

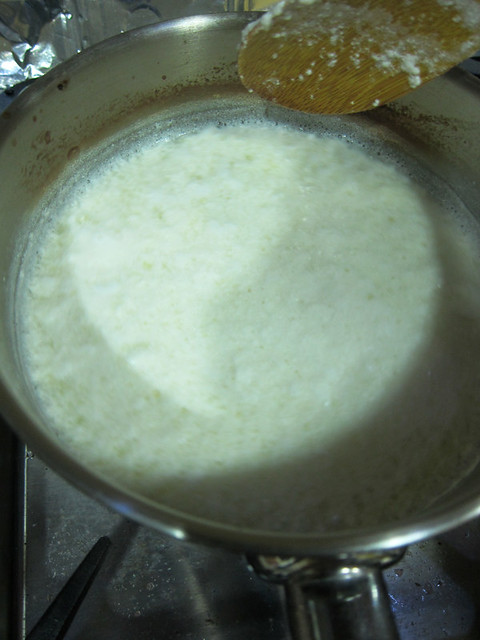
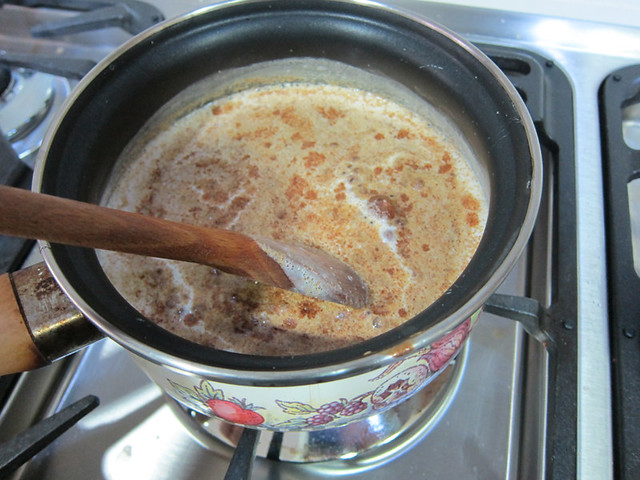
# – When the milk starts bubbling, pour in the lemon juice bit by bit while stirring.

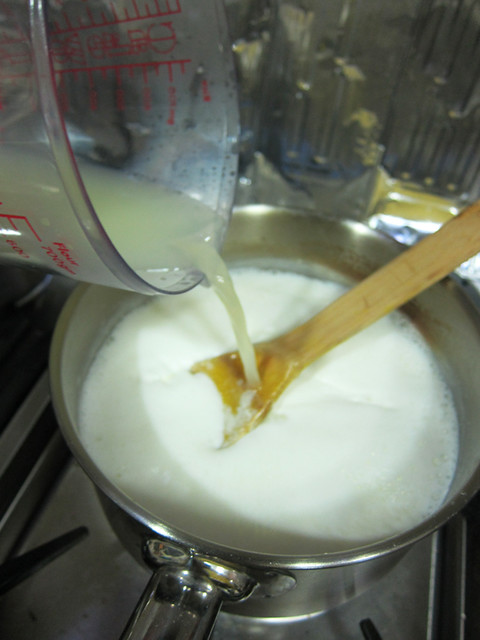
# – As you stir, you will notice that the milk begins to curdle. Looks like bashed up tofu. Stir for another minute or two.

# – Pour the content into the tea towel set up earlier to strain.

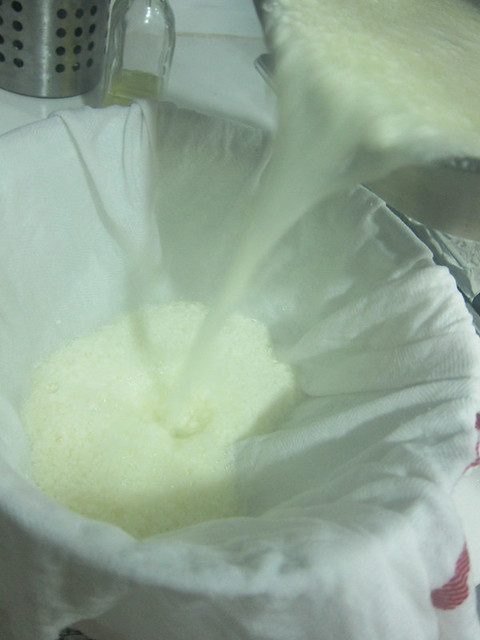
# – When you lift the tea towel up, you can see what’s left behind is a clear yellowish liquid. This is called whey. Some people use it to boil rice or something but I just discarded it…

# – Turn the pot upside down and place the drained curd (still in tea towel) on top.

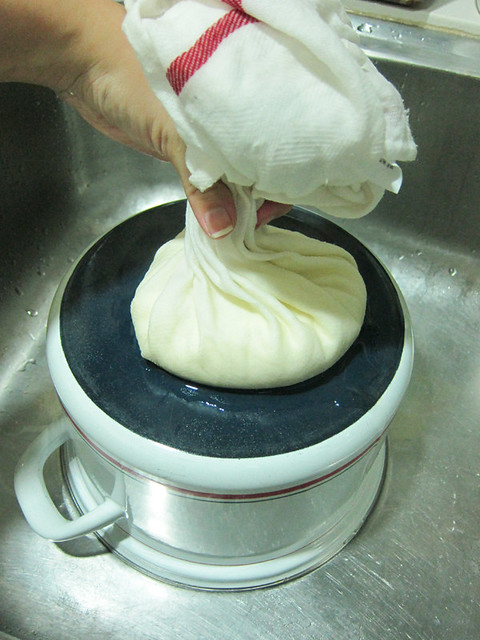
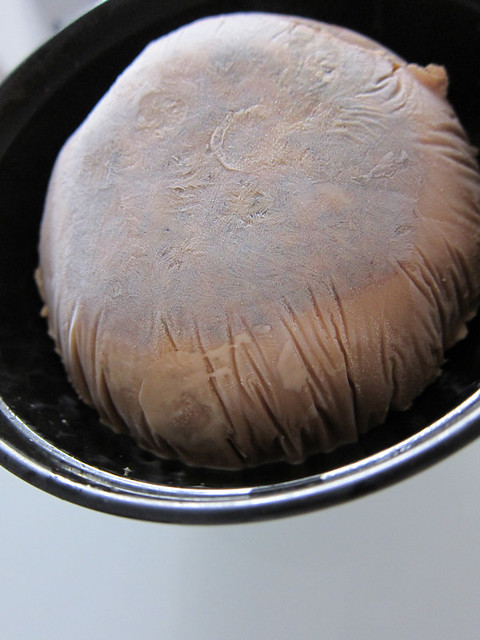
# – Weigh it down with something heavy for 2 hours. You can do this in the sink cause it’s wet. Check out my style…

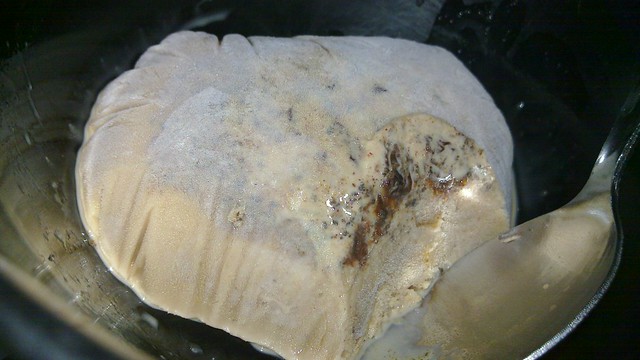
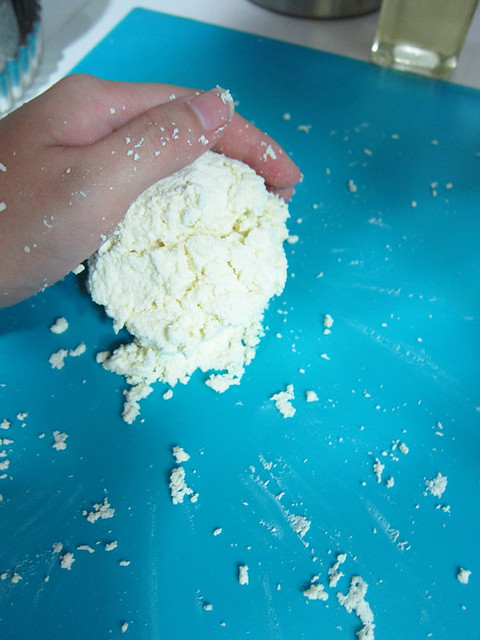
# – After 2 hours, cheese. DONE!

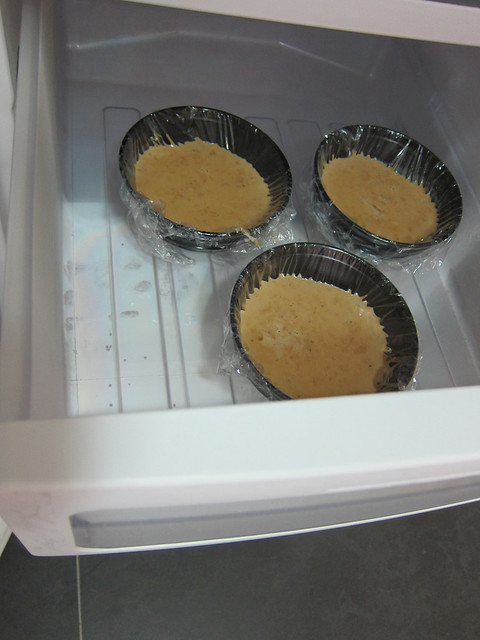
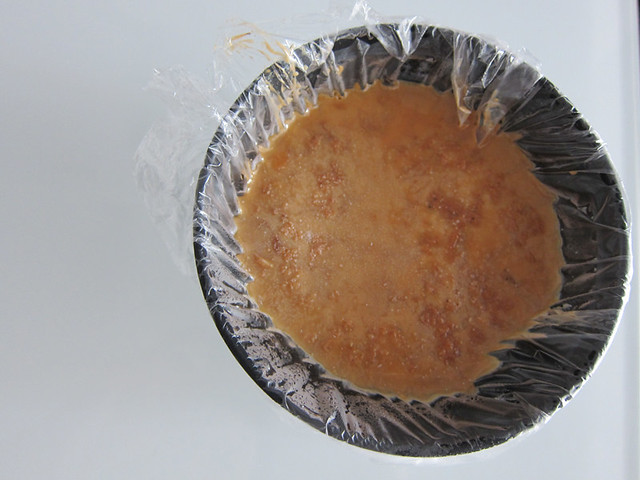
# – You can use it straightaway but if you want a less crumbly cheese you could knead it a few minutes to soften the texture, which I did. If you want to flavour it, you should chuck in the flavourings at this point…parsley, garlic, dried fruits…make it happen!

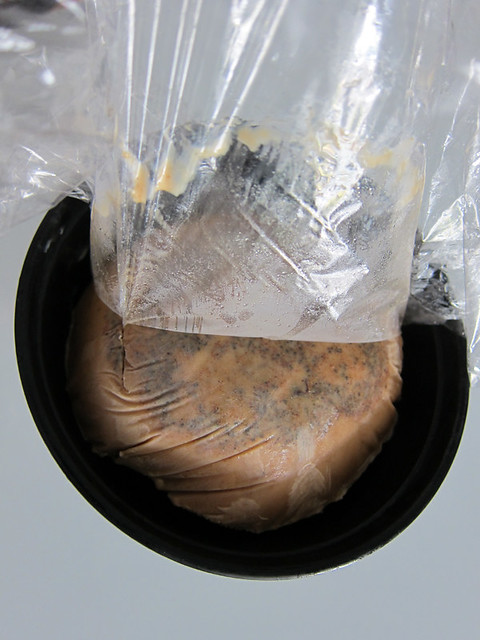
# – Wrap it up in clingwrap if you’re not going to use it immediately.

# – Keeps for 5 days in the fridge.

Told you it’s simple. It’s crazy simple!!!!

Bowl-licking good layered potatoes.

Layered potatoes – my favourite way of eating potatoes! It’s creamy, salty & peppery all at the same time. It is comfort food at its highest level. It makes me fat but do I look like I care?

If you’re going to get fat, the only legit way to do so is by eating loads of layered potatoes. And guess what, it’s mind-boggling easy to make them. Cooking skills, what cooking skills? As long as you can slice potatoes without slicing your fingers off, you’re ready to make layered potatoes.

All you need are two medium potatoes, one yellow onion, milk, whipping cream (optional), salt and pepper. Easy peasy!

# – 2 medium sized potatoes – peeled and sliced.

# – 1 onion – sliced.

# – Just in case you don’t know what sliced potatoes and onion look like…here you go.

# – Place a layer of sliced potatoes in your casserole dish.

# – Follow by a layer of sliced onions.

# – Season with salt and pepper evenly & generously. Then repeat – a layer of potatoes, a layer of onions, salt & pepper until the final layer ends with potatoes.

Now the next step is totally optional but I highly recommend it because it gives the dish an exceptional creaminess only good, fat, real whipping cream could give you. The inclusion of whipping cream though would make this dish a bit more expensive (for Malaysian) but if you like dairy like I do….make it happen!

# – Pour whipping cream all over it till just about submerging the bottom layers of potatoes/onions. Skip this step if you’re going for a healthier version.

# – Then, pour milk to fill up just below the uppermost layer.

# – Now stick it in the oven for 1 hour at 180 degrees celcius. You could turn it up to 200 degrees for the last 10 minutes to give it a nice browned top crust :D

It is totally normal for the top to bubble while in the oven. Don’t panic because it’s a good thing!

# – Tadaaaa!

# – The soft, creamy, peppery potatoes. O M G!!!

# – The creamy sauce is to die for!

And the only way to finish the dish is this:

This dish is perfect for parties because it’s so easy to make and you can just stick it in the oven and go about doing other things.

I implore you to try this. You will thank me. You will be eternally grateful to me.

Homemade kulfi for the win!

I’ve blogged about my obsession with kulfi and vowed to make some to fulfill my insatiable appetite for it and yes, I’ve done it! It’s crazy easy! Looks like I’m not going to buy ice cream for a while now…

I know I’ve been blogging about food a lot these days. I’m not apologising for this. Well, I’m not a spring chicken anymore and most times I don’t even enjoy attending events or meeting new people that much nowadays. I’m in a phase where I just want to cook a lot and fatten my friends and loved ones up. I’m turning into a domestic old woman and boy, aren’t I a smug one too…

I’ve been cooking almost everyday and I’m loving it. For the first time in my life I don’t care that the skin on my hands are pruning up and shit from constant contact with water. Though I’ve bought some high potency vitamin E cream to soothe my conscience for the rare times it hit me that my hands look like they belong to a manual labourer’s.

Anyway…here’s how you make kulfi. All you need is milk!

Kidding, you need all-spice powder, one teabag and sugar too.

# – Boil 5 cups of milk!

# – Prepare 5 teapoons of sugar (can lessen sugar if you don’t have sweet tooth) and 5 teaspoon of all-spice powder. Mix it up!

# – Chuck sugar and all-spice mixture into boiling milk.

# – Tear open a teabag (I used masala tea) and pour the content into the boiling milk mixture. You can add some nuts or raisins too at this point.
.

# – Simmer till the concoction reduces from 5 to 2 cups. Took me about 30 or 35 minutes. STIR CONSTANTLY! Becareful when you’re doing this because it might boil over. I’m speaking from experience…was a bitch to clean up my stove.

# – Pour the mixture into bowls lined with clingwrap and stick them into the freezer. If you have cute bowls like ramekin you can use those too or even smaller cups. My bowls were honestly a bit too big for such a rich dessert (but I’m not complaining).

# – Best to leave them in the freezer overnight but mine were good to eat about 6 hours later. This is how it looked like after 6 hours.

# – Pop it back into the bowl and peel off the clingwrap.

# – The look reminds me of some rotten tofu I saw in a documentary :D

# – Dig into the creamiest, densest ice cream you’ve ever tasted!

Instead of all-spice you can try flavouring the kulfi with other things like pistachio powder, chocolate, rose water, vanilla and etc. The sky’s the limit!